Polling software: Mentimeter and Poll Everywhere

The E-leaning Group is looking into how polling software can be used in lectures and seminars. Polling software is a great way to increase classroom engagement as it provides interactive presentations ranging from multiple choice questions to live word clouds. With their personal devices (such as mobiles, tablets etc.), students will be able to answer questions, vote and ask queries,which will appear on the presentation slides.  The recent Digital Insights survey, overseen by Information Services, showed that fifty-seven percent of lectures already use some sort of polling software in the classroom.

Some examples of positive comments from students include:

 “Provided quick feedback on what lecture we needed help with”

“Online poll, on parts of the subject asking the class how much they understood. This made it so people put how they actually felt as they didn’t have to speak in class”

“Polls in lecturers keep the students interested”

“It was fun last year when we did online quizzes in the lecture, interactive with each other and then went through the answers question by question on the big screen”

“Method of reviewing prescribed reading material”

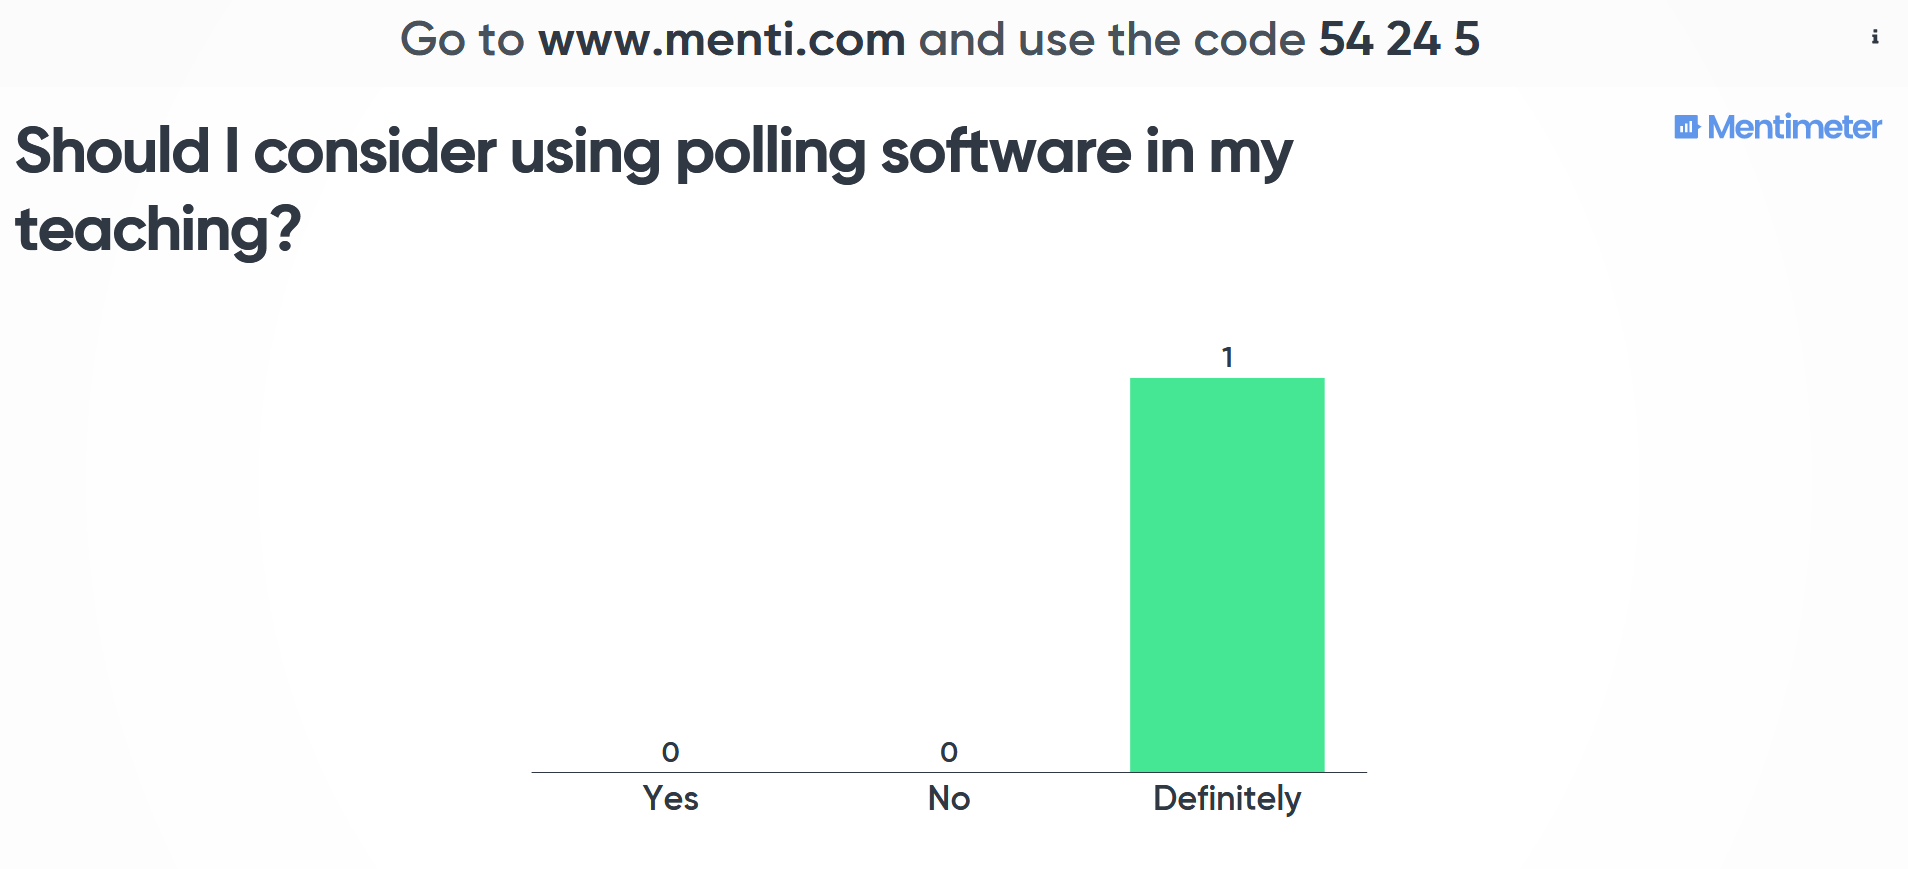
The E-Learning Group has found Mentimeter and Poll Everywhere to be especially accessible and reliable:

  • Mentimeter is best used for lectures with larger audiences as it has no limit on participants. With Mentimeter you can create: quick slides, questions and quizzes. There is no limit on the number of quick slides, however with the free version you only be able to create two questions and five quizzes.
  • Poll Everywhere caps its audience at twenty-five so can best work in seminars and workshops. Poll Everywhere provides much of what Mentimeter does with the benefit of having no limit on the number of questions/activities.

There is a guide to creating presentations with both Mentimeter and Poll Everywhere available on our webpages.


AU Digital experience insights survey for teaching staff 2018-19 now open

We have recently closed the Digital Experience Insights surveys for students where we asked about their experiences of digital learning and digital services. We would also like to know how teaching staff experience these services.

There are only about 20 questions that ask about your digital teaching methods and your experience of our digital provision. Please spare ten minutes and have your say so we can improve the digital experience for our staff and students.

https://staffinsights2019.onlinesurveys.ac.uk/aberystwyth-univeristy


Subscribe to the LTEU Blog

You can now subscribe to the LTEU Blog so that you receive an email notification whenever a new post is written. Keep up-to-date with software developments, new initiatives, training sessions and events that help support technology-enhanced learning and teaching activities.

Some of our latest blogposts include:

  • Blackboard Grade Centre – in addition to recording and managing assignment marks, there are some additional features and options that will help you to use the Grade Centre to its fullest potential. In this series, we will introduce you to these features.
  • Equipment that is available to hire from Information Services – did you know that IS have pieces of equipment that you can borrow? In this blogpost, we let you know what is available and how you can book out the equipment.
  • Inserting quizzes into your Panopto recordings – do you want to test knowledge whilst students are watching lecture recordings? If so, why not insert a quiz into your Panopto recording? Find out how to in this blogpost.

Subscribing to the blog will ensure that you receive up-to-date information as soon as we’ve written about it. To subscribe is simple:

  • Go to the LTEU Blog
  • Scroll down the page and enter your email address and click Subscribe:
  • An email will be sent to you to confirm your subscription. Click Confirm Follow.
  • You’ll then be all set up and will receive an email notification whenever a new post is written

We’re always on the lookout for guest bloggers too – if you’d like to write a blog post about how you’re using technology in your learning and teaching then let us know (lteu@aber.ac.uk).  Also drop us an email if you’d like to suggest a topic or would like us to write about a particular E-learning tool.


Academy Mini-Conference: Inclusive Education

This year’s Academy Mini Conference will be held on Wednesday 10th April at 2pm in E3, E-learning Training Room, Aber Academy, Hugh Owen Building. Following the introduction of new Accessibility Regulations for online content in September 2018 and with an increased awareness of ensuring learning experiences are open to all, this year’s mini-conference theme will focus on Inclusive Education.

We are looking for expressions of interest from members of the University to give presentations, demonstrations, workshops and discussions on their inclusive teaching practices.

Potential topics might include:

  • Inclusive and creative assessments
  • Widening participation
  • Use of technology for inclusive learning experiences

If you would like to contribute to submit a proposal to this year’s mini-conference, please fill in this online form before Friday 15th March.

You can register to attend the Mini Conference by clicking on this link. If you have any queries, please email elearning@aber.ac.uk.

Blackboard Grade Centre

The Blackboard Grade Centre is probably the most powerful yet underused part of a Blackboard module. Every Blackboard module has one, but how often do you use it and are you getting the most out of it? I’m a big fan of the Blackboard Grade Centre so I’m using this series of blog posts to introduce to some of the hidden features which could make your marking and assessment life easier.

The first post is about setting up the Grade Centre. Like many things, a little bit of thought and planning before you start goes a long way. Some advance organisational work will make your life a lot easier in the long run.

So, what sort of things should you consider?

  1. Organise before you create. Some features like categories and Marking Periods are added to columns when you create them. It’s useful to set these up first, rather than go back and edit afterwards (although that it is possible).
    1. Categories. There are built in categories for types of tools (e.g. Tests, Assignments ) etc. which are applied automatically when you create them. But you can also create your own. For example, you might want a category for Exams or Presentations. You can also do calculations based on the category of a column using the Calculated Column options. Blackboard help on Categories.
    2. Marking Periods. These are time periods for when the work is marked. This would be useful if you are putting a lot of marks directly into the Grade Centre for a long-thin module. You could have a Semester 1 and Semester 2 grading period and then filter by these so you only see the relevant columns. Blackboard help on Marking Periods.
  2. Do you need any additional columns? Anything that you can grade in Blackboard generates a Grade Centre column when you create it. So, if you have a Turnitin Assignment, graded Discussion Board or Wiki, you have a column in the Grade Centre already. If you want to store marks for presentations, exams, in-class tests, oral exams etc., you can create your own columns. Blackboard help on creating columns.
  3. Think careful when you name your columns (either manually created columns, or the ones created when you set-up Turnitin etc.). They should be meaningful and easy to understand which assessment component they relate to. This is especially important when mapping components for marks transfer. A common problem is two e-submission points both called Essay; make sure you use titles which make sense such as Essay 1 and Essay 2 or Nutrition Essay and Exercise Essay.
  4. Do you want to make any calculations or combine marks? AStRA takes care of the weighting of your assignments in the overall module mark calculations, but you may want to group together small assignments to make calculations or show to the students. For example, you might have a set of weekly tests that make up one component of your module assessment. To do this you can create one of the calculated columns. Blackboard help on Calculated Columns.
  5. What do you want the students to see? Most people know that you can hide Grade Centre columns to the students, but did you know that there is a Primary and Secondary Grade. This means that you can show the students a letter grade, or even that the work has been marked, without showing the grade. This is a way of giving feedback before the releasing a mark.
  6. Viewing and filtering. There are a number of ways you can organise your Grade Centre to help you see only the things you want to see. Depending on how many columns you have and what you need to do, one of the following might be useful:
    1. Smart Views and Favourites. You know the Needs Marking and Assignments items under Full Grade Centre in your menu? These are shortcuts that take you to filtered views of the Grade Centre. Did you know you can add your own shortcuts here, using categories or groups of students as the criteria? Blackboard help on Smart Views.
    2. Filtering. Like Excel spreadsheets it is possible to filter your view of the Grade Centre, to only certain sets of information. Blackboard help of filtering.
  7. Colour coding. This is my personal favourite. You can colour code the Grade Centre to quickly show which students are getting very high marks, and which students might need a little more help. This is particularly useful for tests which are marked automatically and you may not see the results straightaway. It provides you with a quick visual way of seeing who might need some further help. Blackboard help on colour coding.

The next instalment of this series will be marking and dealing with grades. If you want any help with setting up your Grade Centre, get in touch and we can go through your requirements and get you up and running.