This December Blackboard has made it easier to see new posts in Discussions and late submissions in Blackboard Assignments (not Turnitin). Additionally, we highlight the release of AI Conversations in Blackboard and the Online Mini Conference on 18 December.
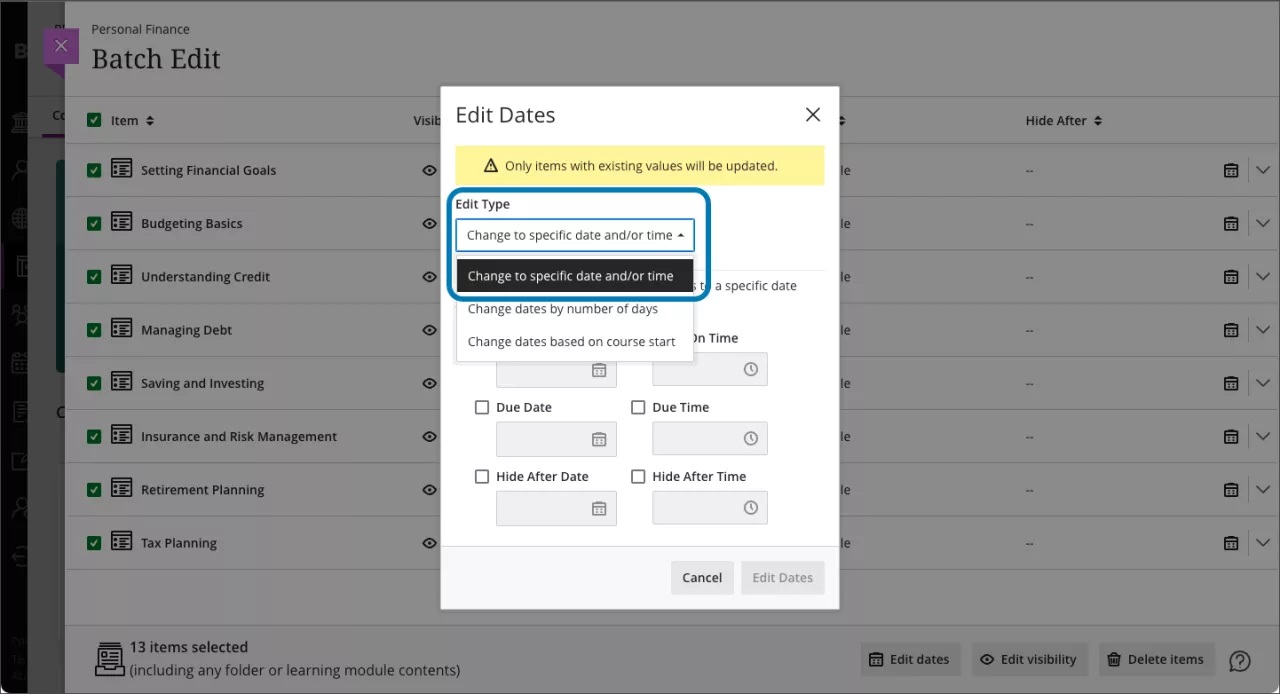
Discussion Enhancement: New Post Indicator
Related Blackboard Topic: Discussions
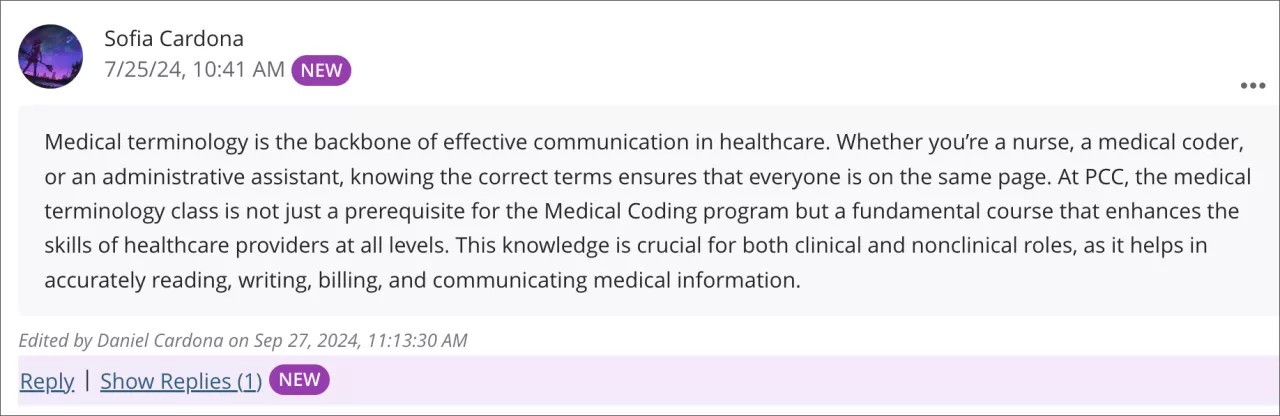
Blackboard have added a “New” indicator that displays next to posts and replies that a user has not yet accessed. This helps direct engagement by making new discussion activity easier to find and access.
Image 1. The “New” indicator alongside a post and a reply
Please also see the section on the Ability to ‘Follow’ Discussions for Enhanced Engagement from the August 2024 Update
Improvements for late submissions
Related Blackboard Topic: Grade Assignments with Flexible Grading
To help instructors quickly identify late submissions in the attempt banner, late submissions now have a Late indicator. Blackboard also updated the wording from Submitted late <date> to Submitted <date>.
Also of note this month:
- We released the AI Conversations in Blackboard which is a chat bot for students to interact with and test their knowledge as part of a learning activity which Instructors can give a persona. It uses both Socratic questioning and role play.
- We will be showcasing AI Conversations and Exemplary Blackboard Practice at our forthcoming Online Mini Conference on 18 December. You can book your place online and we hope to see you there.