Have you ever gotten stuck trying to think of a different word to take your sentence to the next level? There’s no need to struggle anymore! With DigiTip 37, learn how to use the synonyms function in Word. View step by step instructions below or watch the short video to learn more!
Simply:
Right click on the chosen word
Hover over ‘synonyms’
Select a new word!
Still not seeing an appropriate word? Select thesaurus and view more!
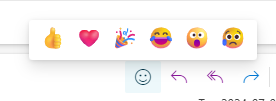
There may be times when someone has sent you an email, and you’d like to acknowledge its receipt without sending another reply. A great feature to use in this case is the reactions feature in Outlook, which works similarly to those in MS Teams or on various social media platforms.
To react to an email, click on the smiley face button on the top of your screen. You can then choose from six emojis, ranging from a thumbs up 👍 to a sad face! 😥
In September 2023, we launched the new ‘IS Digital Essentials for teaching’ Blackboard site. The site is a culmination of resources from Information Services that any new academic staff member might need. This includes a checklist for everything you need to complete before you begin teaching as well as information and access to resources you could currently need, or you may want to digitally enhance your teaching.
This is a reminder to all academic staff that the Blackboard site is still available to support any new or existing staff. View the Blackboard site to learn more.
If you have any questions or if you’re having trouble accessing the course. Please contact us at: digi@aber.ac.uk
Have you ever been in an MS Teams meeting where you’ve needed to send a quick list that’s easy for others to read? There are actually two quick ways to create bullet points or numbered lists in any MS Teams chat.
Option 1
You can either click on the format icon in the chat, and you can easily create bullet points or a numbered list from here.
Option 2
Or, if you’re in a Teams chat:
Press – and then the space bar to start your bullet points
Press 1. and then the space bar to start a numbered list
Next week will be the return of DigiTips, our once-a-week tip or trick to help you with your Digital Skills! You can view the DigiTips that were posted last year here and find out which 5 were the most popular in this blogpost. Remember to keep your eyes out for this year’s DigiTips by subscribing to the blog!
Blogpost by Shân Saunders (Digital Capabilities and Skills Development Coordinator)
In September 2023, the Digital Skills Team began DigiTips – a weekly blogpost to highlight a useful tip that you can use to make your daily digital life easier. Below are the top 5 DigiTips from 2023/24.
Are you working on one screen and struggling? Are you tired of swapping between two windows? Did you know that you can split your screen to view two things at once making it much easier to view two windows at the same time. This means that you can work on documents, tabs and much more side-by-side.
Most of us will be more familiar with using emojis on our mobile phones 📱, but there will be times when we’ll want to include emojis when using our laptops or computers💻. Instead of googling for the emoji you need, why not access it directly from your keyboard!?
Are you struggling to concentrate on your work? Are you procrastinating on social media? Do you need to limit your scrolling time? Did you know you can now limit your Instagram scrolling time through the Instagram settings.
Have you ever copied and pasted content from a webpage or another document into a new Word document and found that it completely messes up your formatting? Luckily, there are additional options outside of the basic pasting option (ctrl+v) which can help solve this!
Sometimes, you may need to set some time aside to concentrate on a particular piece of work, but how can you show other people who are also online that you’re busy? Microsoft Teams allows you to set your status to Do not disturb, meaning that you won’t be interrupted by Teams notifications or calls (unless you choose to receive these from specific people), but it can be too easy to forget to turn this status off once you’re finished.
Blogpost by Shân Saunders (Digital Capabilities and Skills Development Coordinator)
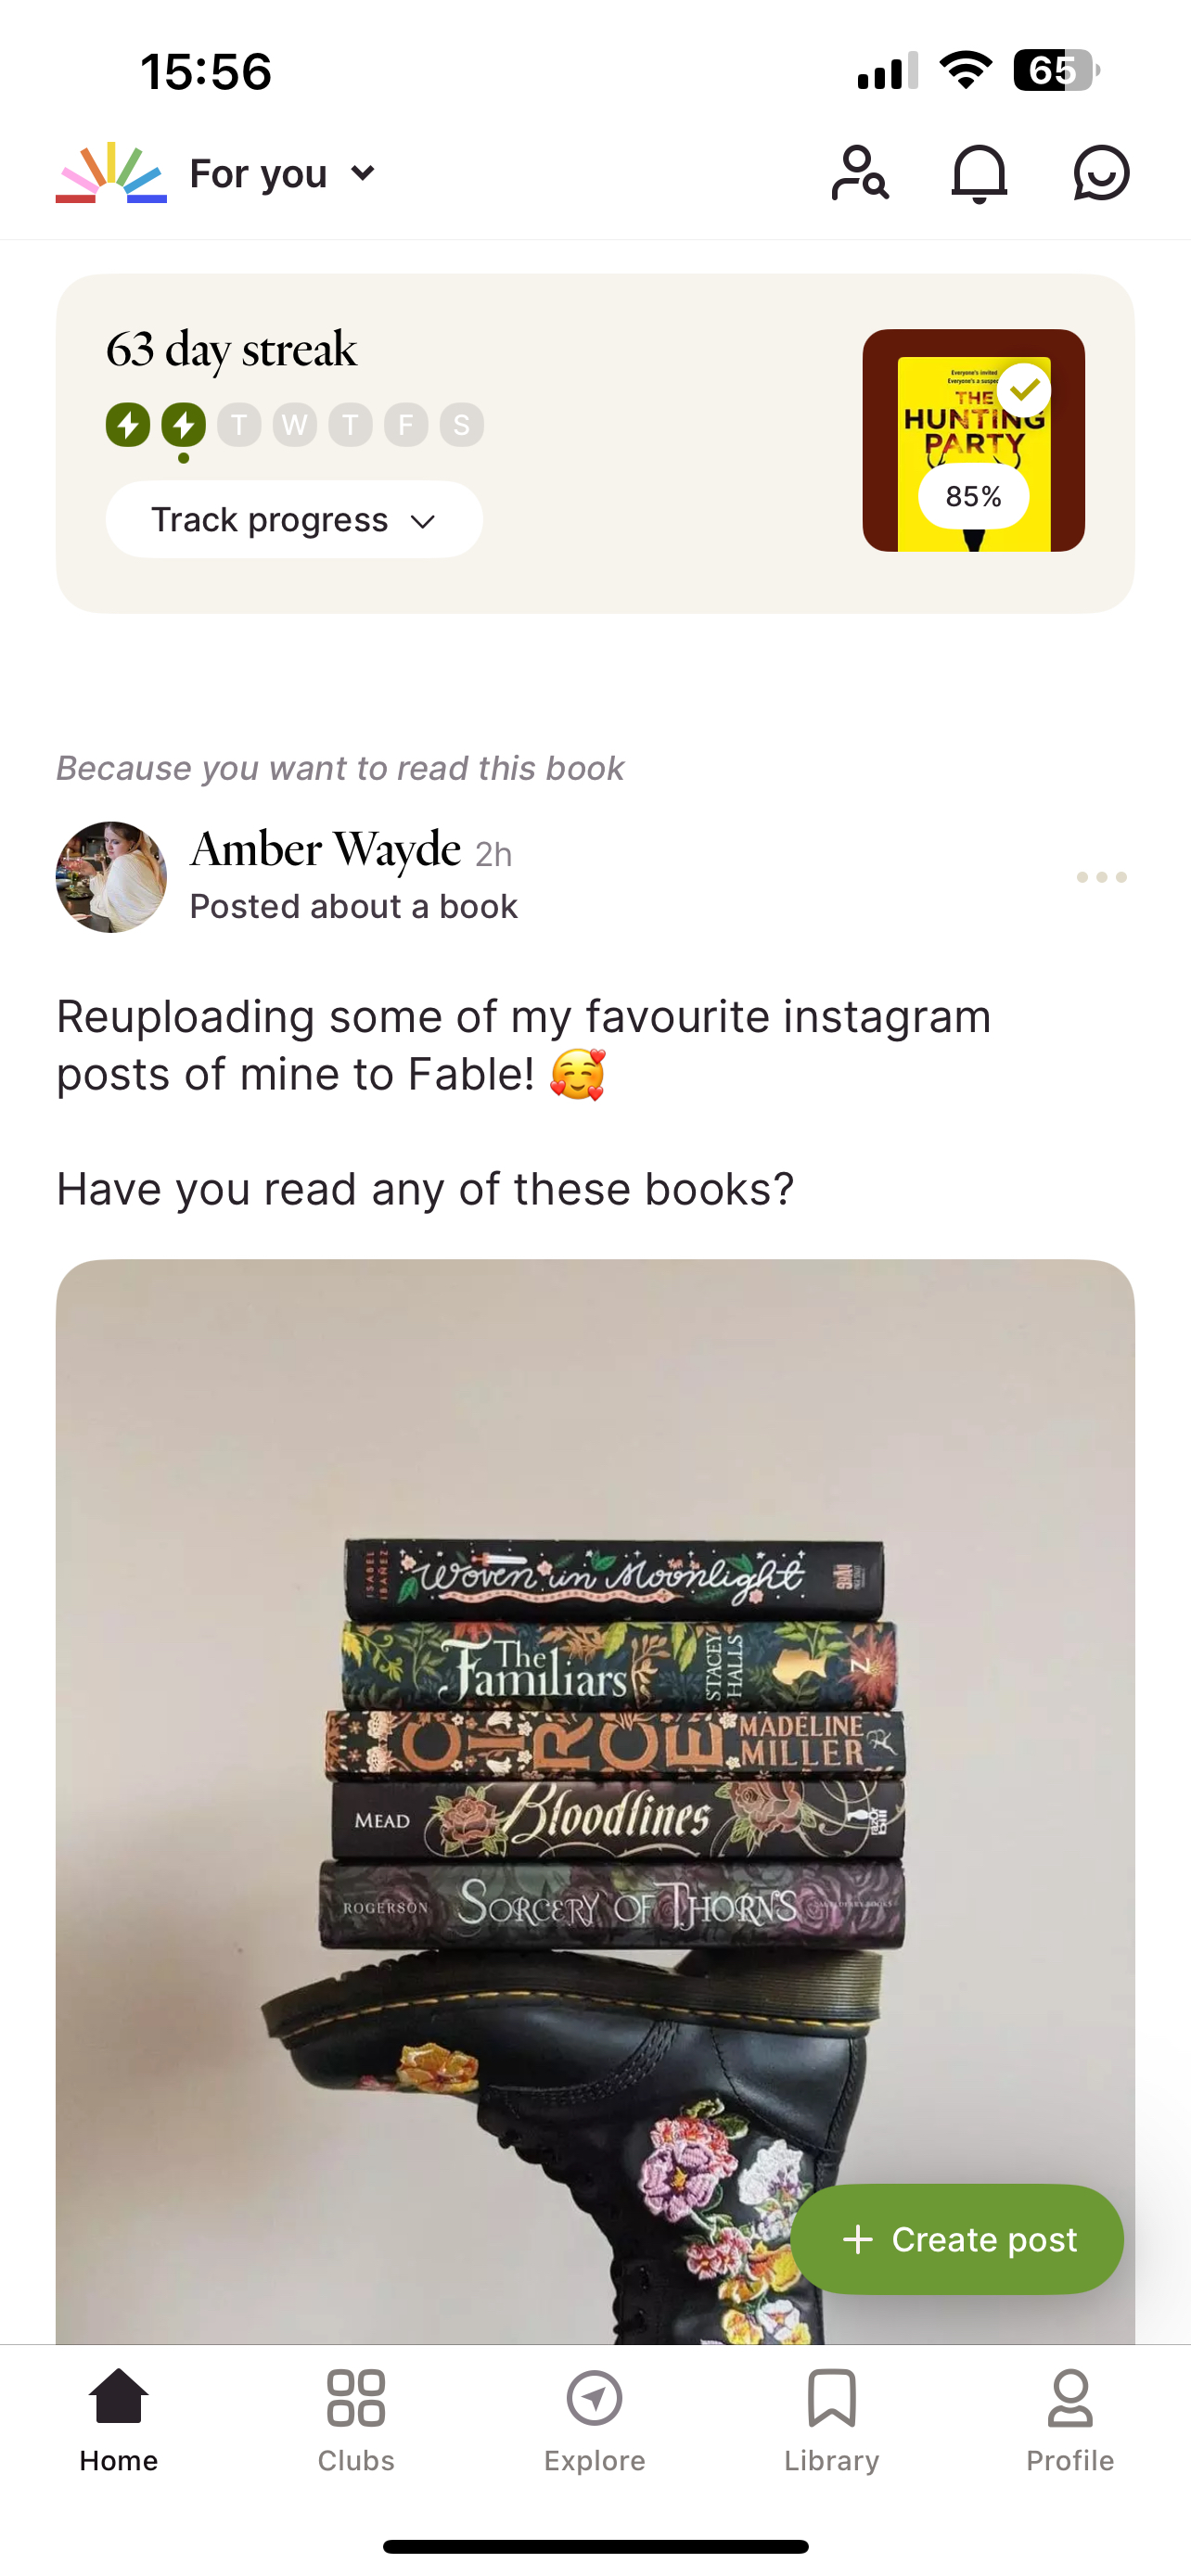
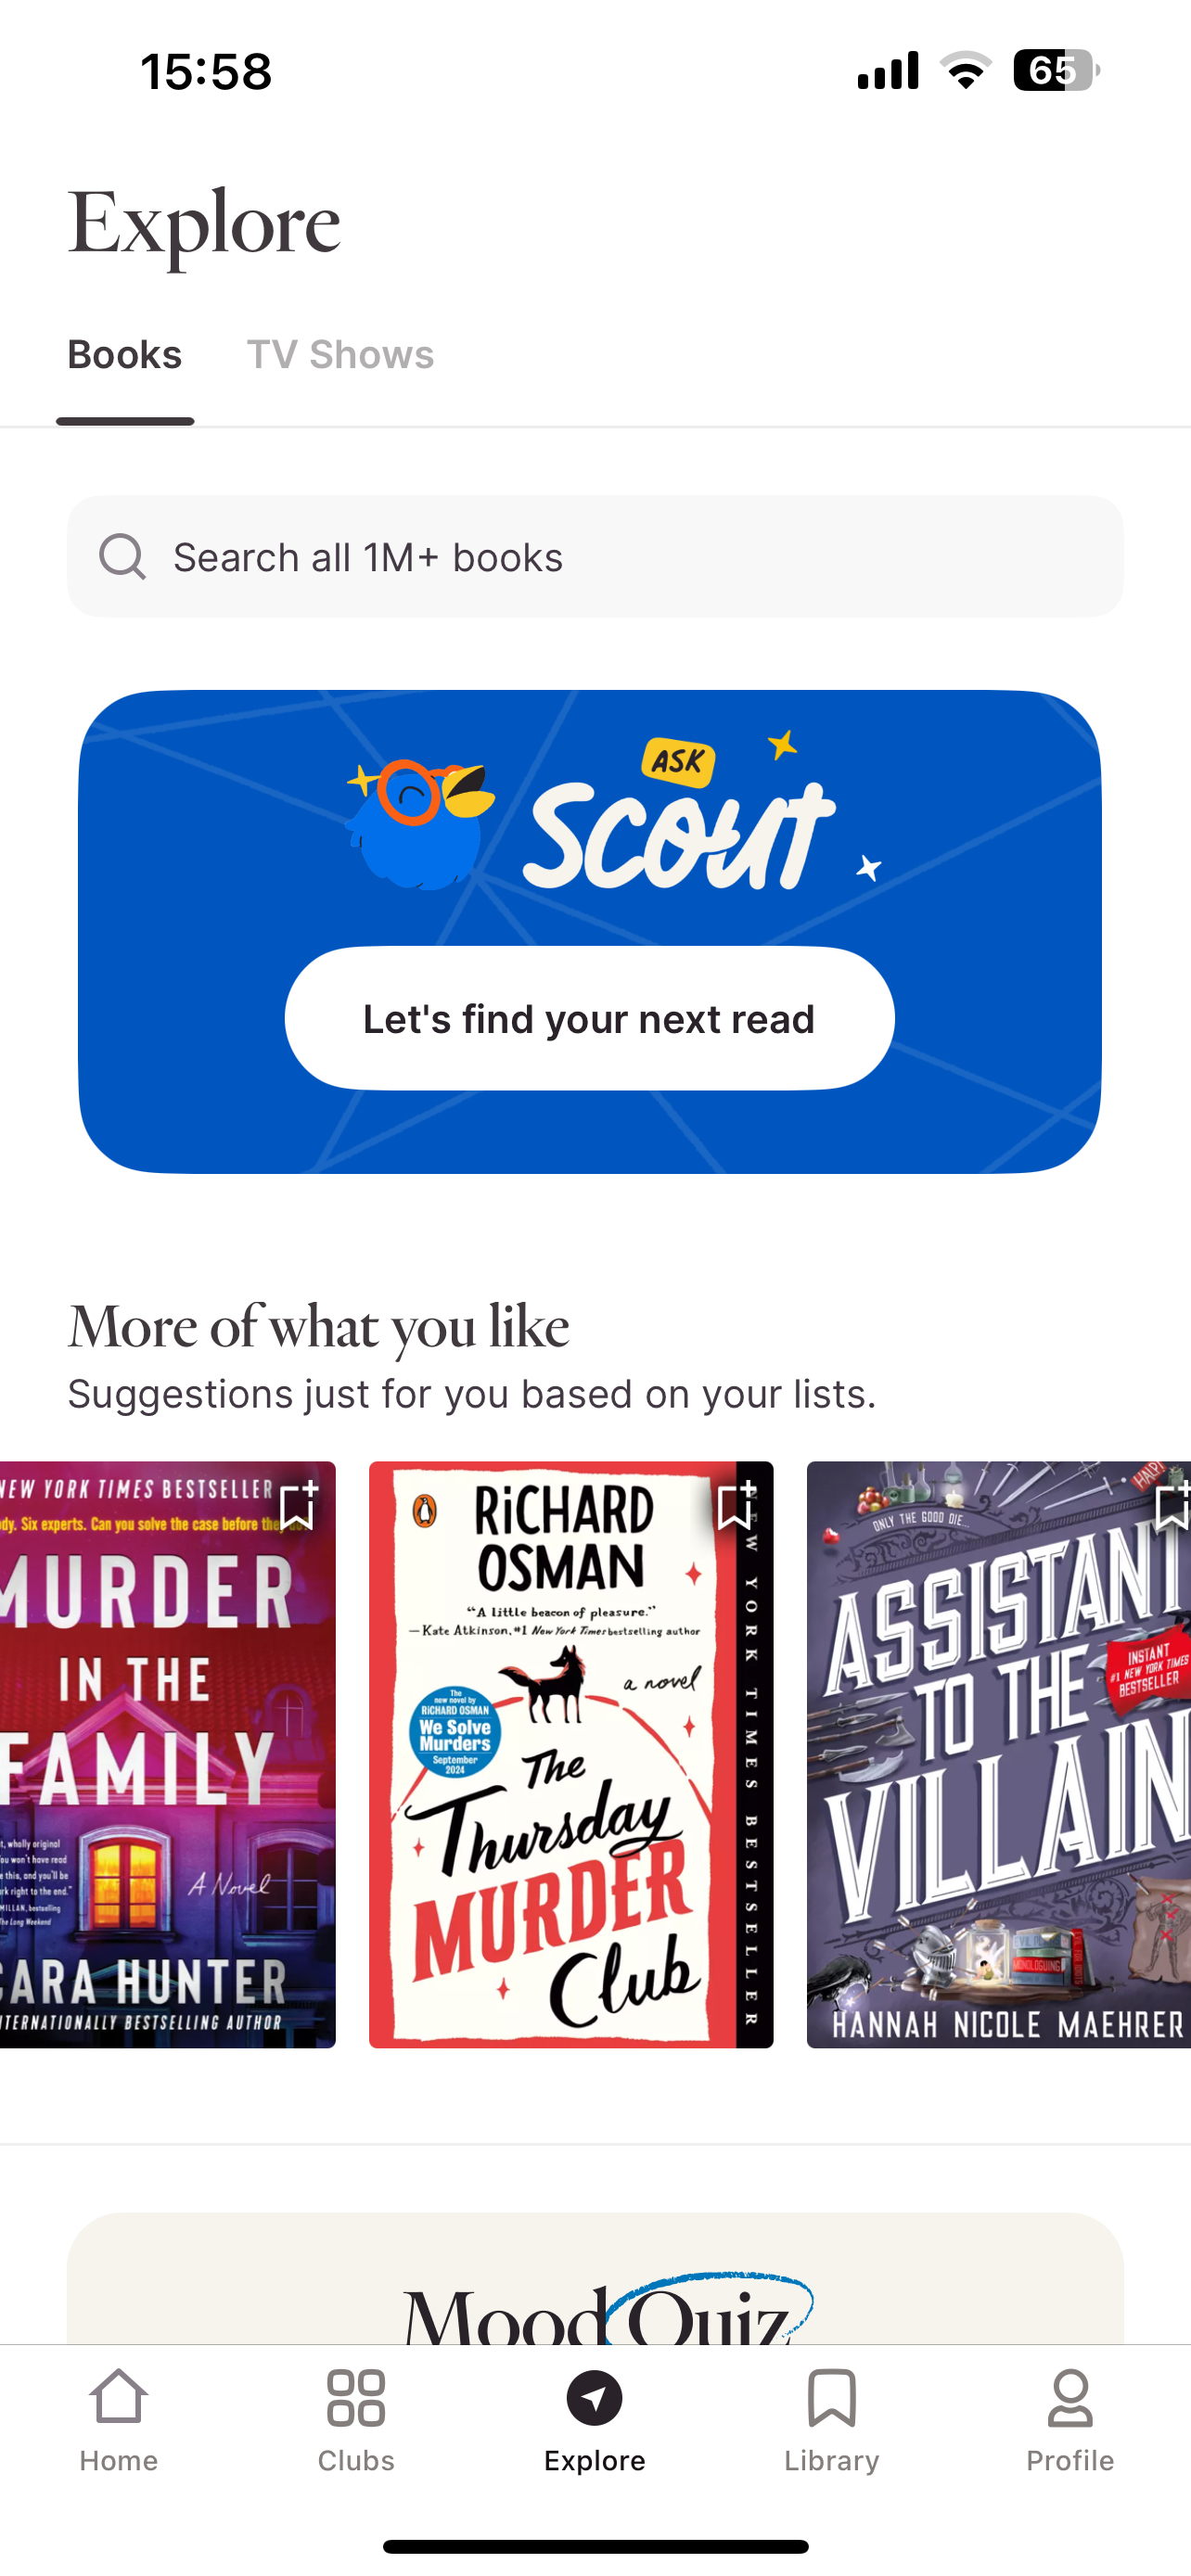
In February we wrote a blogpost about apps to help with your reading habits. As it’s National Book Lover’s Day, there are new updates to one of the apps mentioned – Fable. Fable is a combination of a reading app and social media where you can see updates from other readers including opinions that they have on your previously read and want to read books.
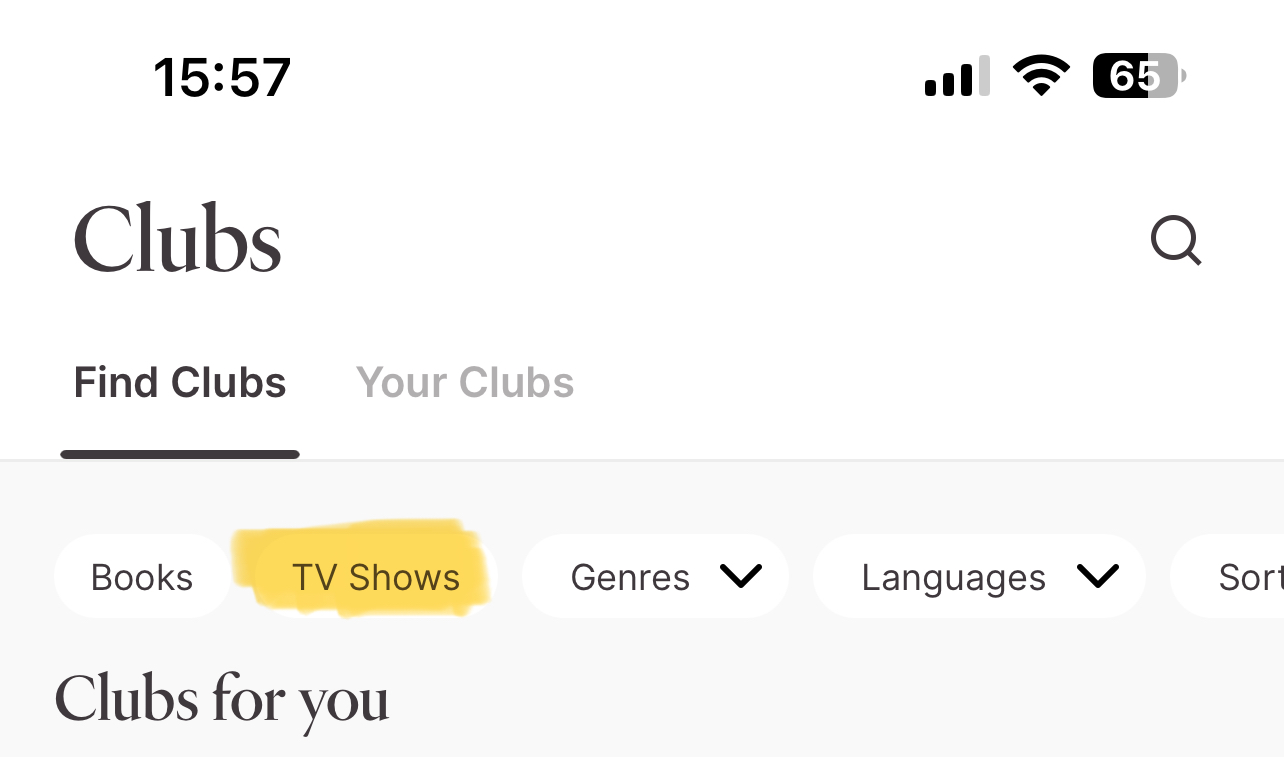
Recent updates include having your reading streak and progress update bar on the homepage for easy access. Additionally, Fable is now branching out from books with the option to mark your progress and join clubs for TV shows meaning you can watch episodes and discuss your favourite shows with other fans. Fable is also currently testing a new AI chatbot called Scout where you input prompts for suggestions and recommendations for your next reads based on tropes and genres or if you’re looking for something similar to another read.
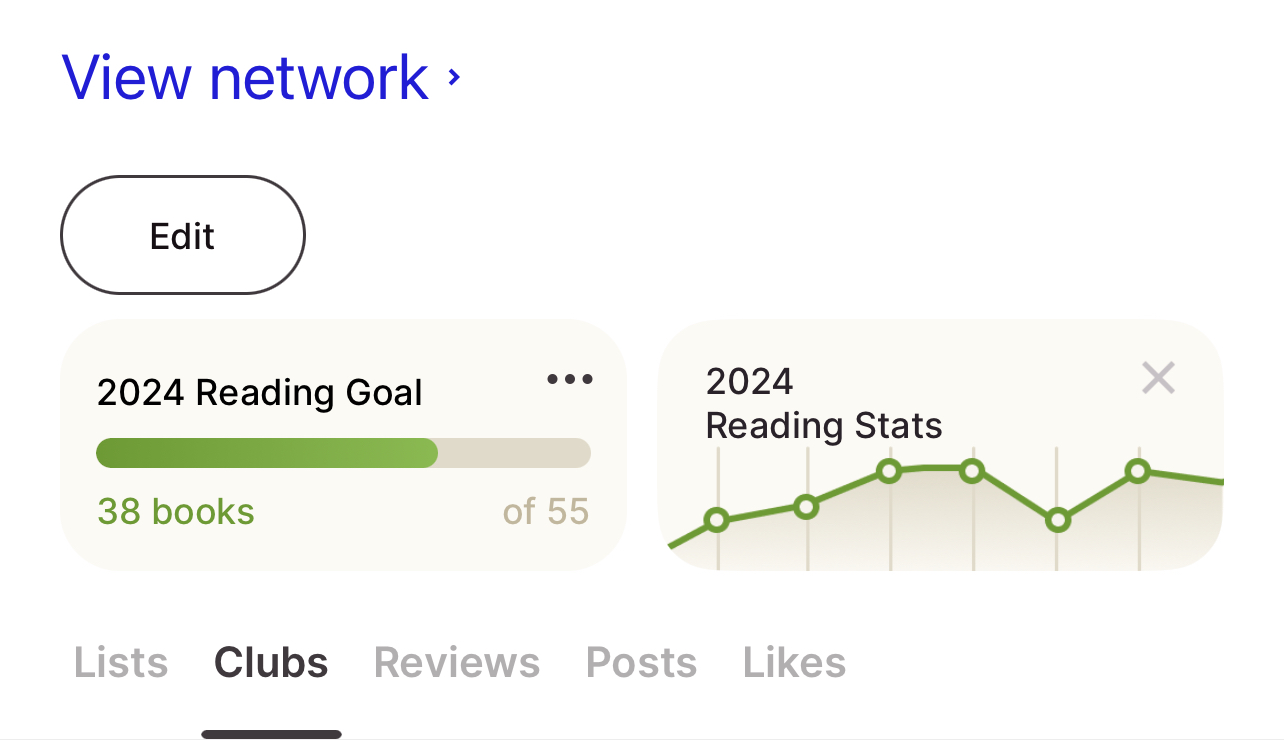
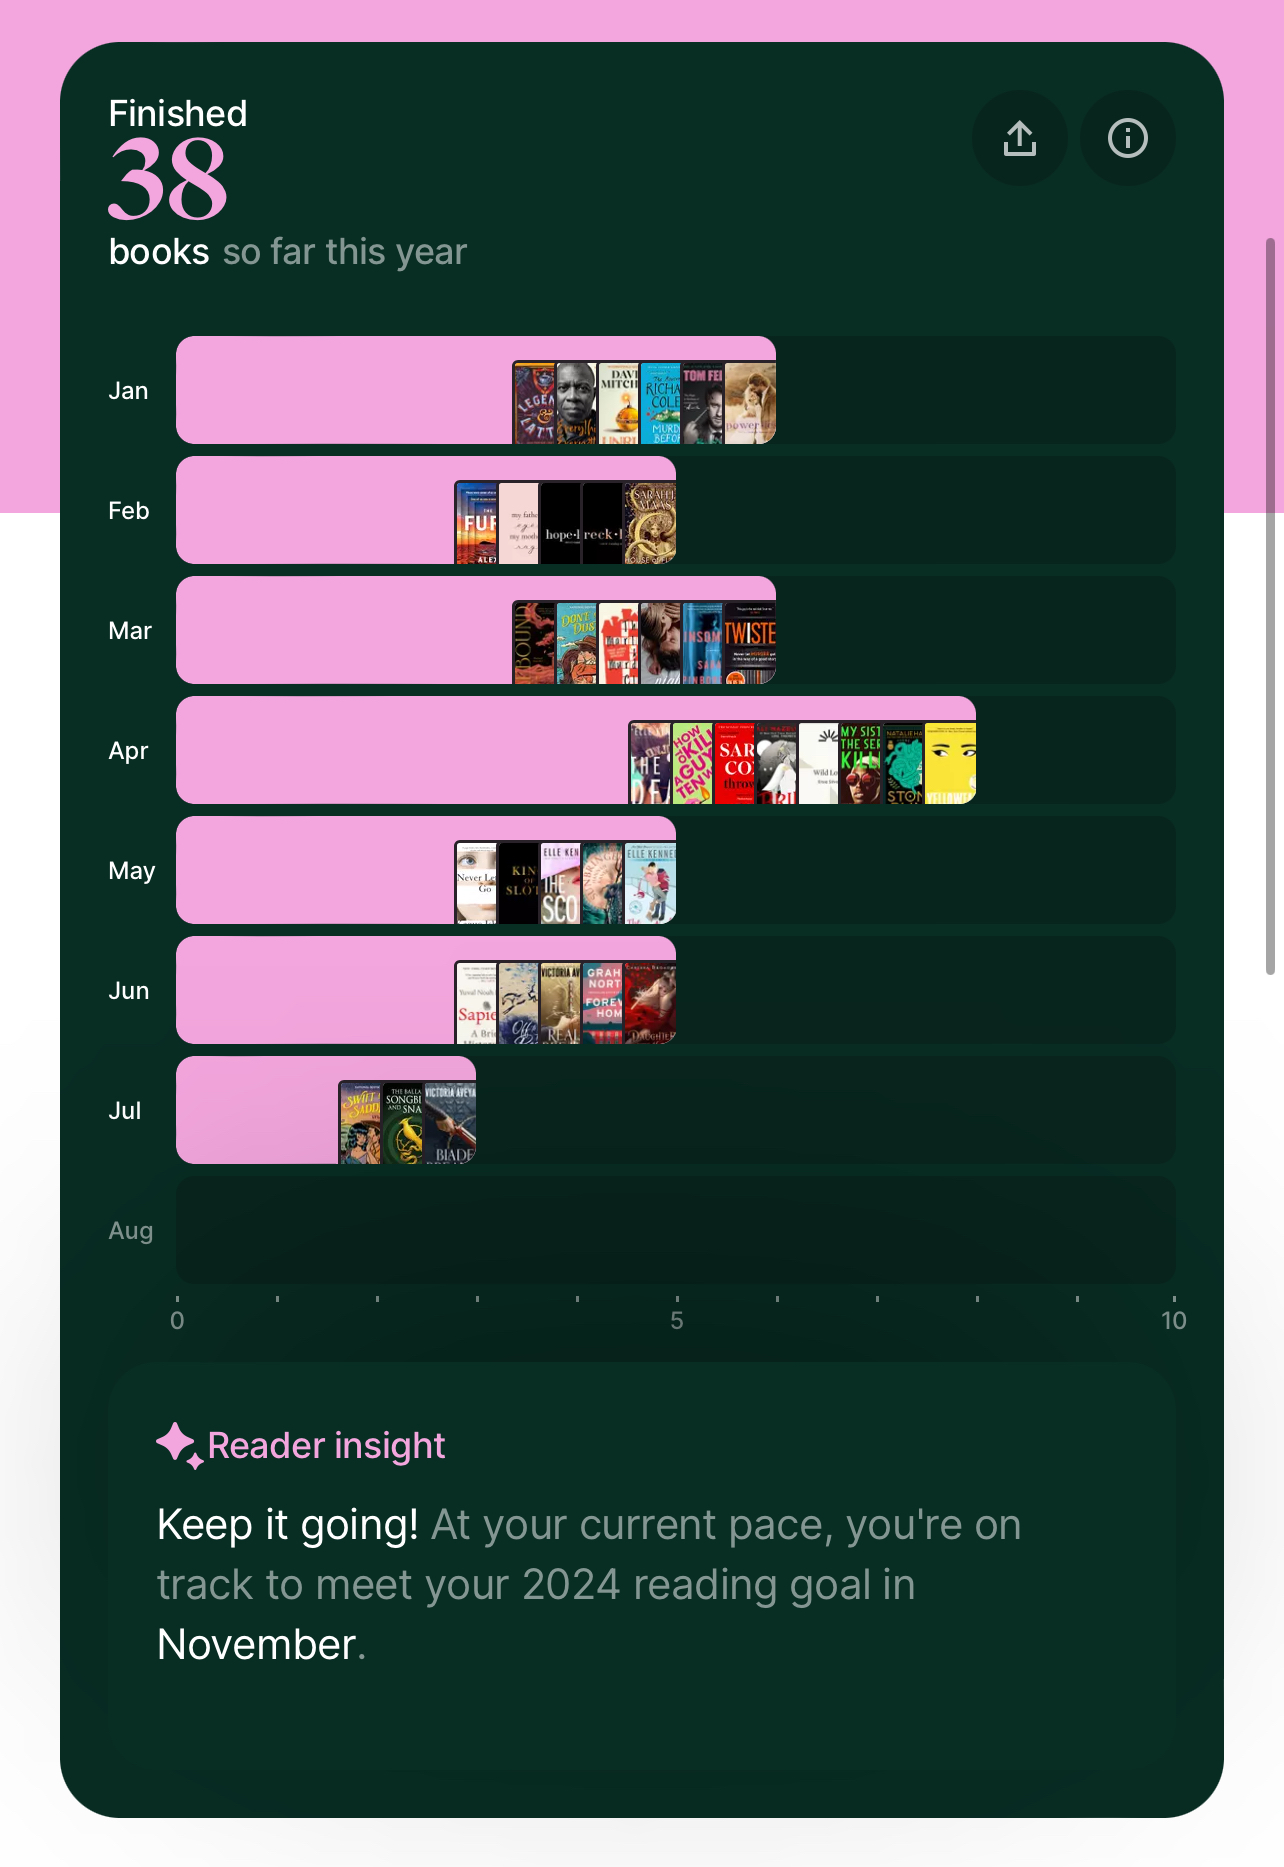
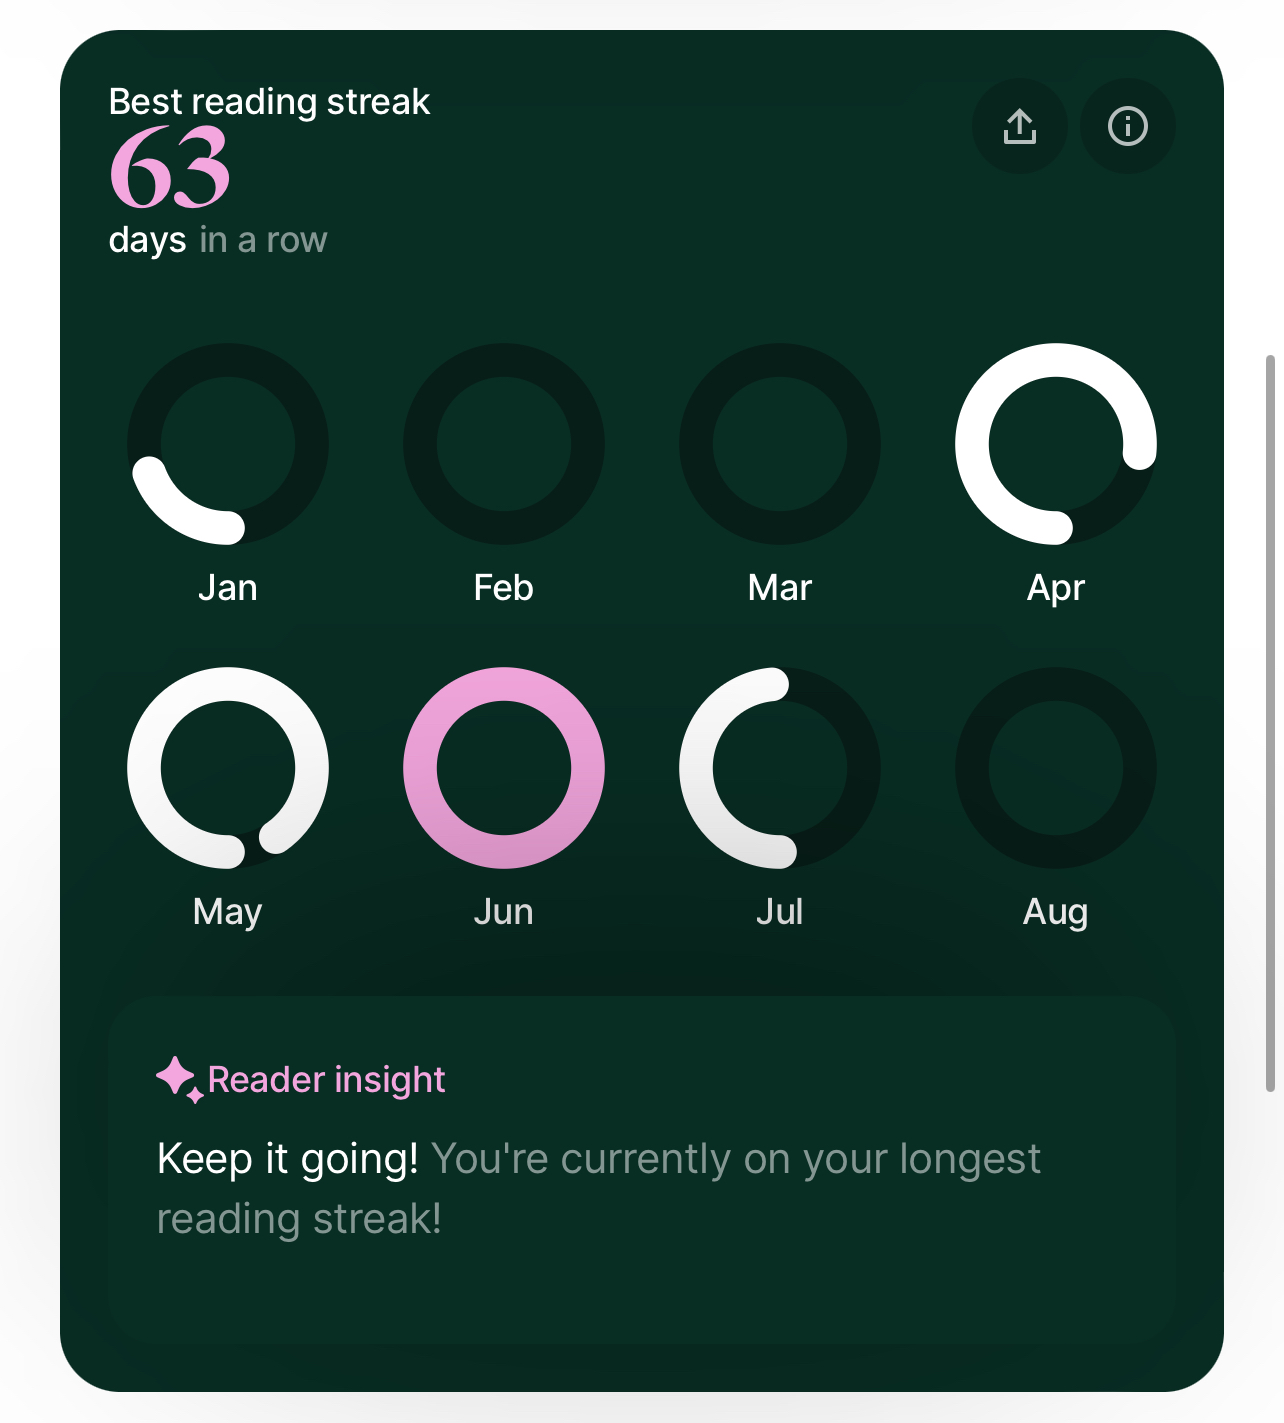
The main new feature is the stats page. Under your user profile, there is now a reader summary, a little AI summary which automatically updates after every read. Within this there is also a graph of the books you have read this year with a reader insight into when you’re due to reach your reading goal. Along with the reading streak widget on the homepage, you can view how much you read in previous months including your longest reading streak. You can also view a graph with your most read genres and underneath this you can see your average rating of books you have read.
Blogpost by Shân Saunders (Digital Capabilities and Skills Development Coordinator)
AI and generative AI have become increasingly more ingrained into our lives whether through personal or professional use. LinkedIn Learning has a variety of information to help you learn more about AI including how to use AI responsibly. See below for the top 10 courses available on AI and generative AI on LinkedIn Learning. Please note that currently LinkedIn Learning does not support courses in Welsh.
LinkedIn Learning is a free resource available to all Aberystwyth University students and staff. If you need help accessing your LinkedIn Learning account, please view our FAQ’s or you can email us at digi@aber.ac.uk.
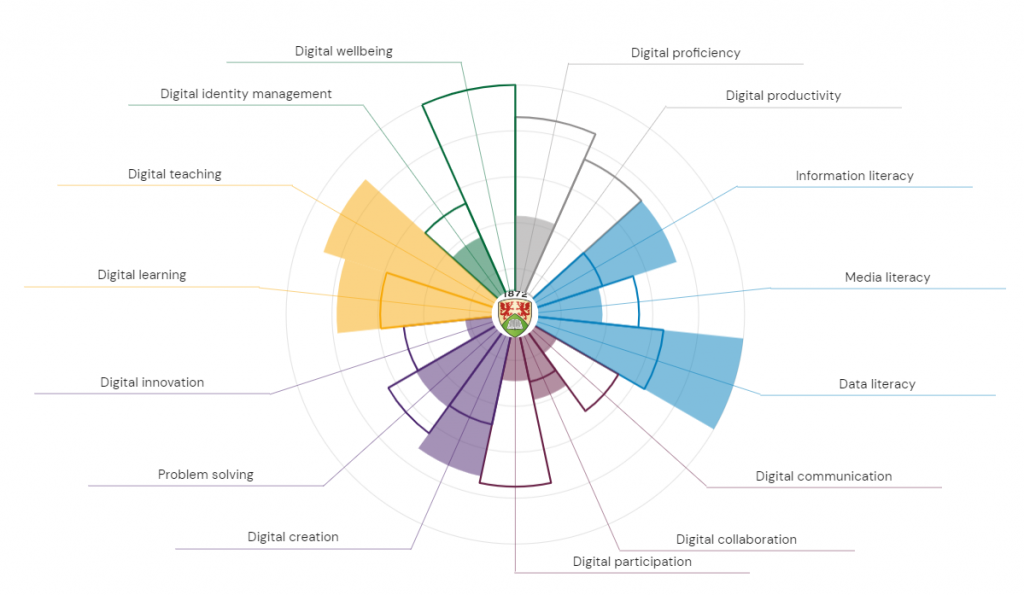
There is still just over a week until our subscription to the Jisc Digital Discovery Tool ends on 31 July 2024.
If you would like to keep any copies of your individual reports, please ensure you download them before this date, as you won’t be able to access your reports after 31 July 2024. This FAQ provides step-by-step guidance on how to do this.
If you haven’t used the Digital Discovery Tool before, there’s still time for you to log in and make use of this resource to self-assess and develop your confidence with technology! Please visit our webpage for further guidance.