As exam season approaches, it can become difficult to stay on top of every task, and it can become overwhelming with everything that needs to be done. With this blogpost, we’ll introduce four different To Do List apps to help you manage your workload and organise your days.
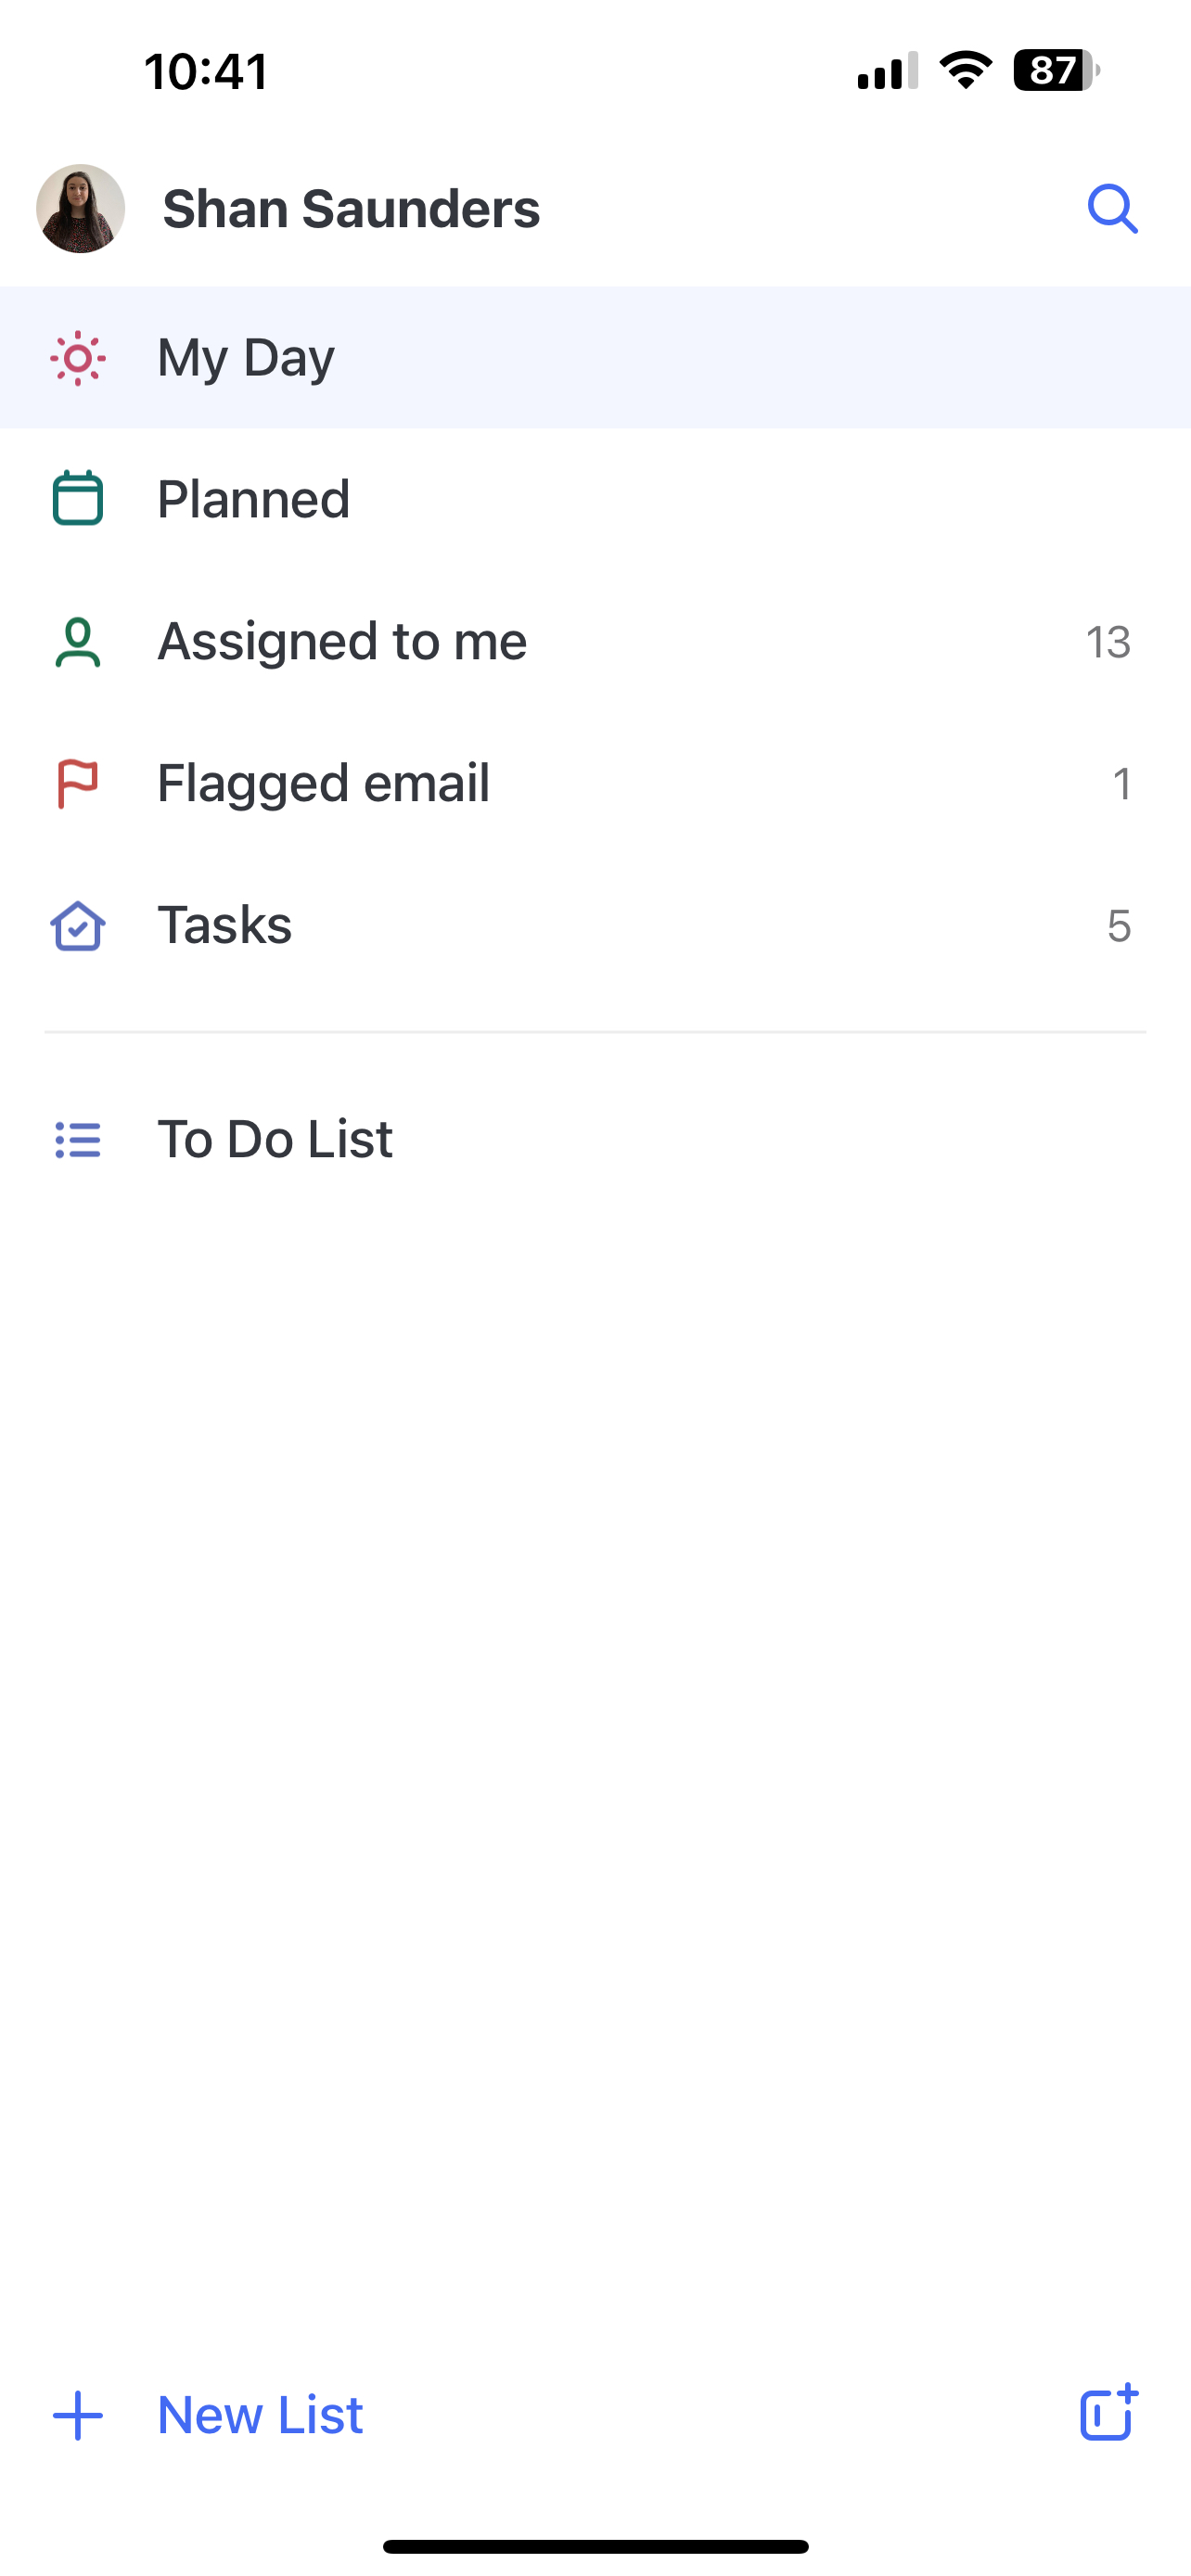
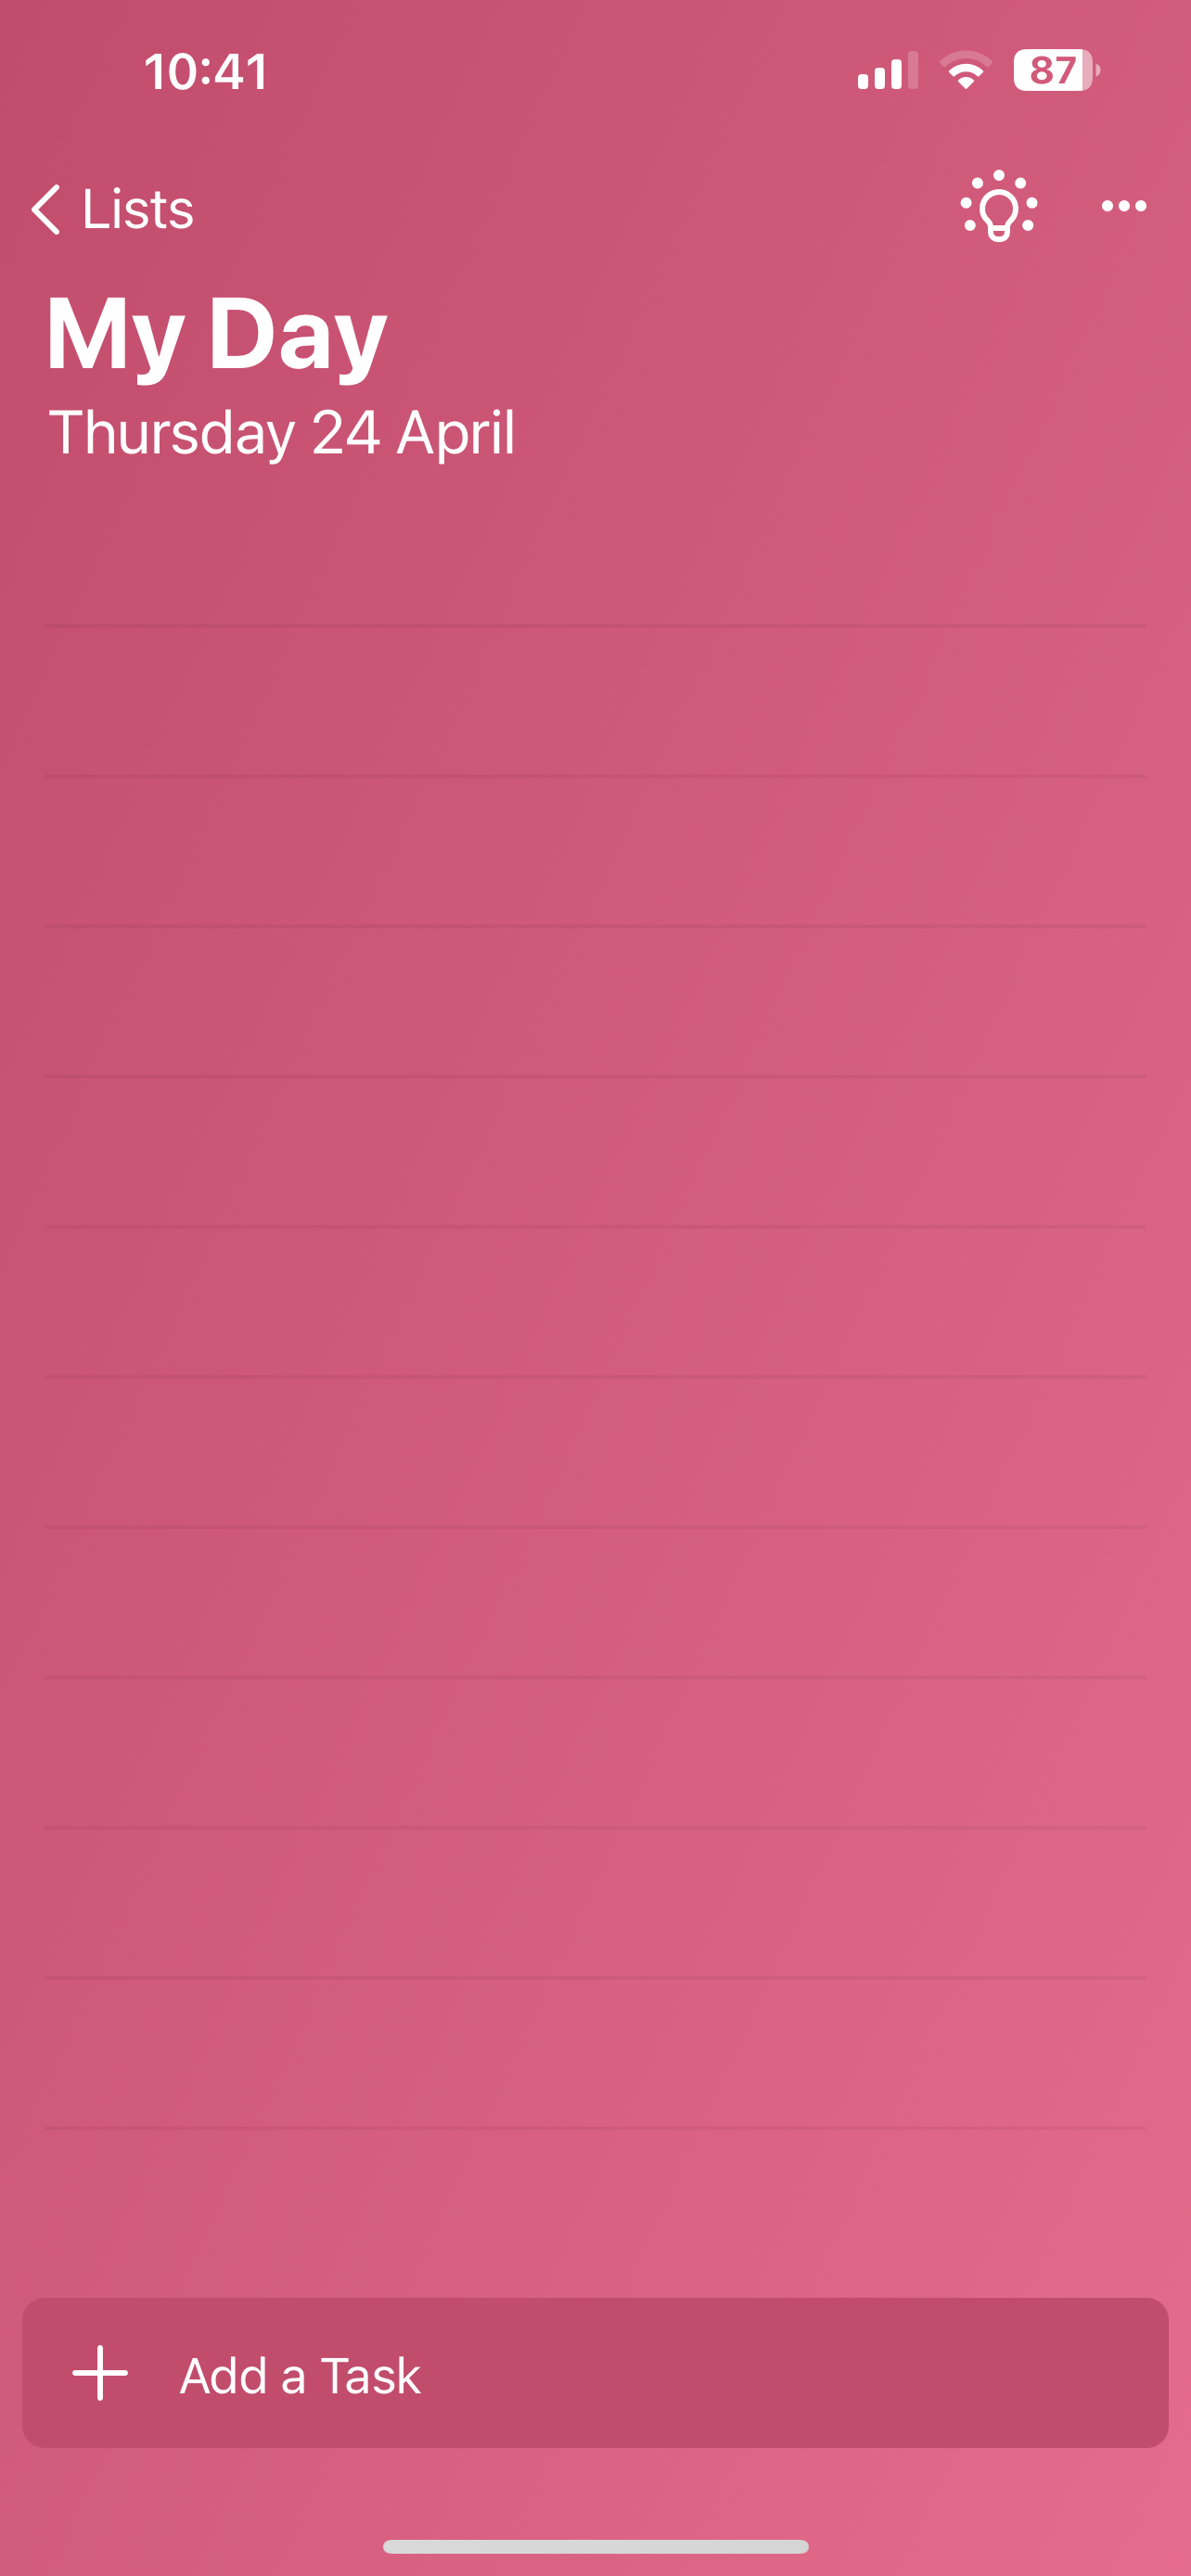
Microsoft To Do
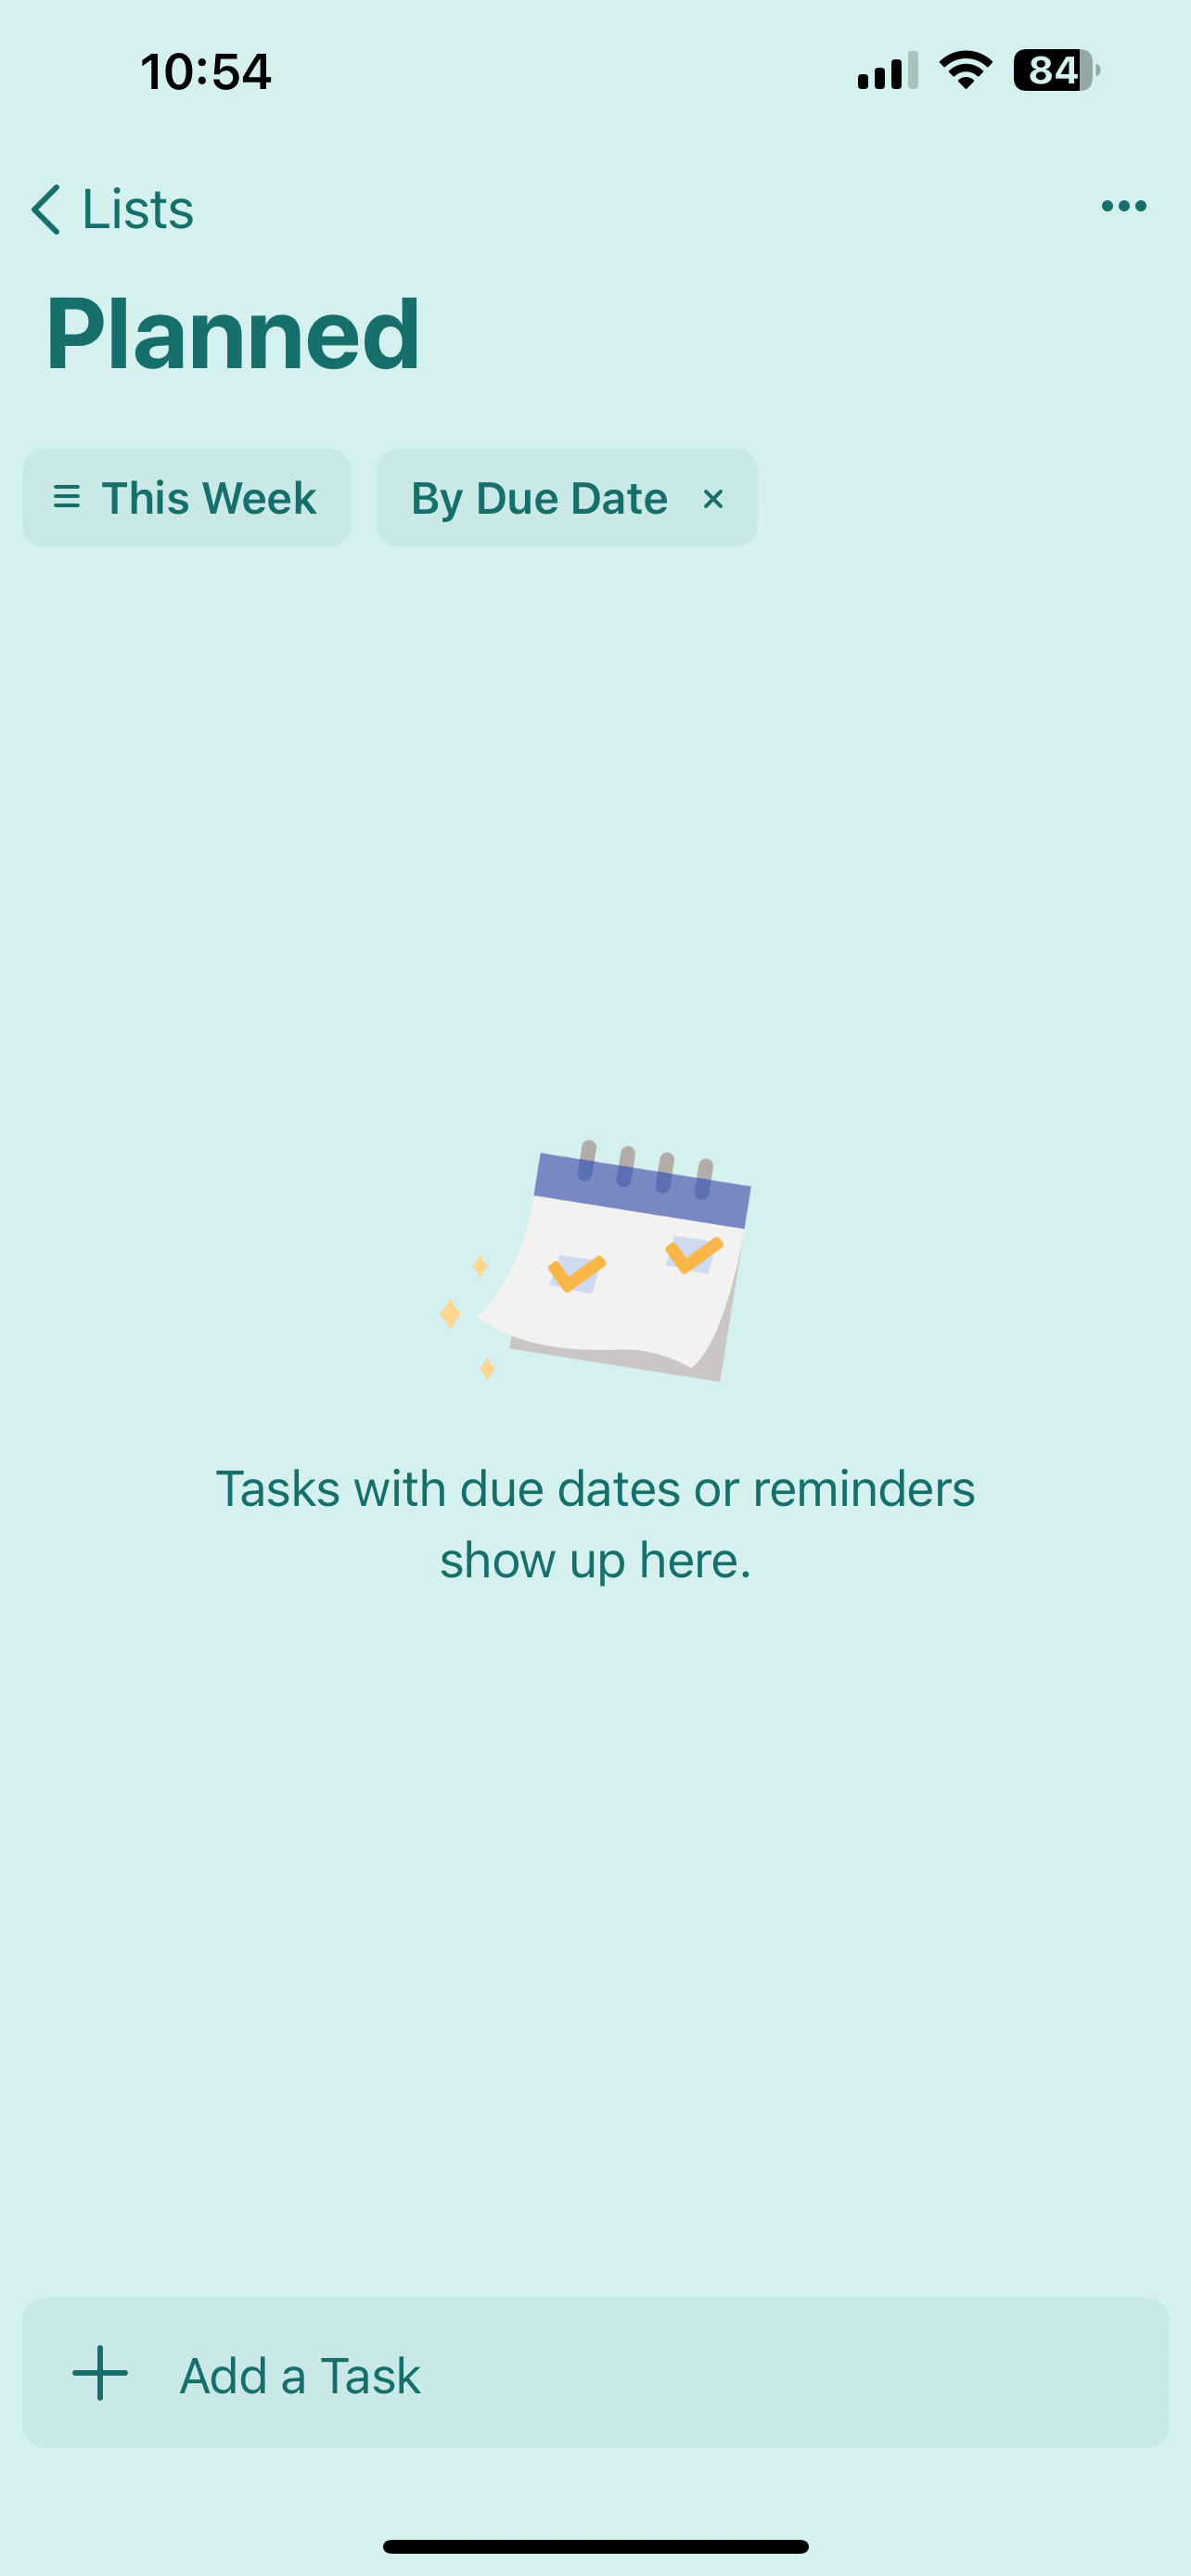
Microsoft To Do is a planner app provided by Microsoft and as such is an app you can have on your phone that is also linked to your Teams. You can also access Microsoft To Do through the ‘Planner’ option on your desktop Teams. Some of the key features of Microsoft To Do is ‘My Day’ where you can arrange all the tasks you need to complete for the day but also ‘Planned’ where you can set due dates for future tasks. If you have chosen to link Microsoft To Do to your Teams account under ‘Assigned to me’ you will be able to view all tasks assigned to you through Teams channels task boards which can be helpful for group projects. There is also the feature to create new lists such as if you want a specific to do list for all tasks that need to be created for a project.
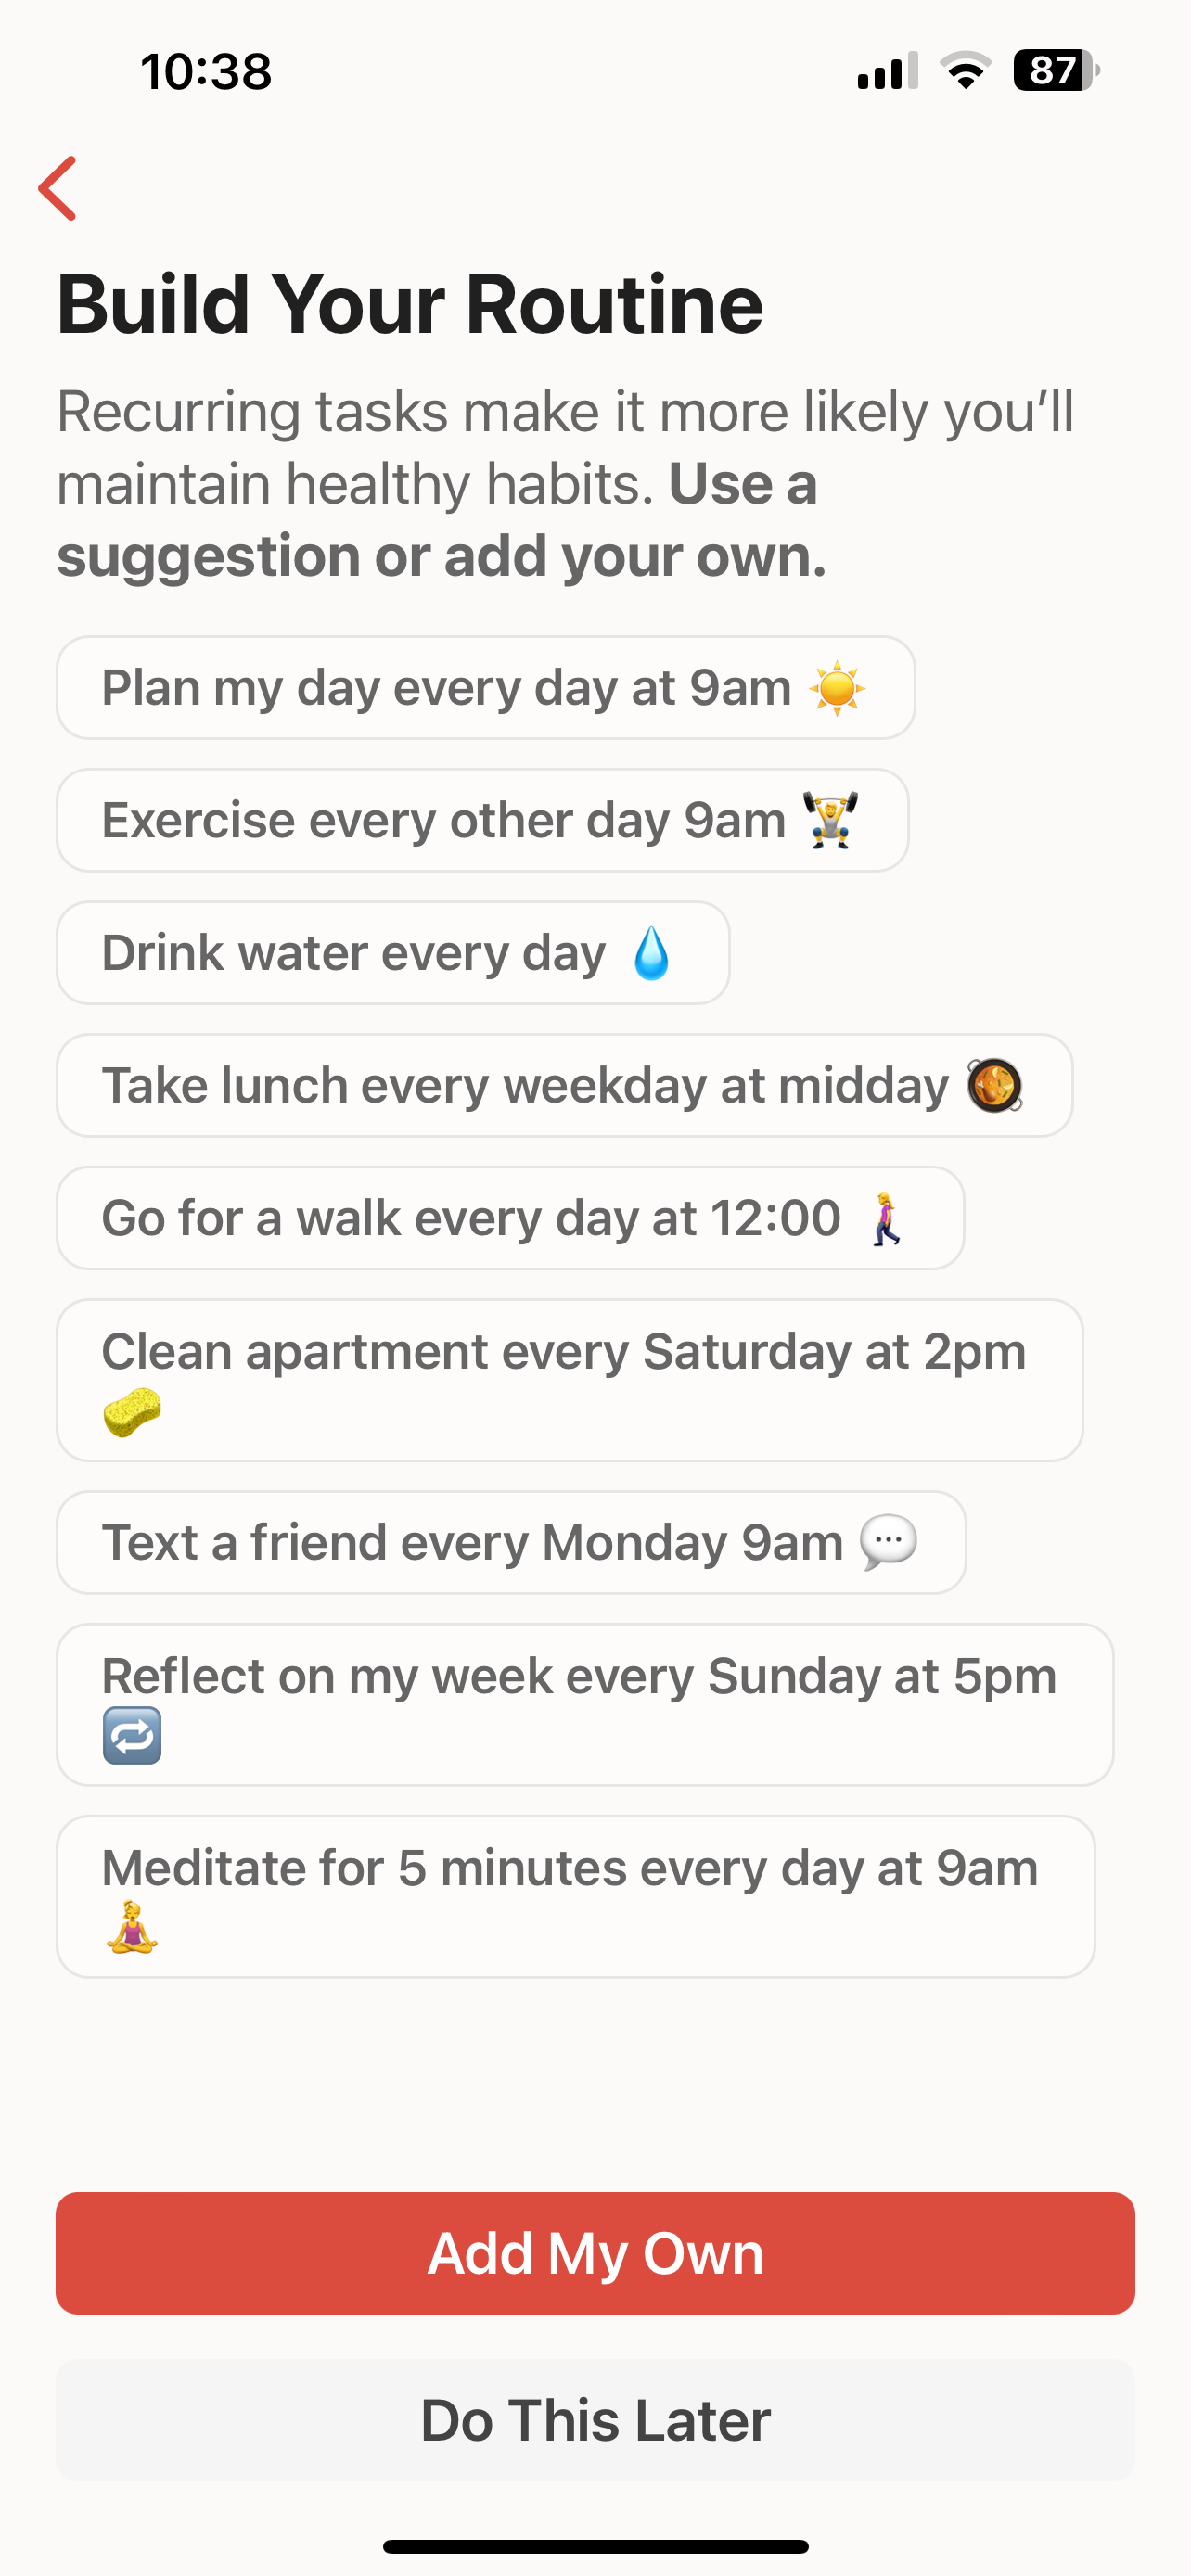
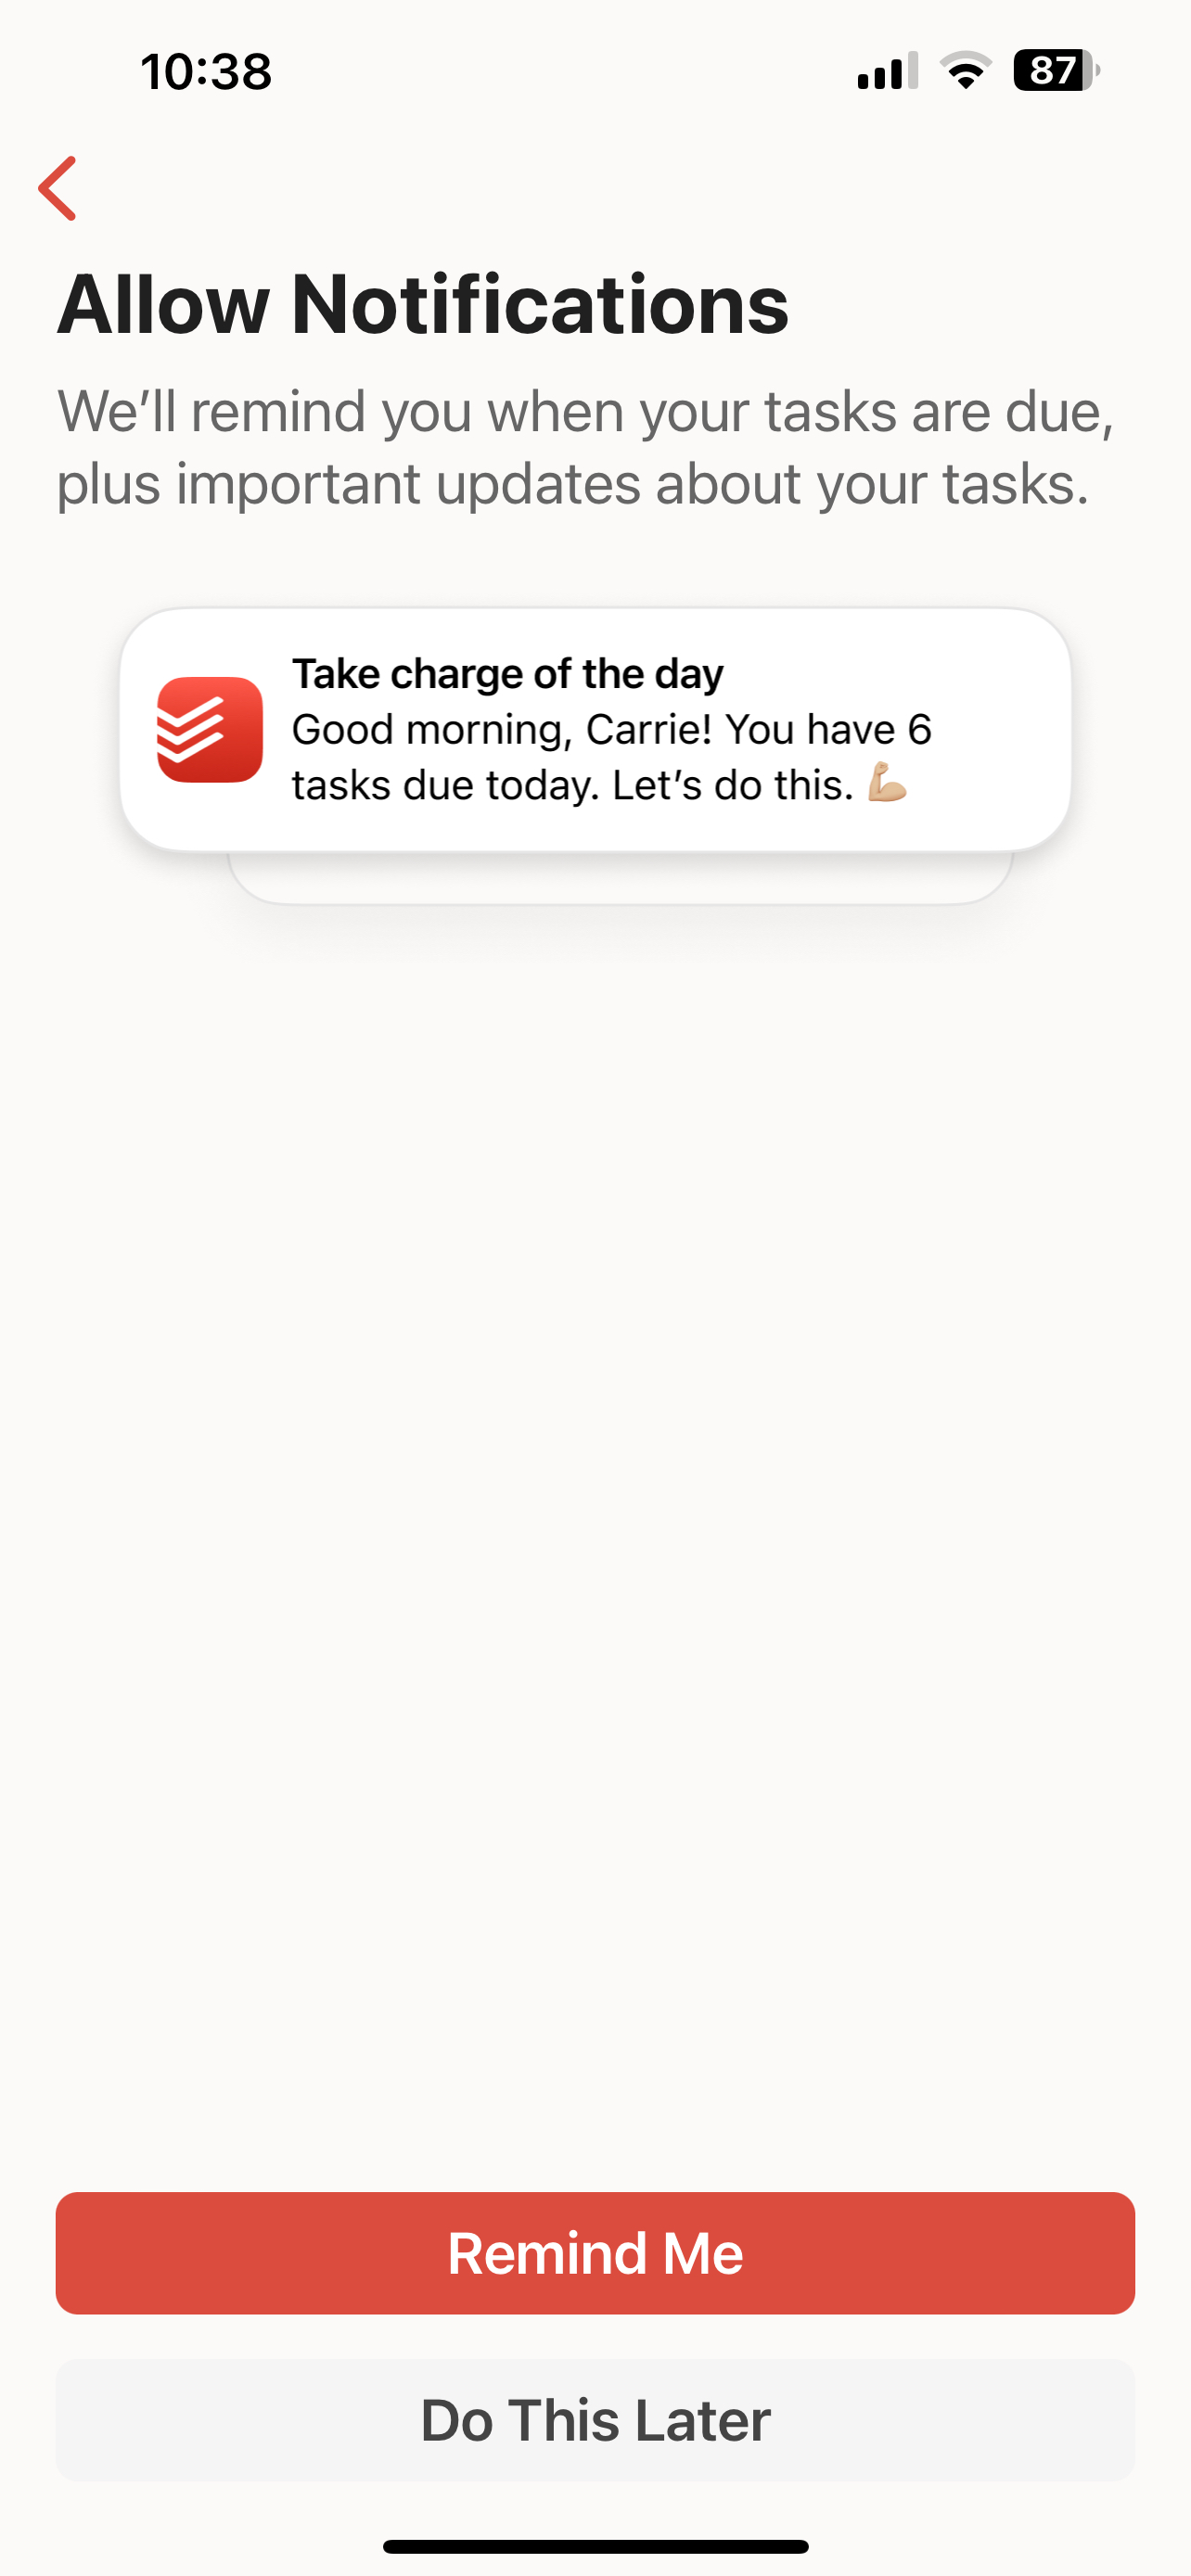
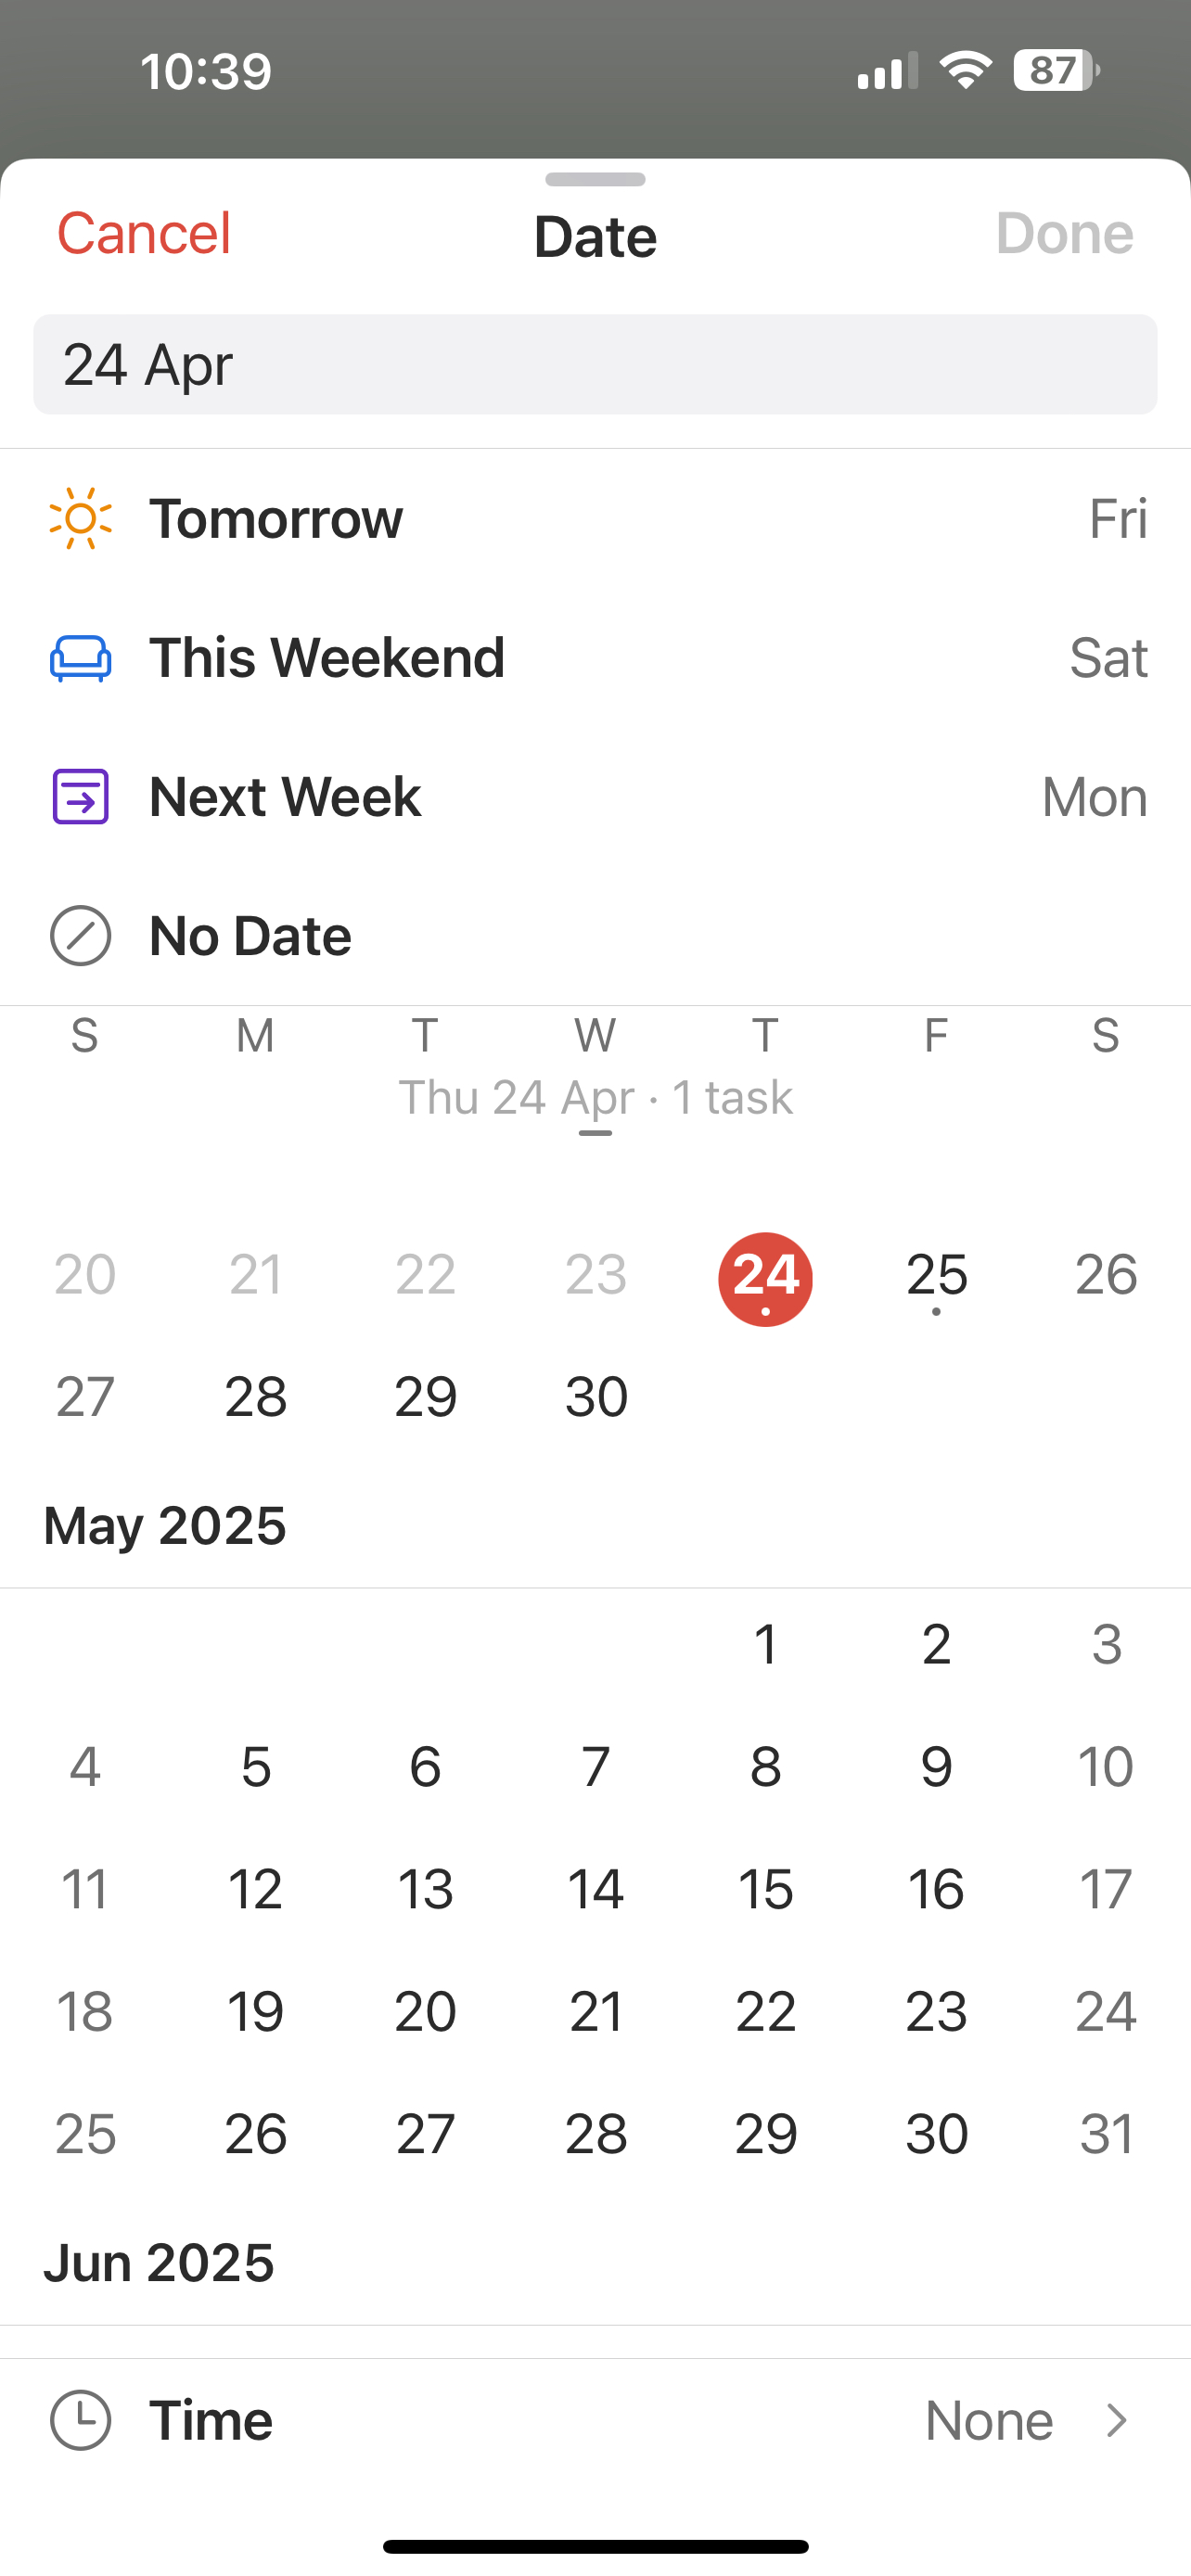
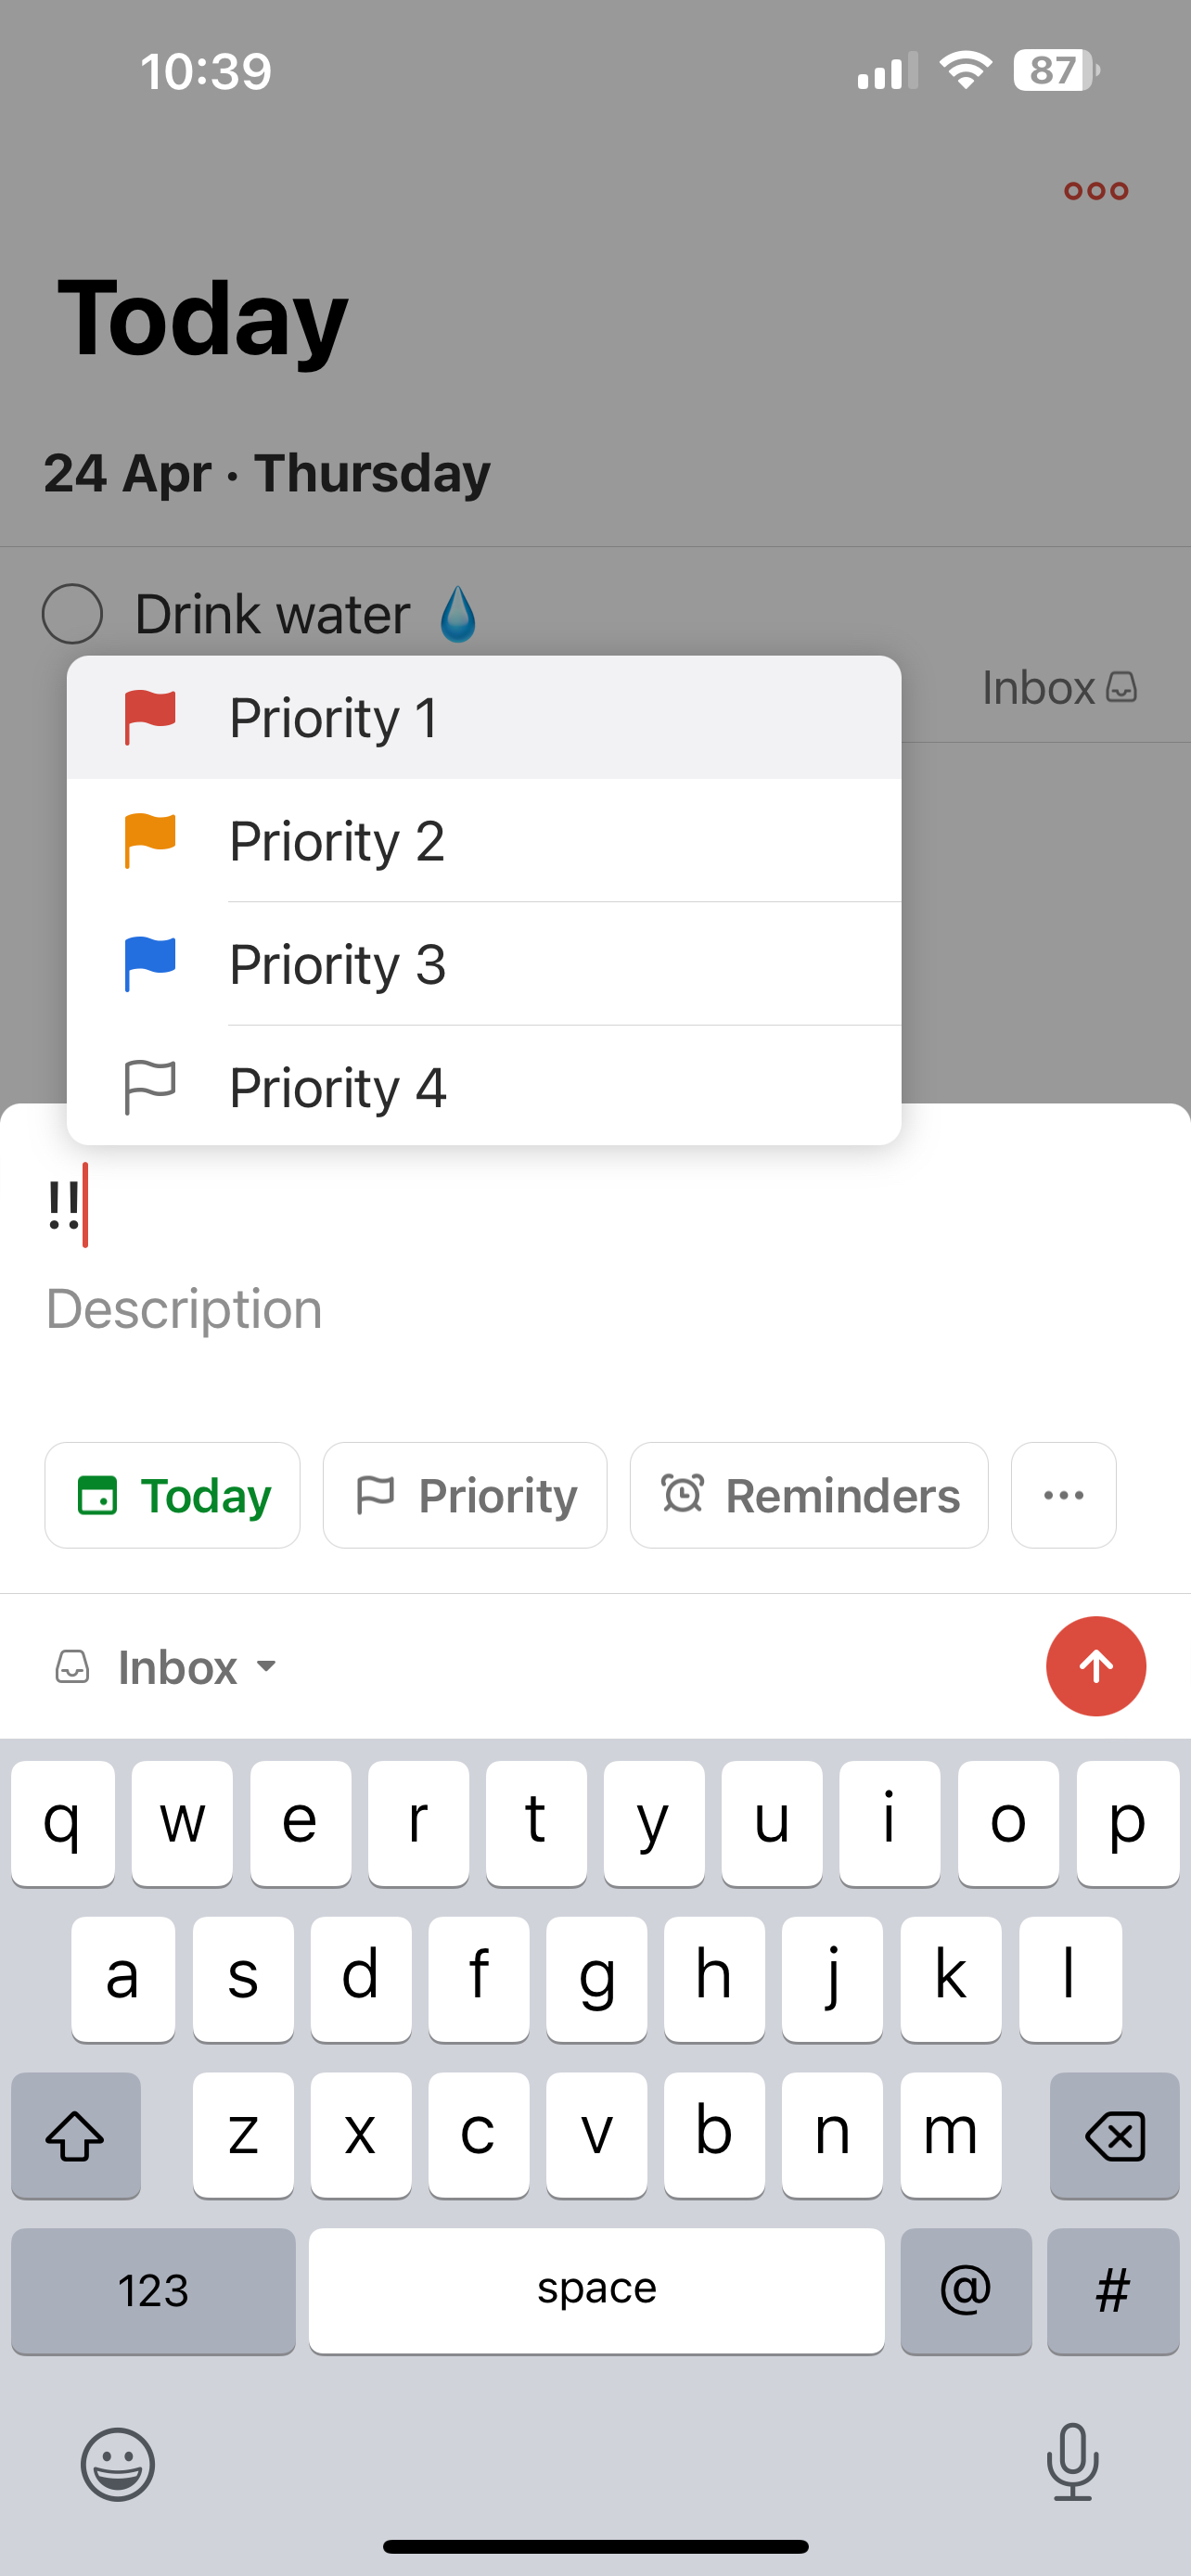
Todoist
With Todoist you can create and view your daily tasks while also creating and viewing upcoming tasks with deadlines. You have the option of setting recurring tasks such as drinking water everyday with the choice of setting different levels of priority to each task to help with prioritisation. The app also has a notification reminder option for tasks that you have either not completed or reminders for upcoming tasks that you have set in advance.

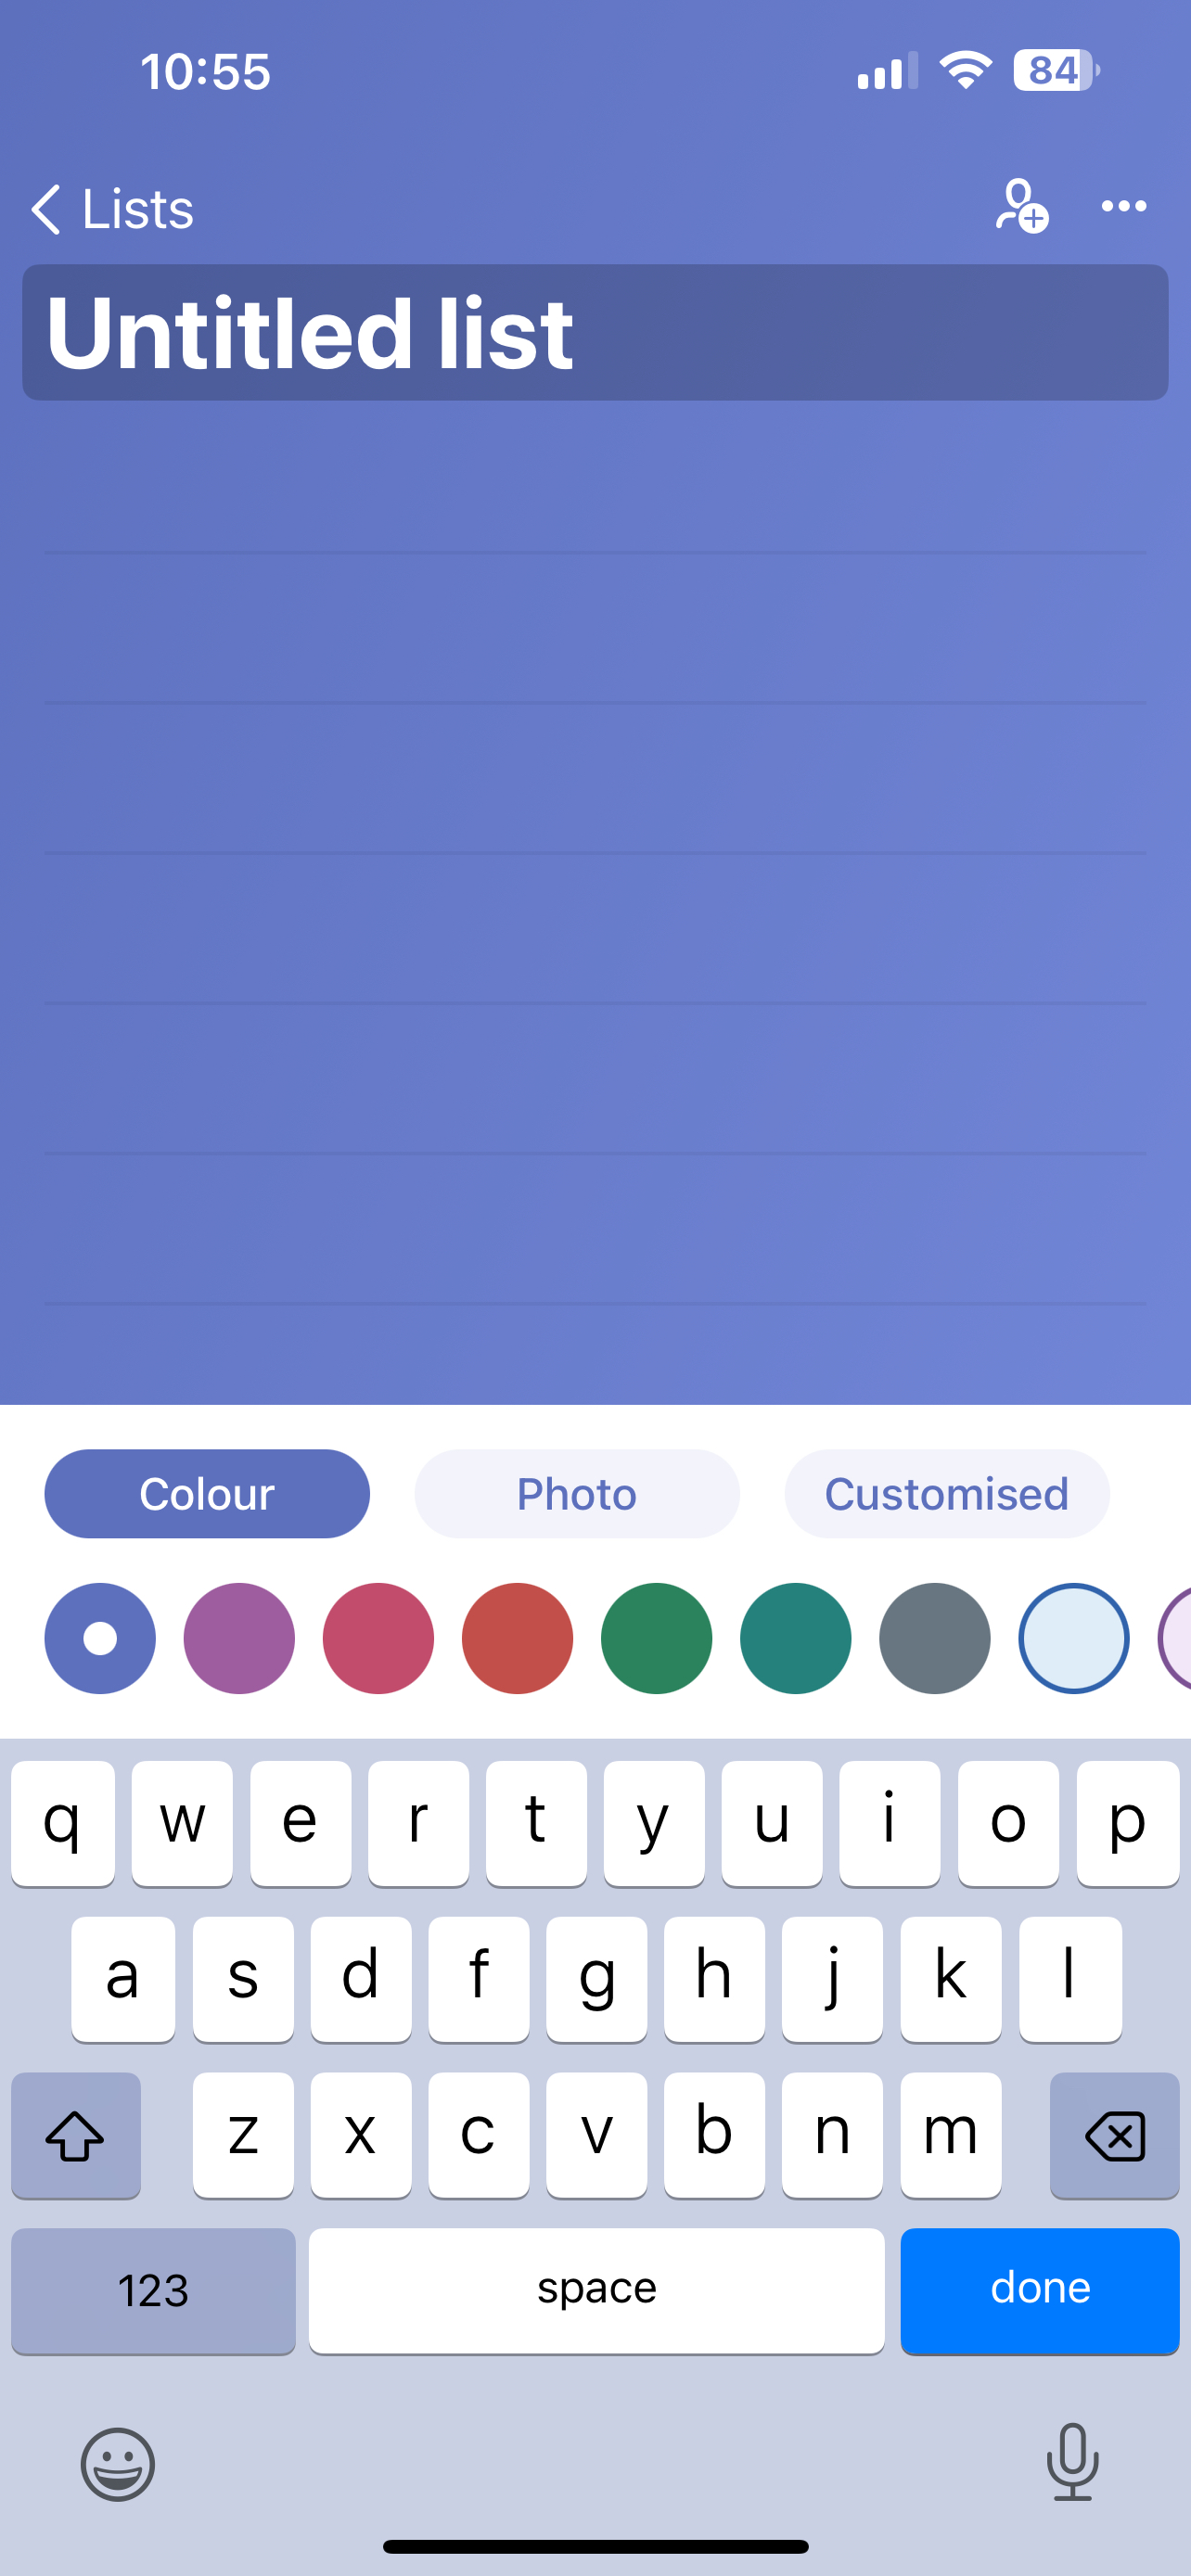
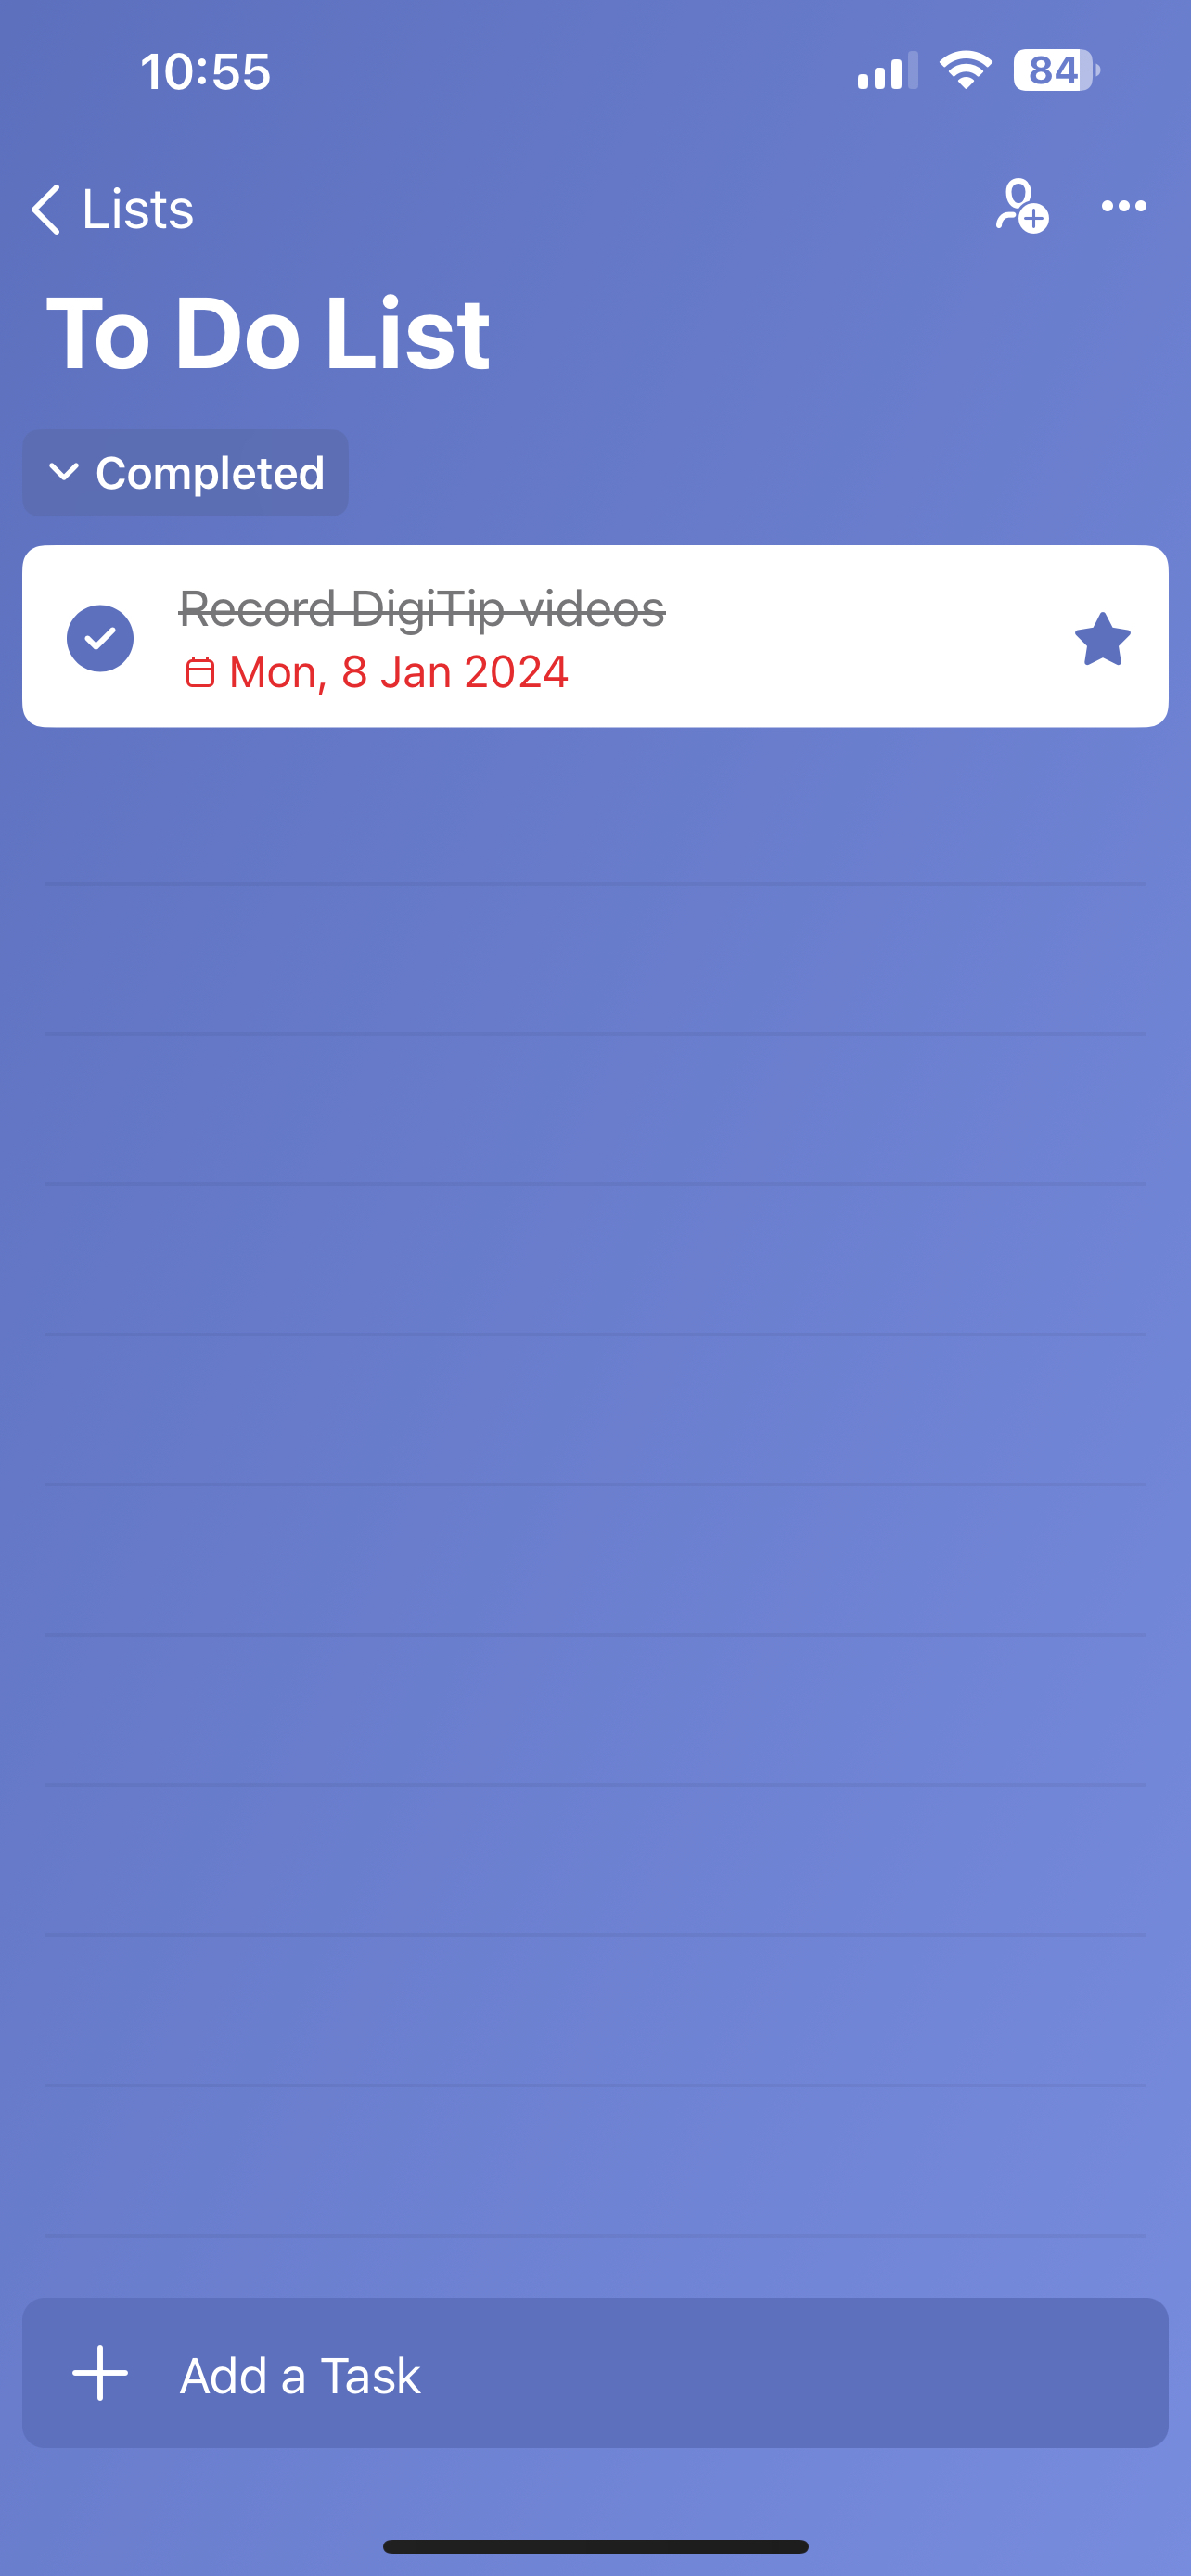
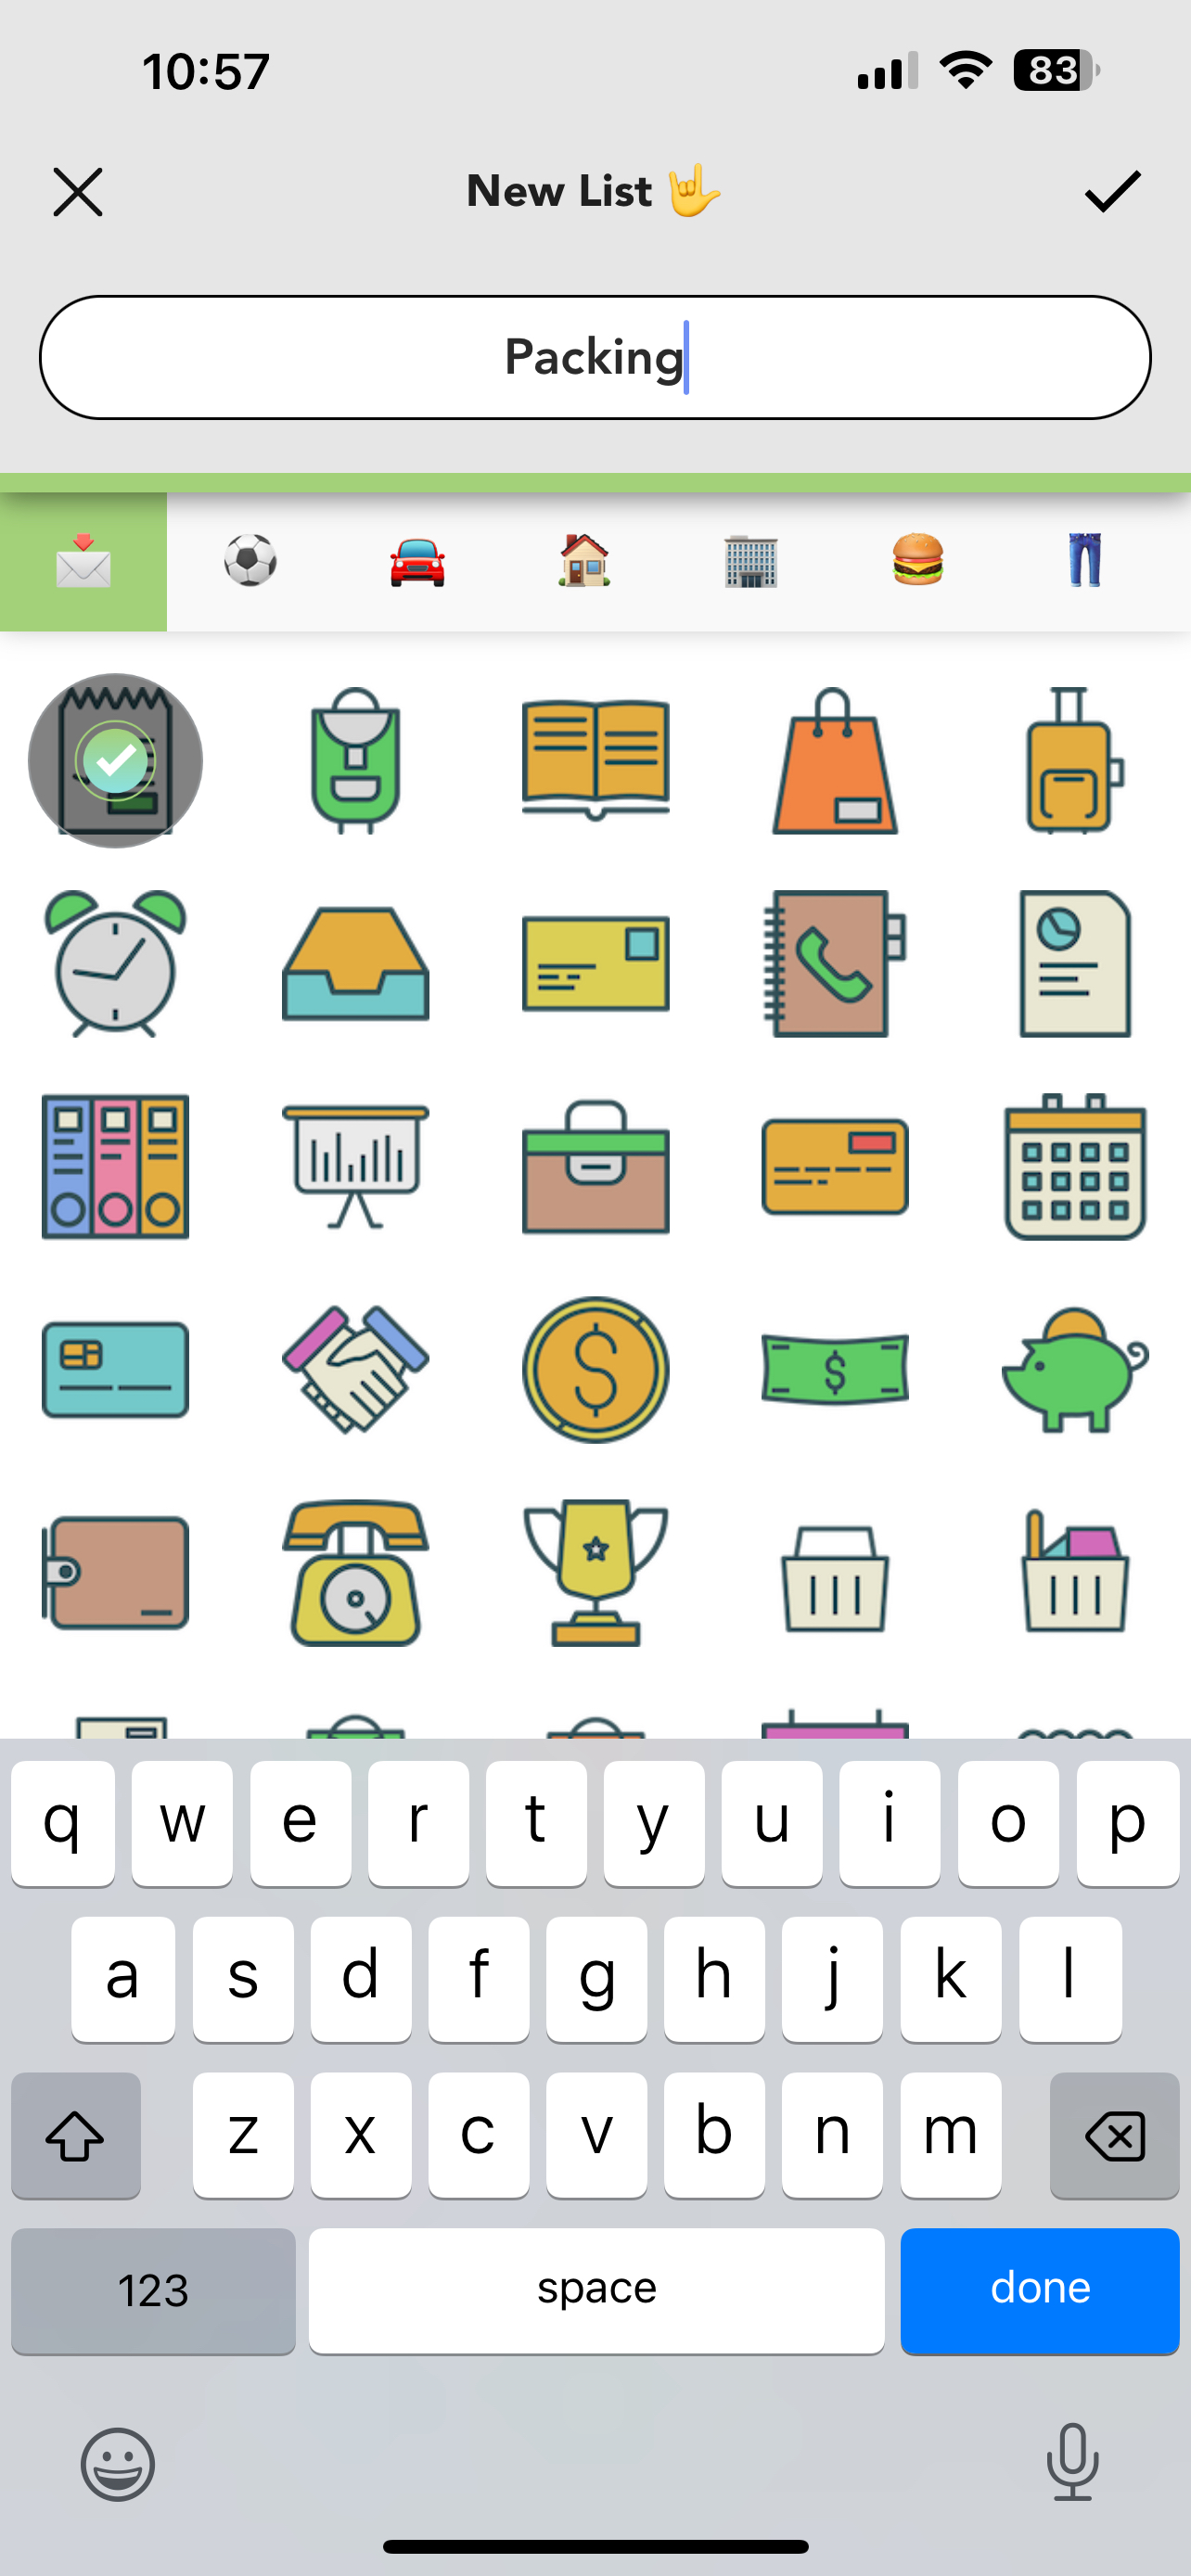
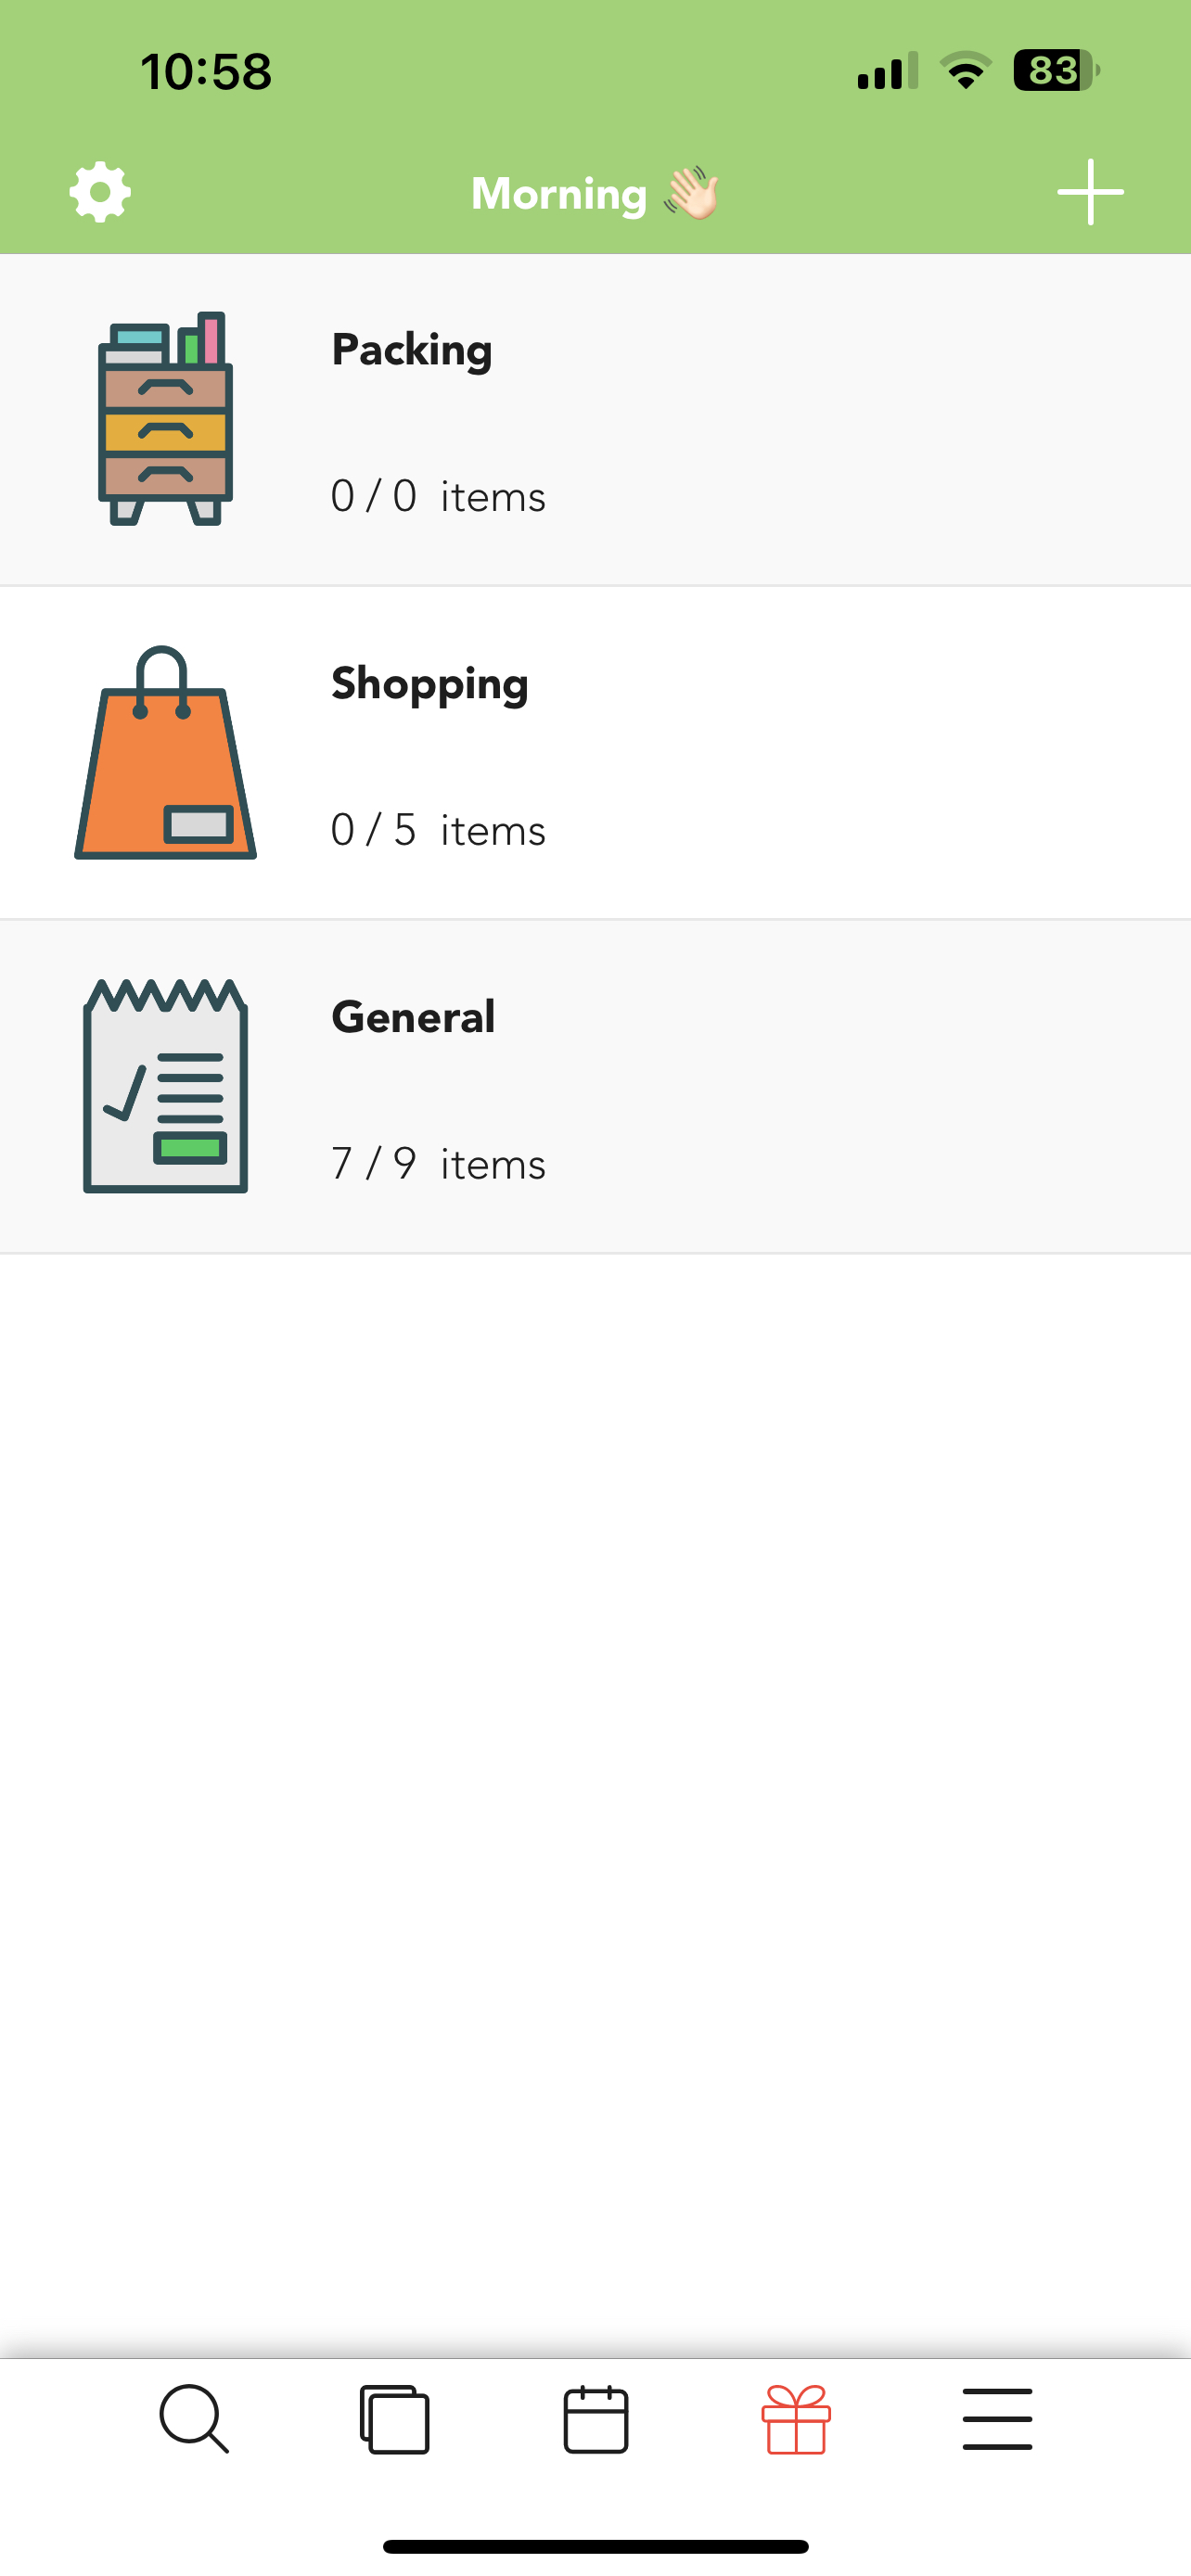
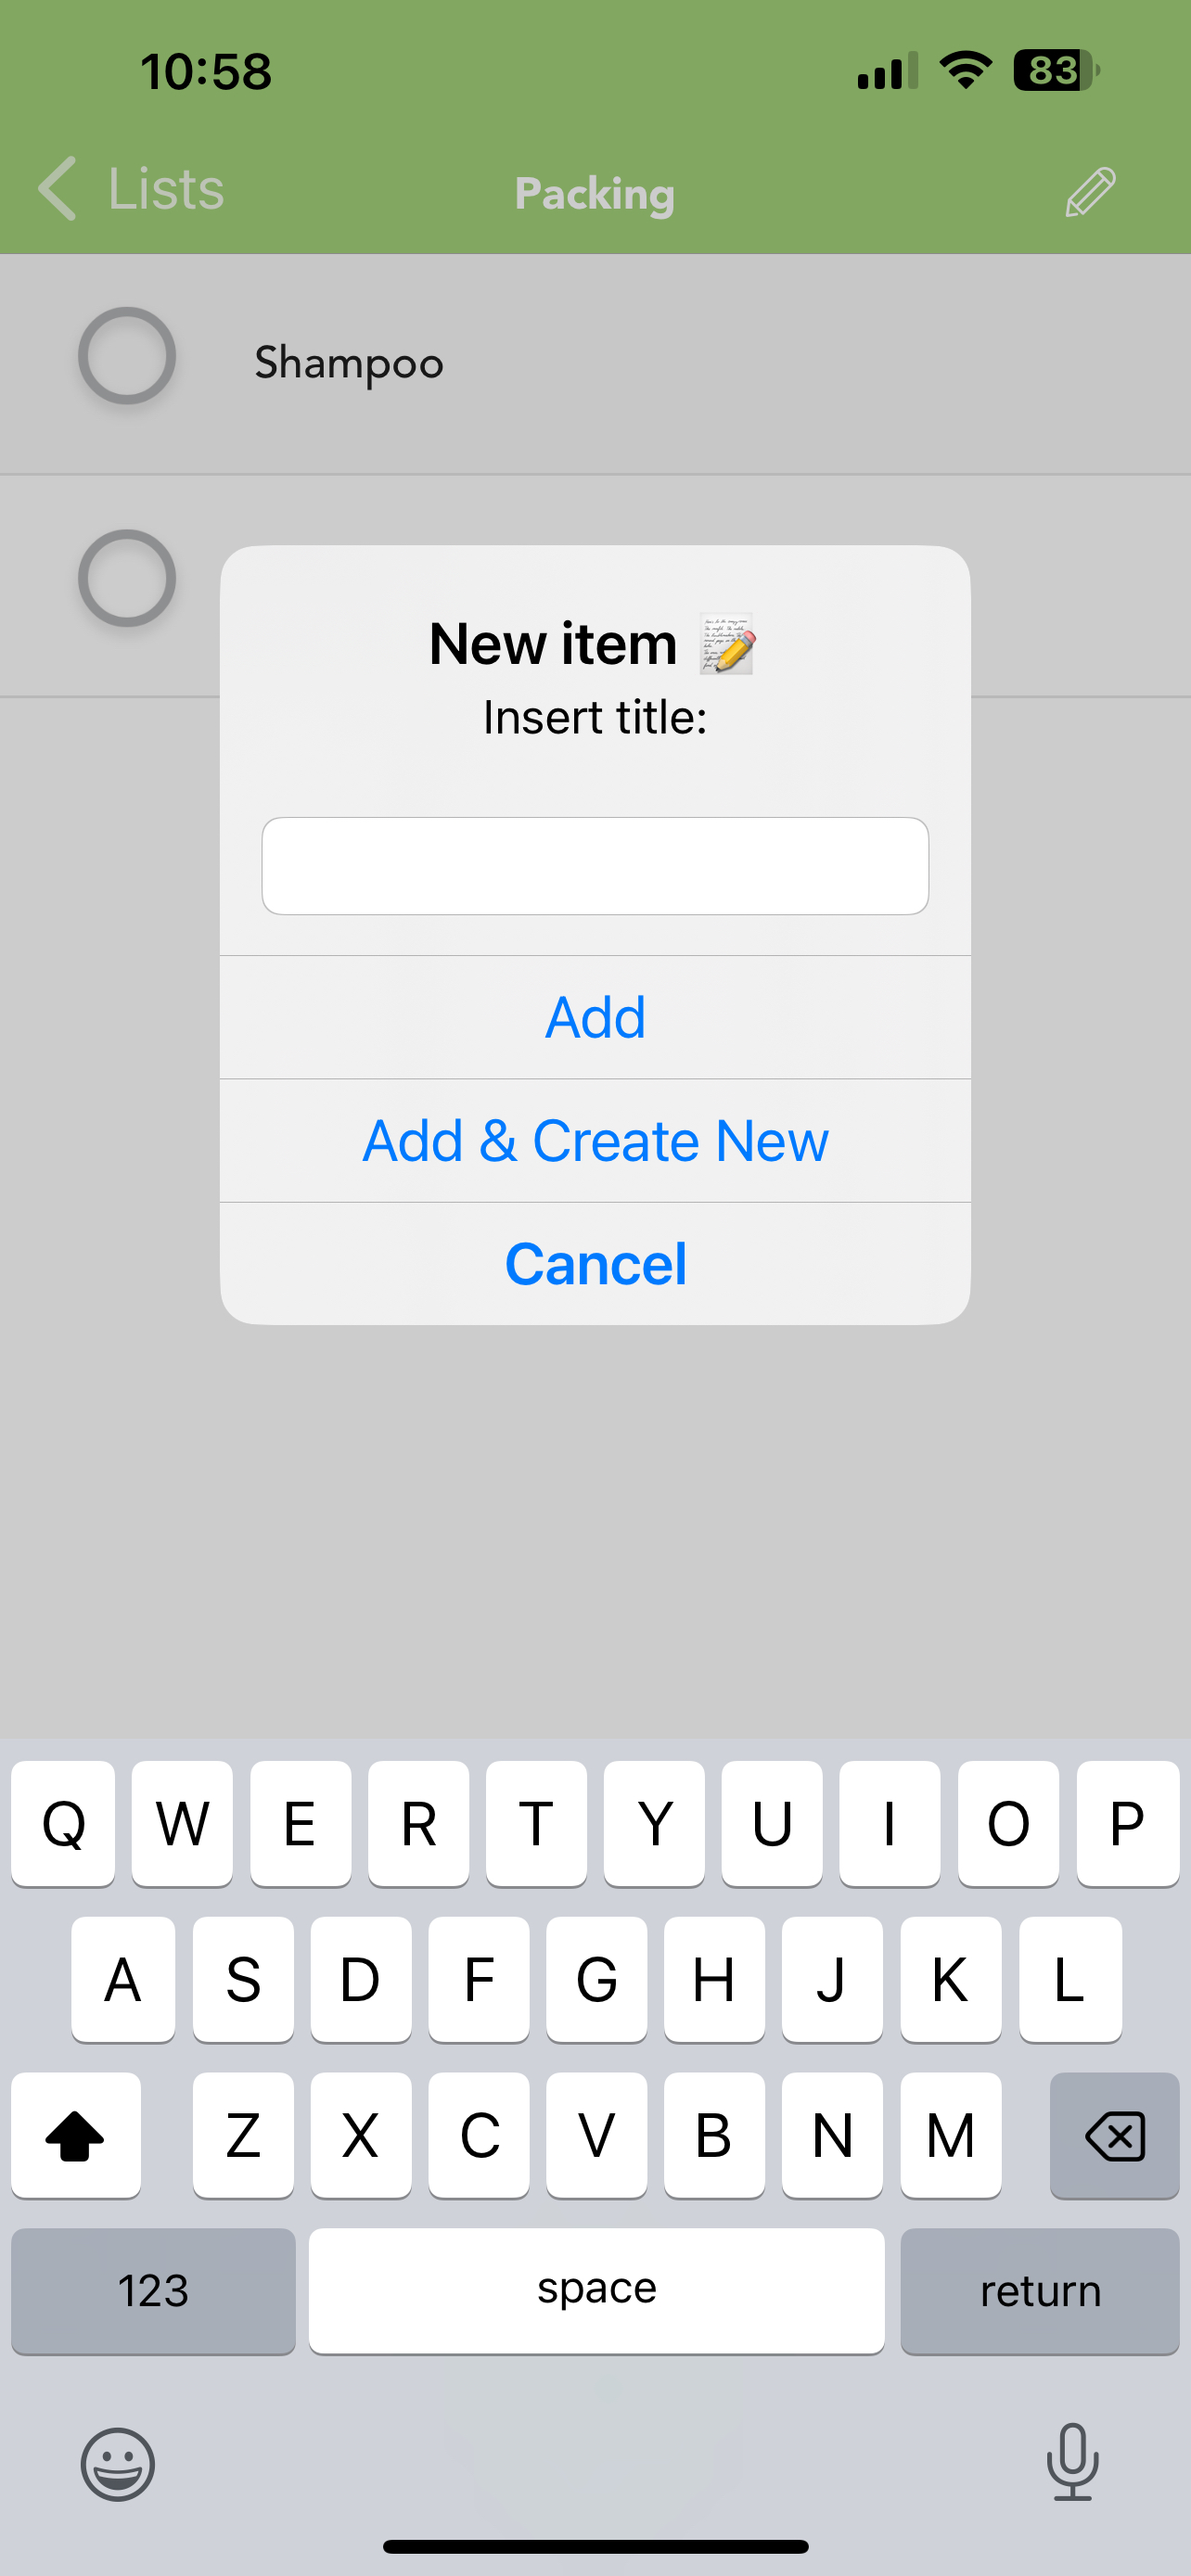
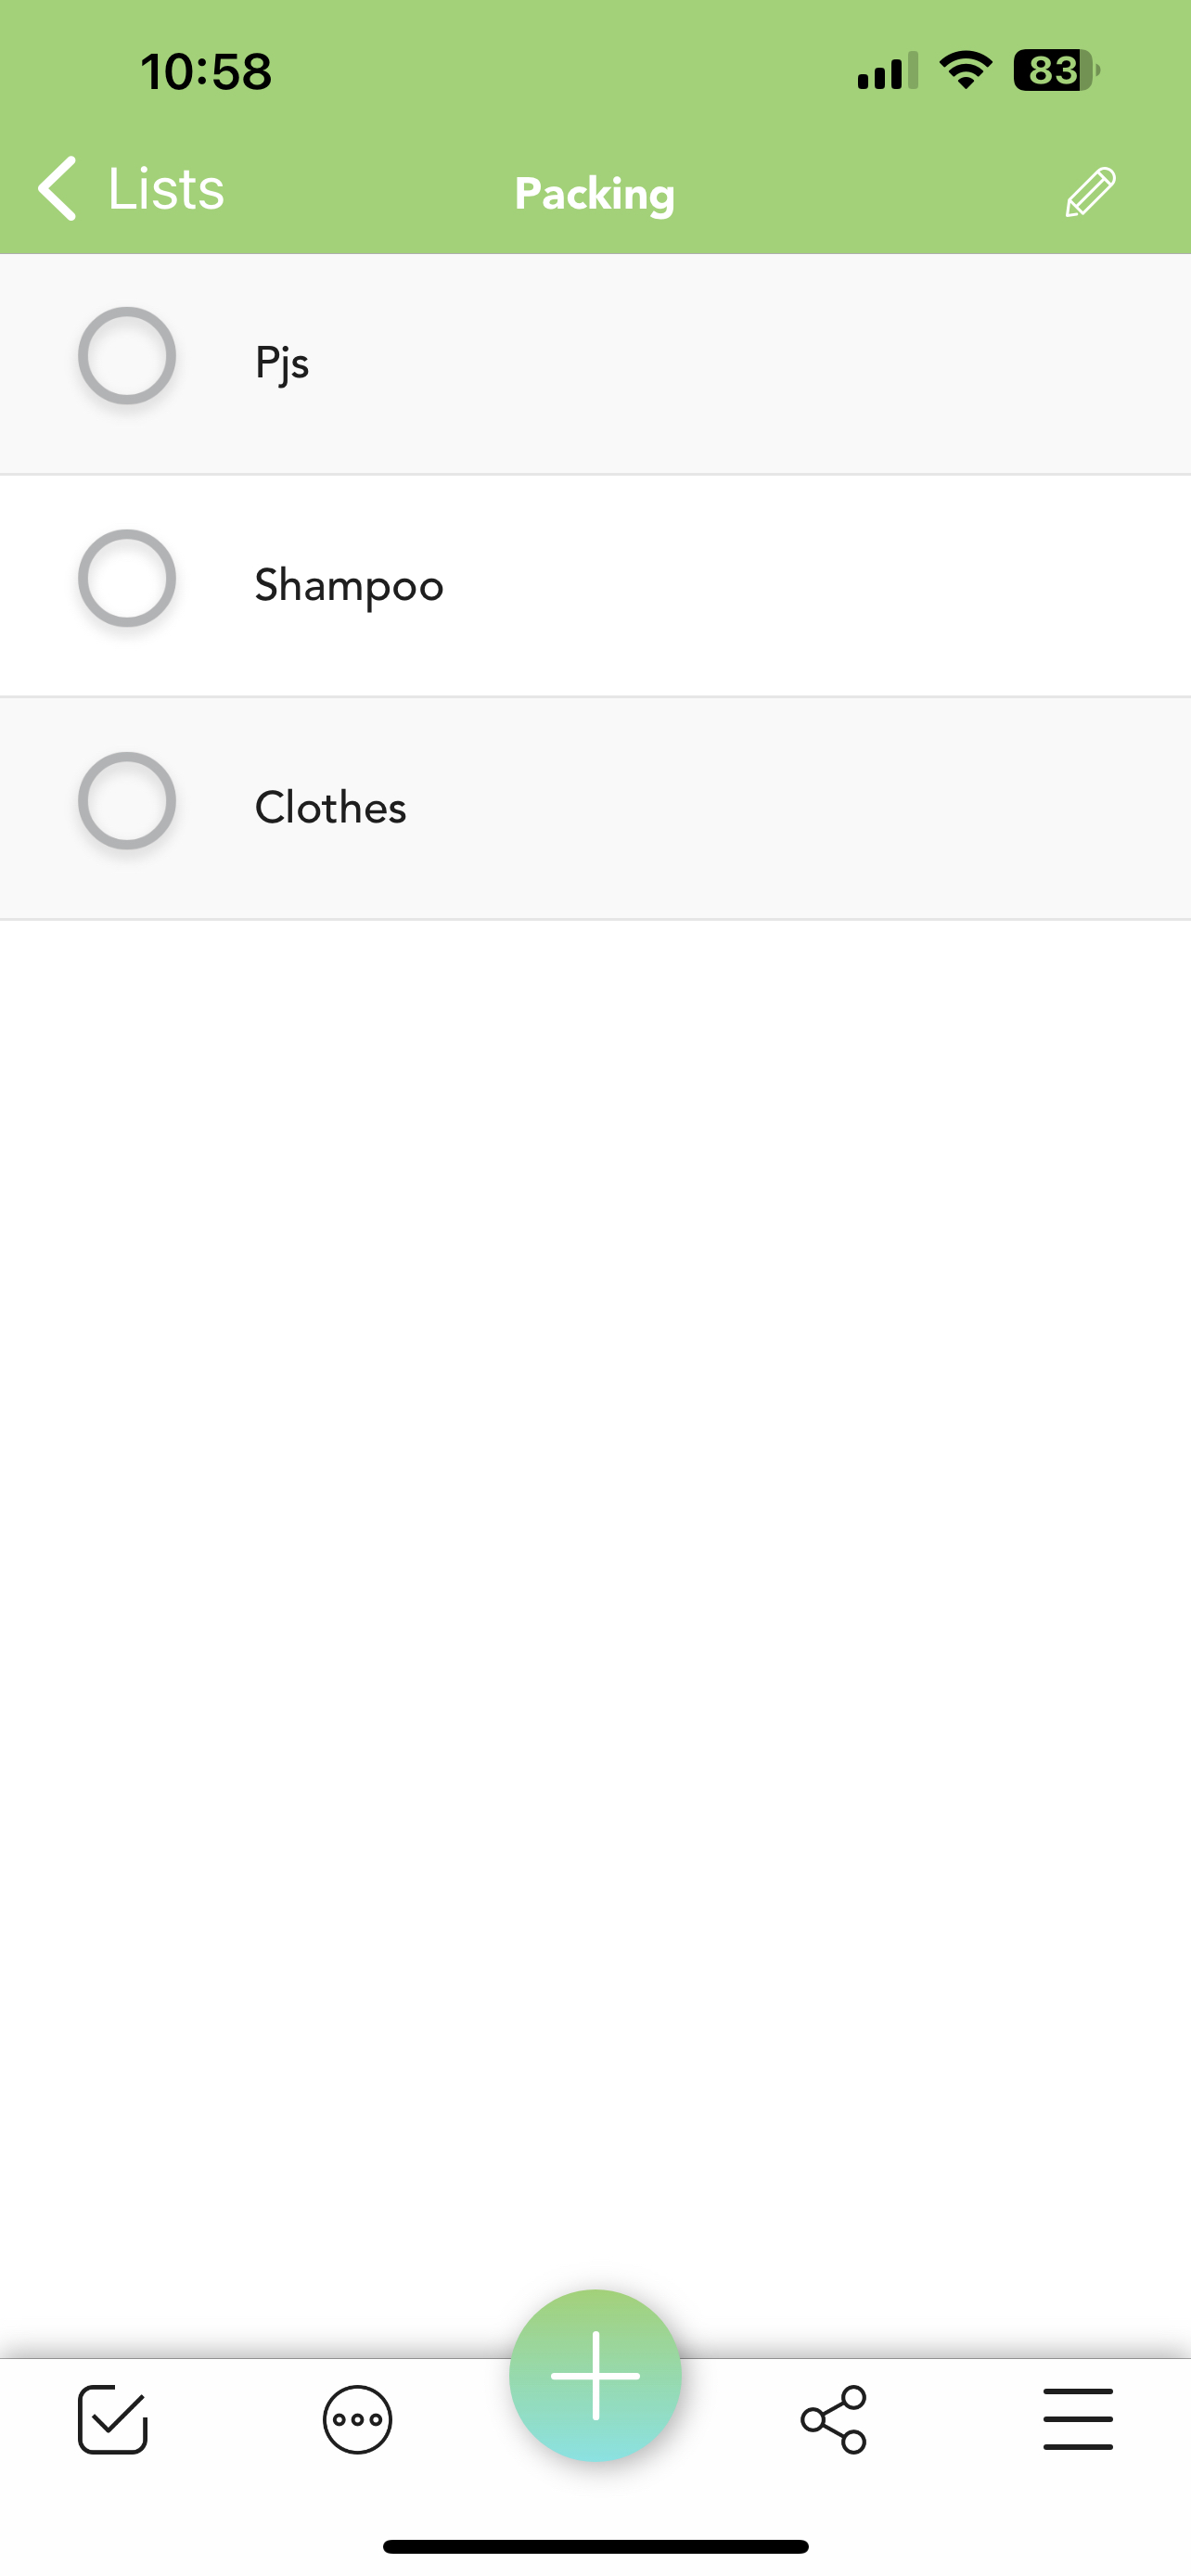
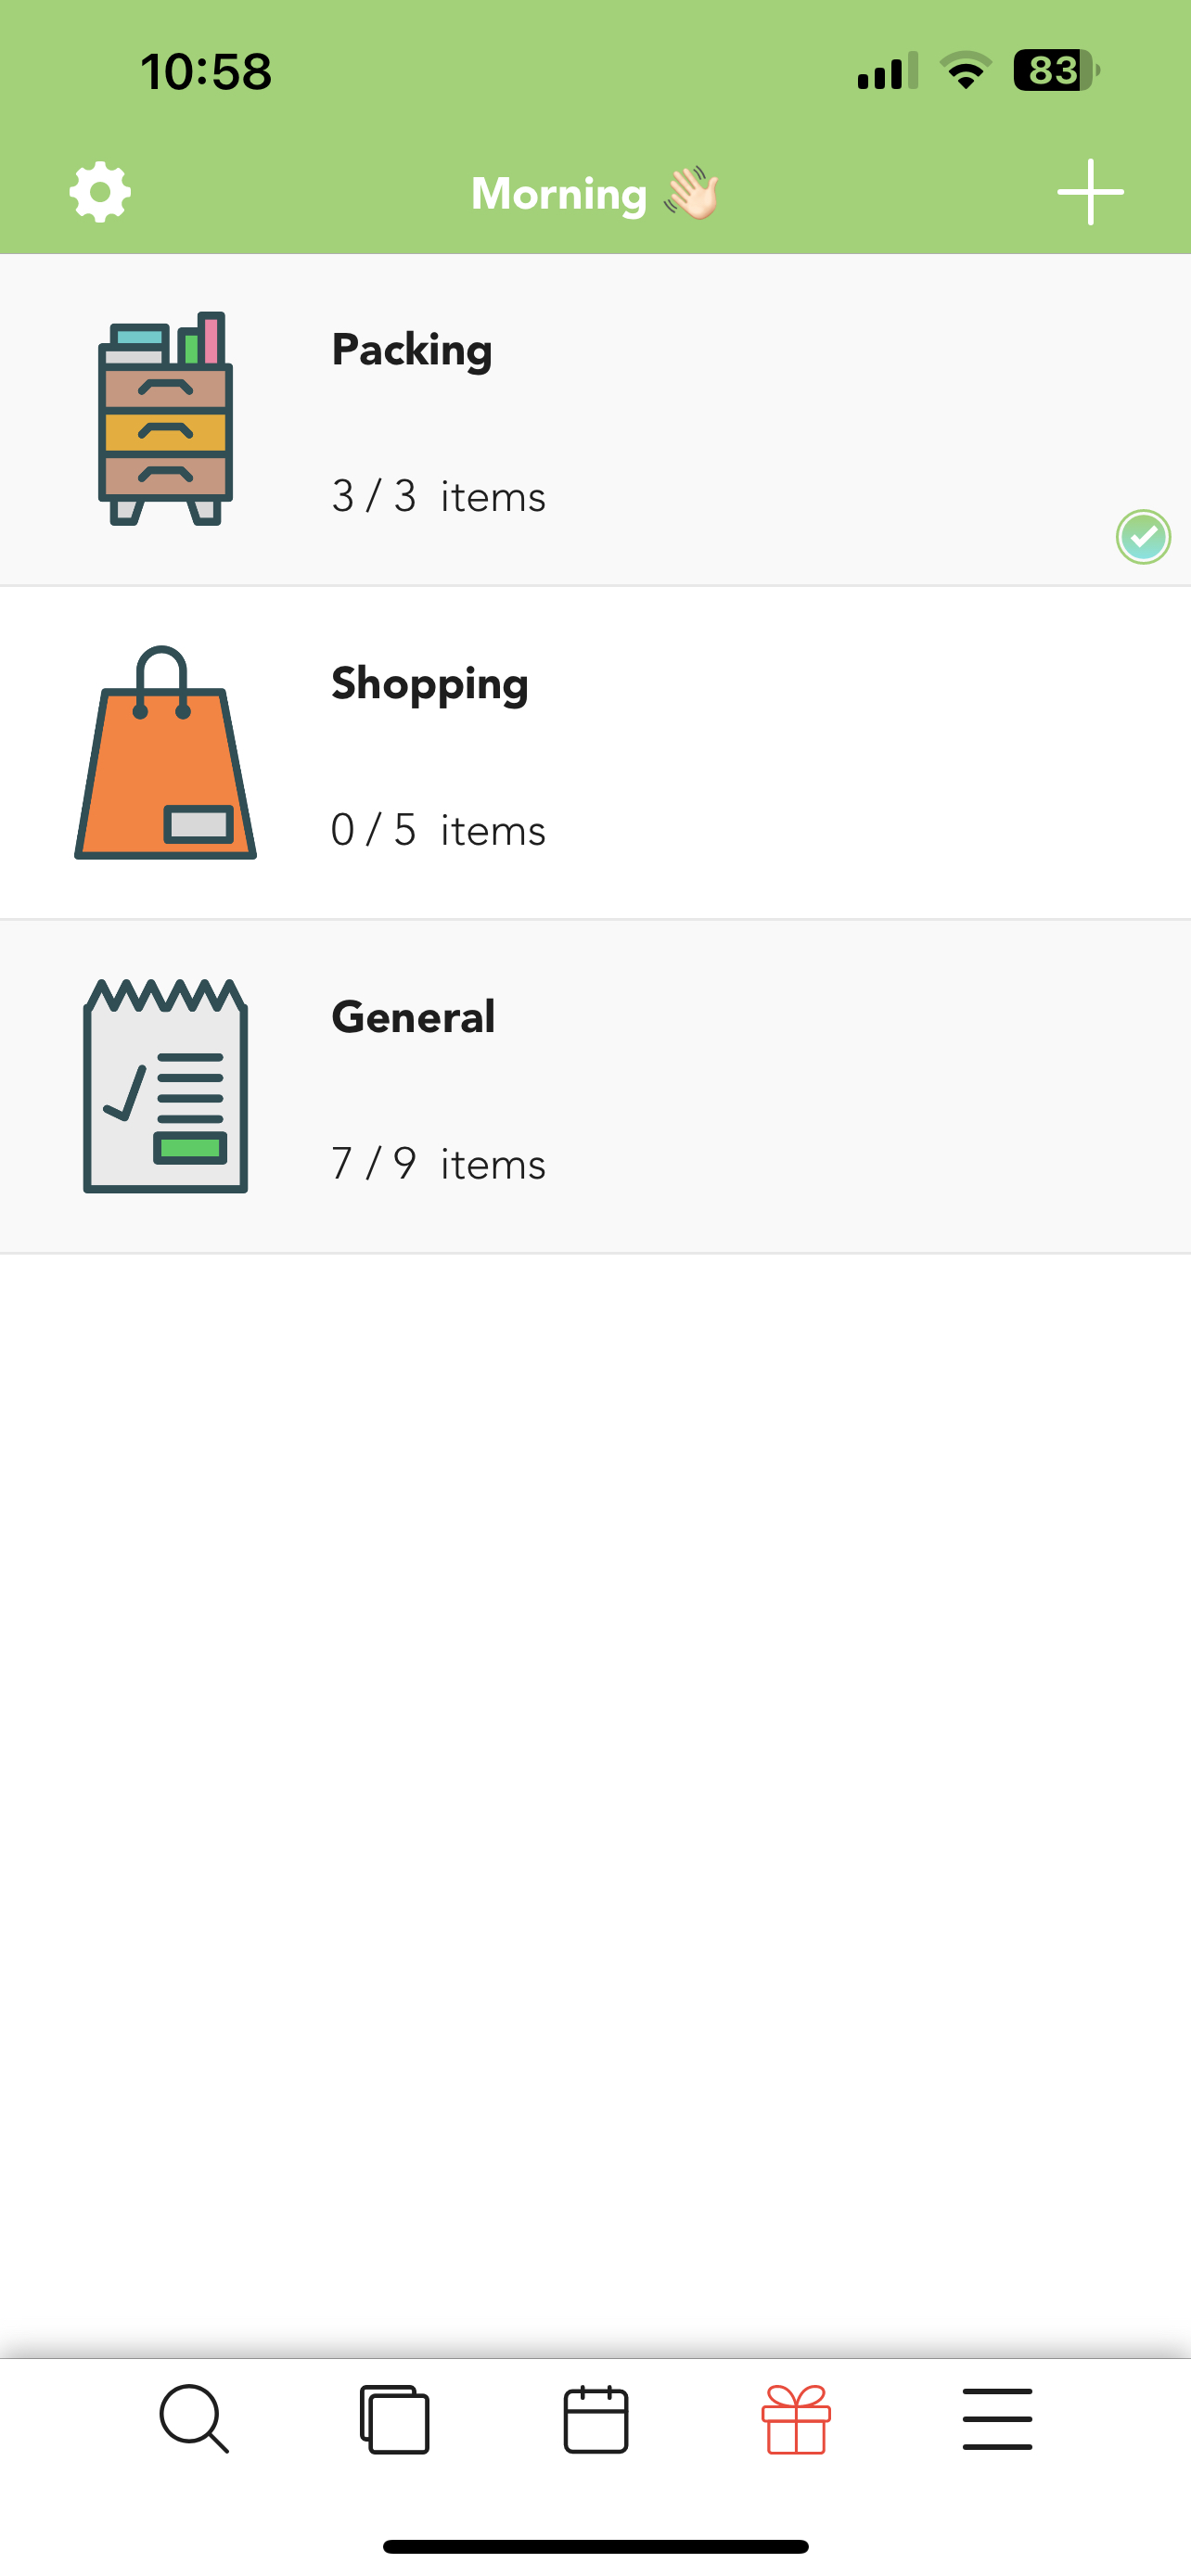
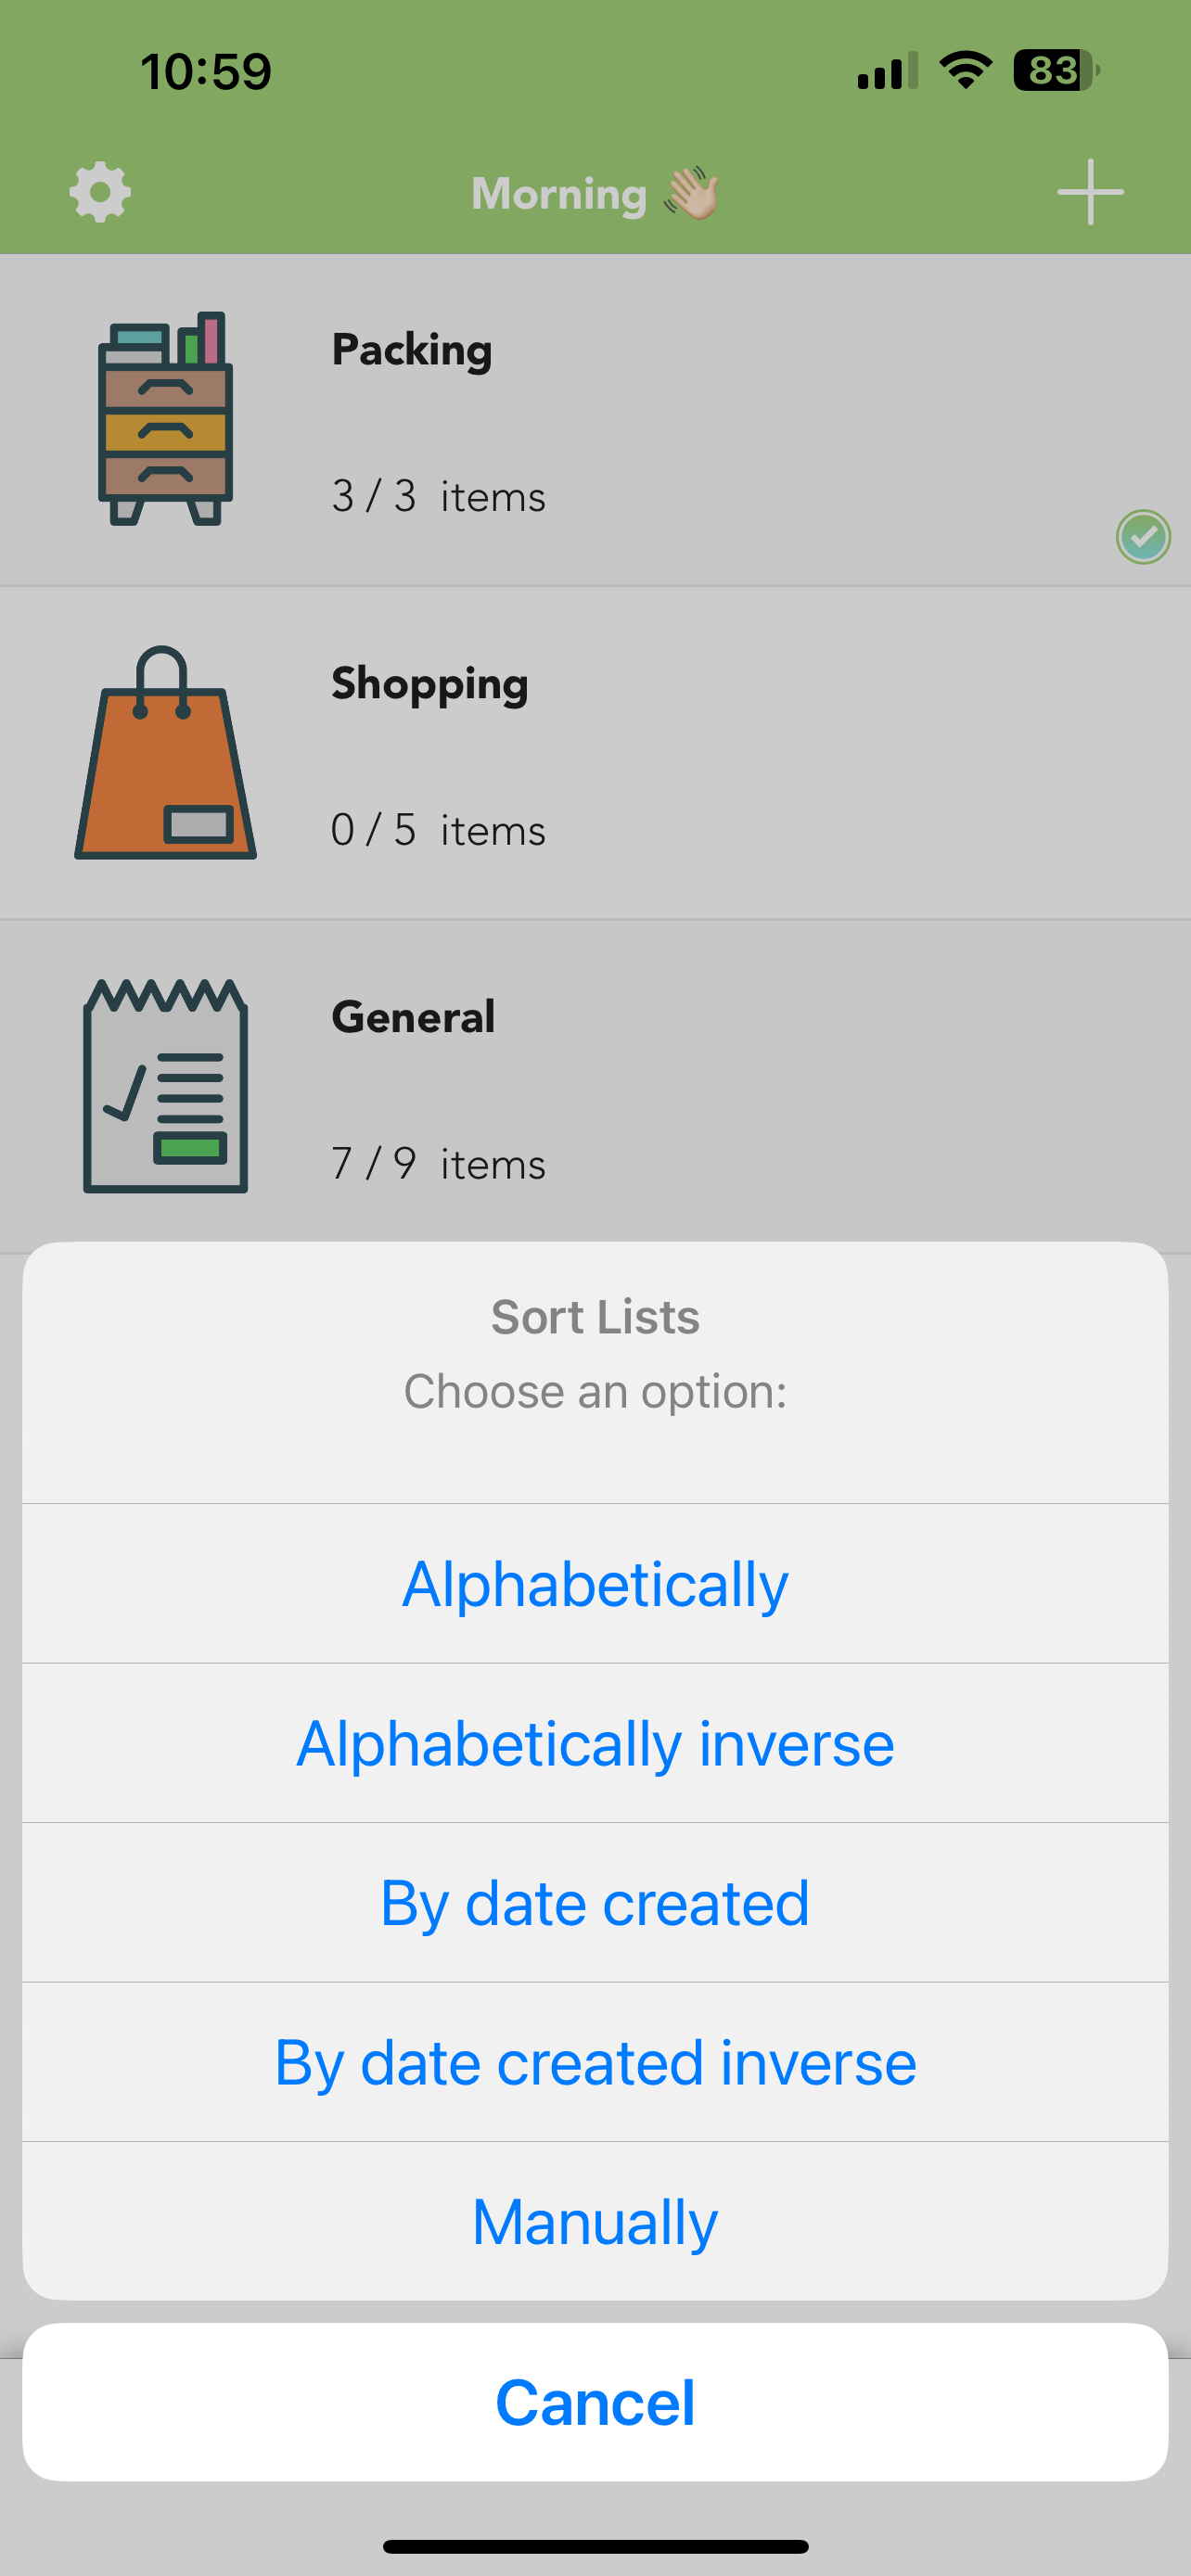
Lists To Do
Lists To Do is a basic To Do List app that is best for tasks within a task for example, items needed within a grocery list or items that need to be packed. Lists can be given emojis to help with differentiation. You can also create as many different lists as you would like as well as duplicating lists! This app also has the option to sort lists in alphabetical order or manually.
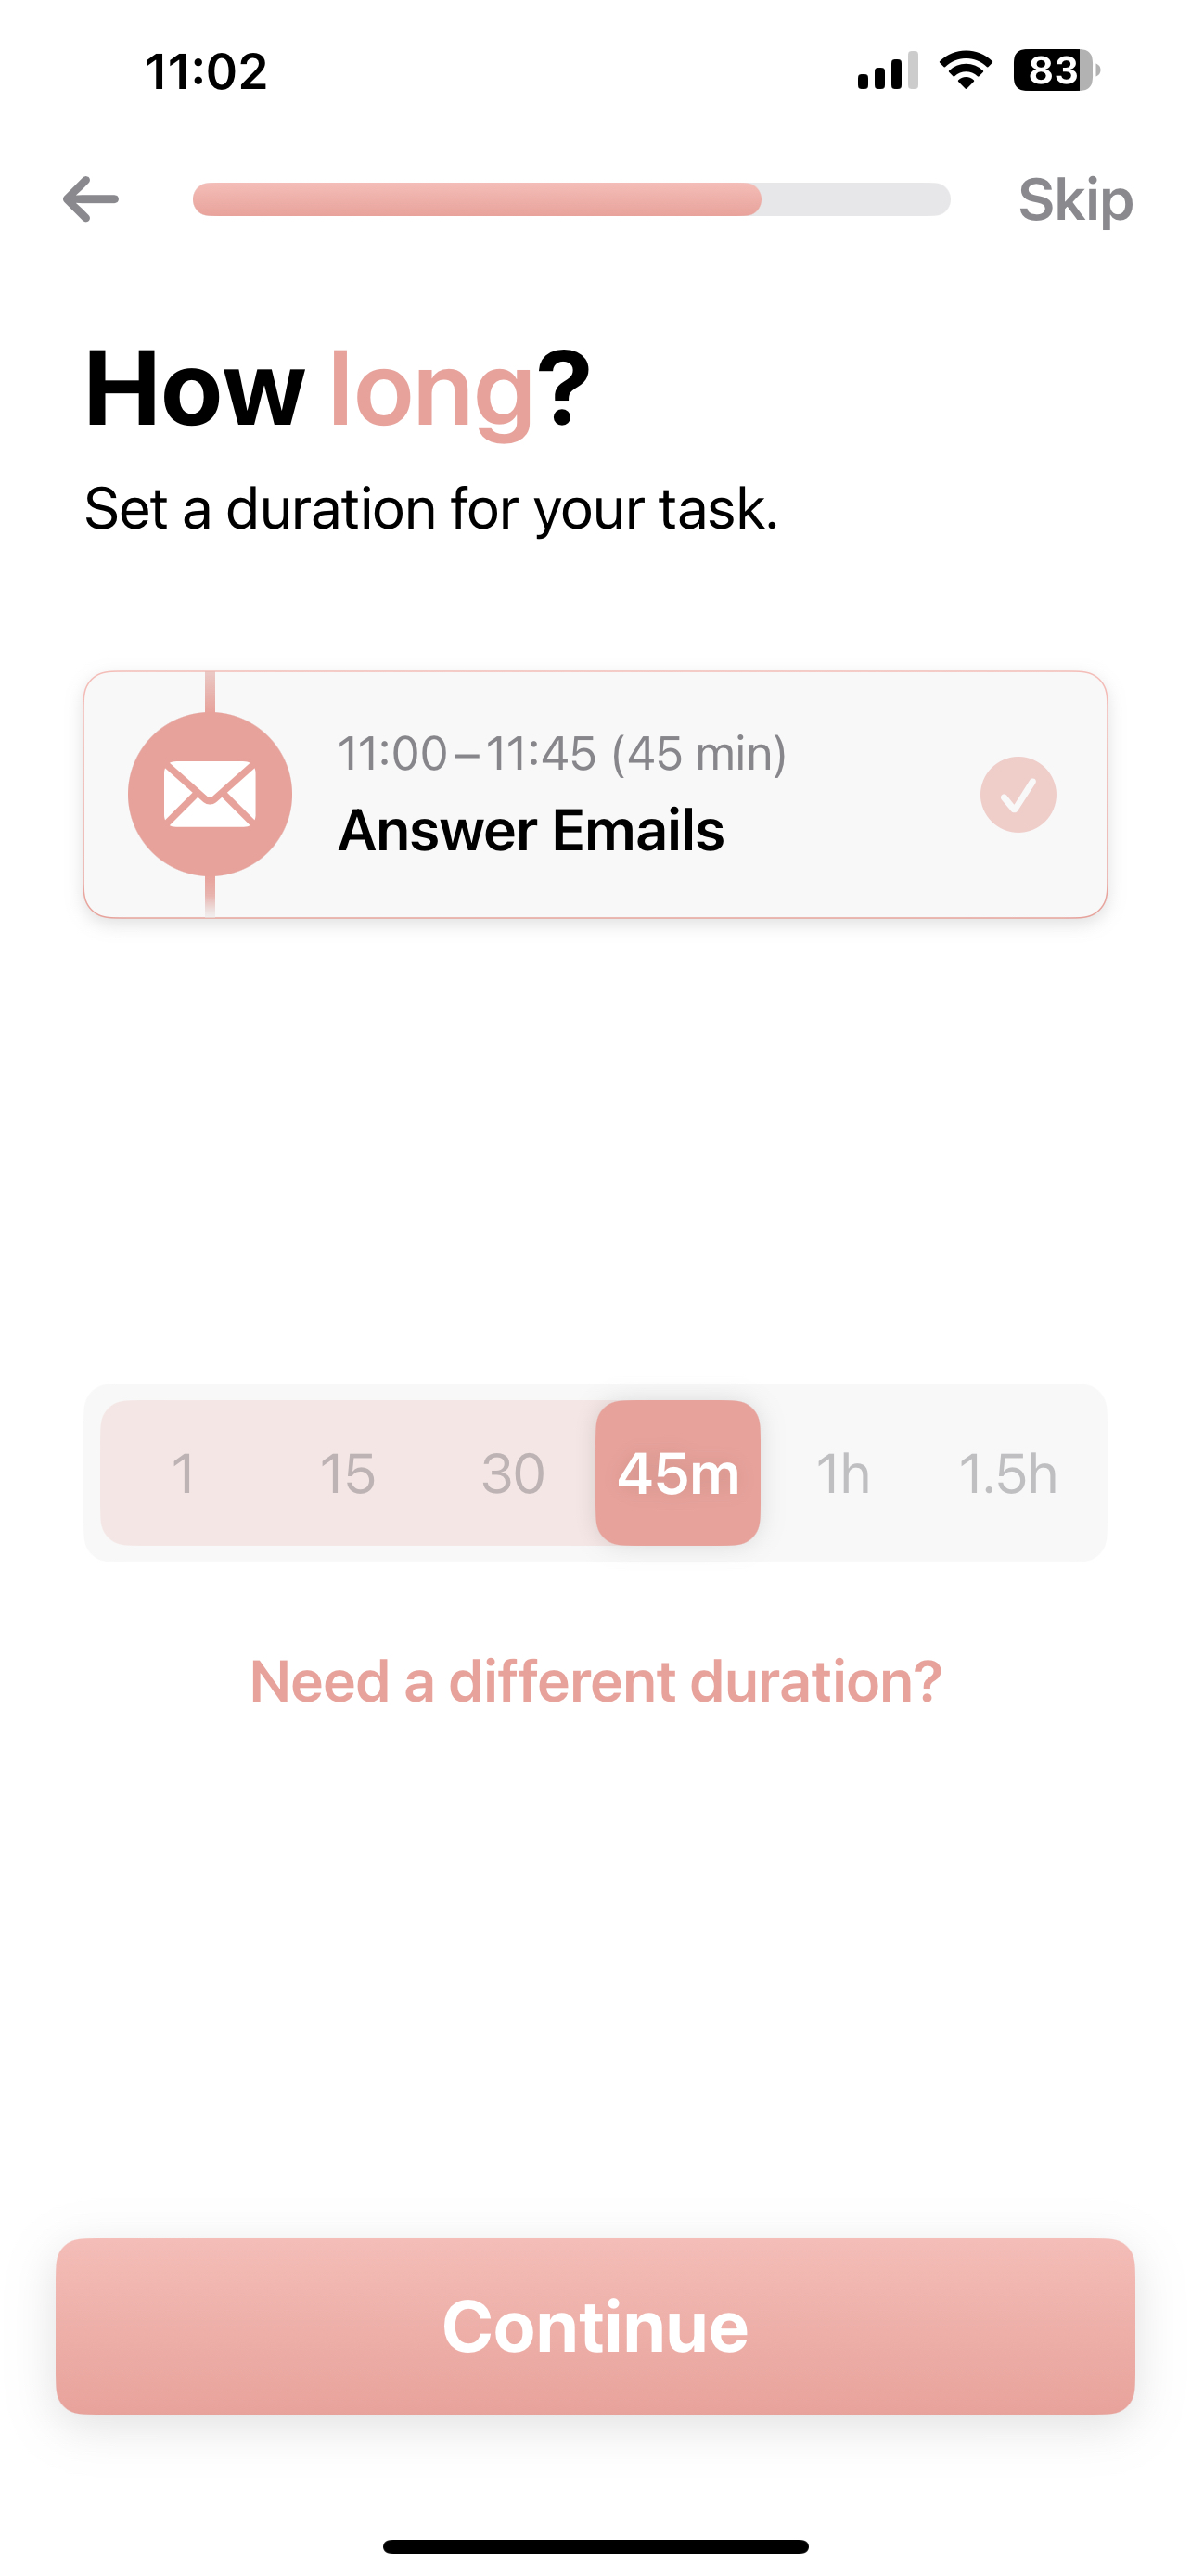
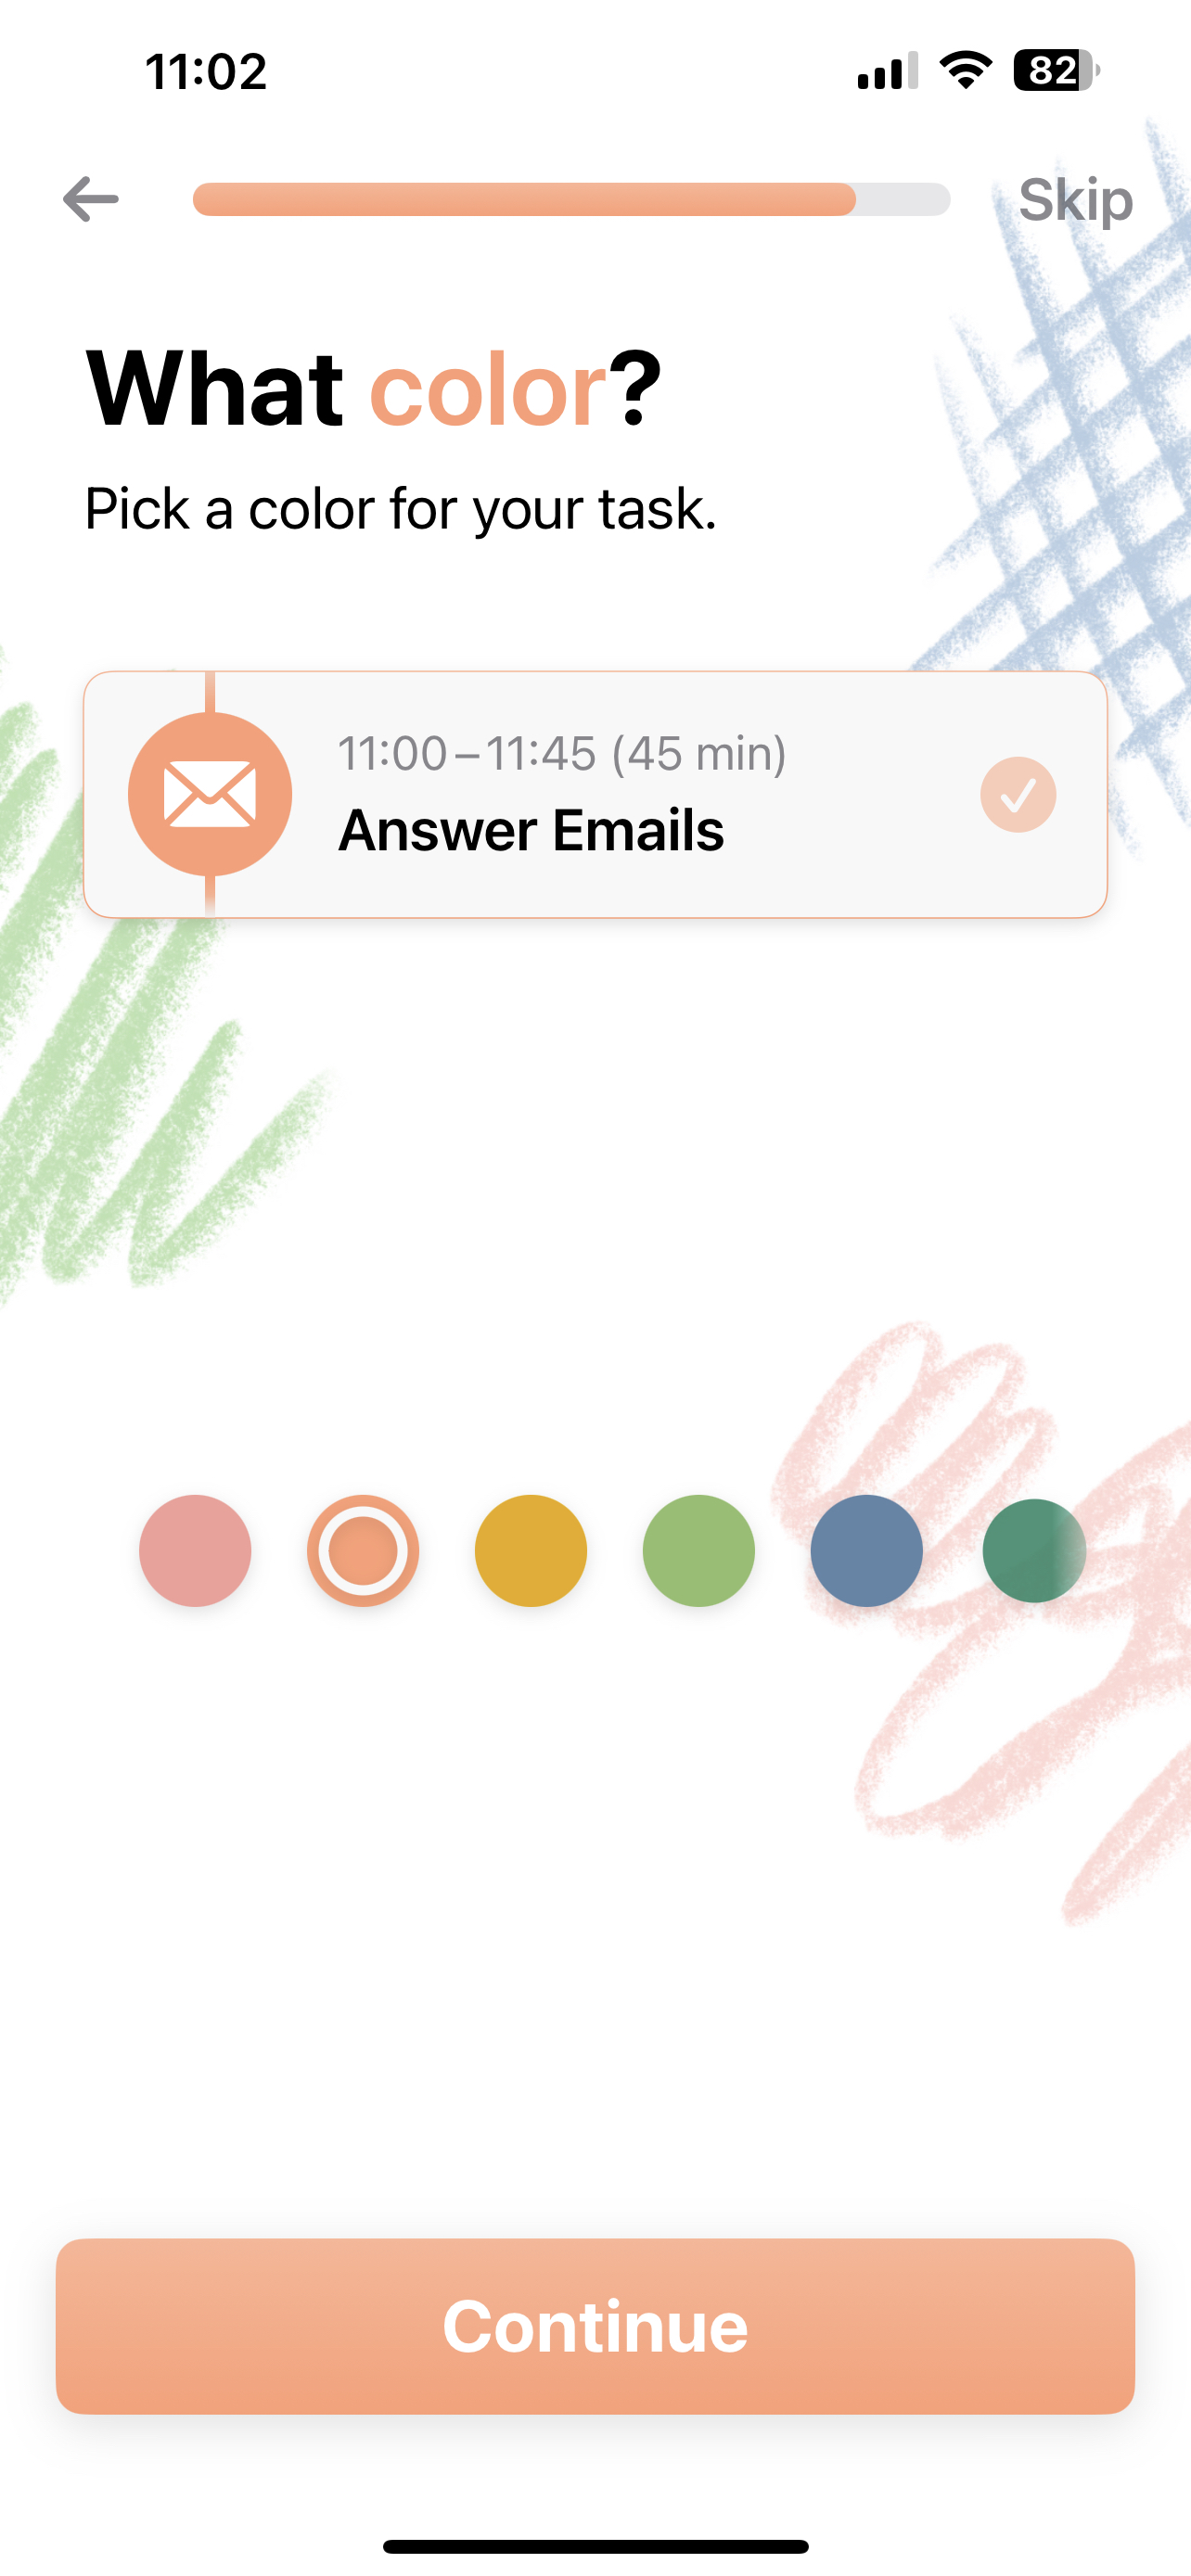
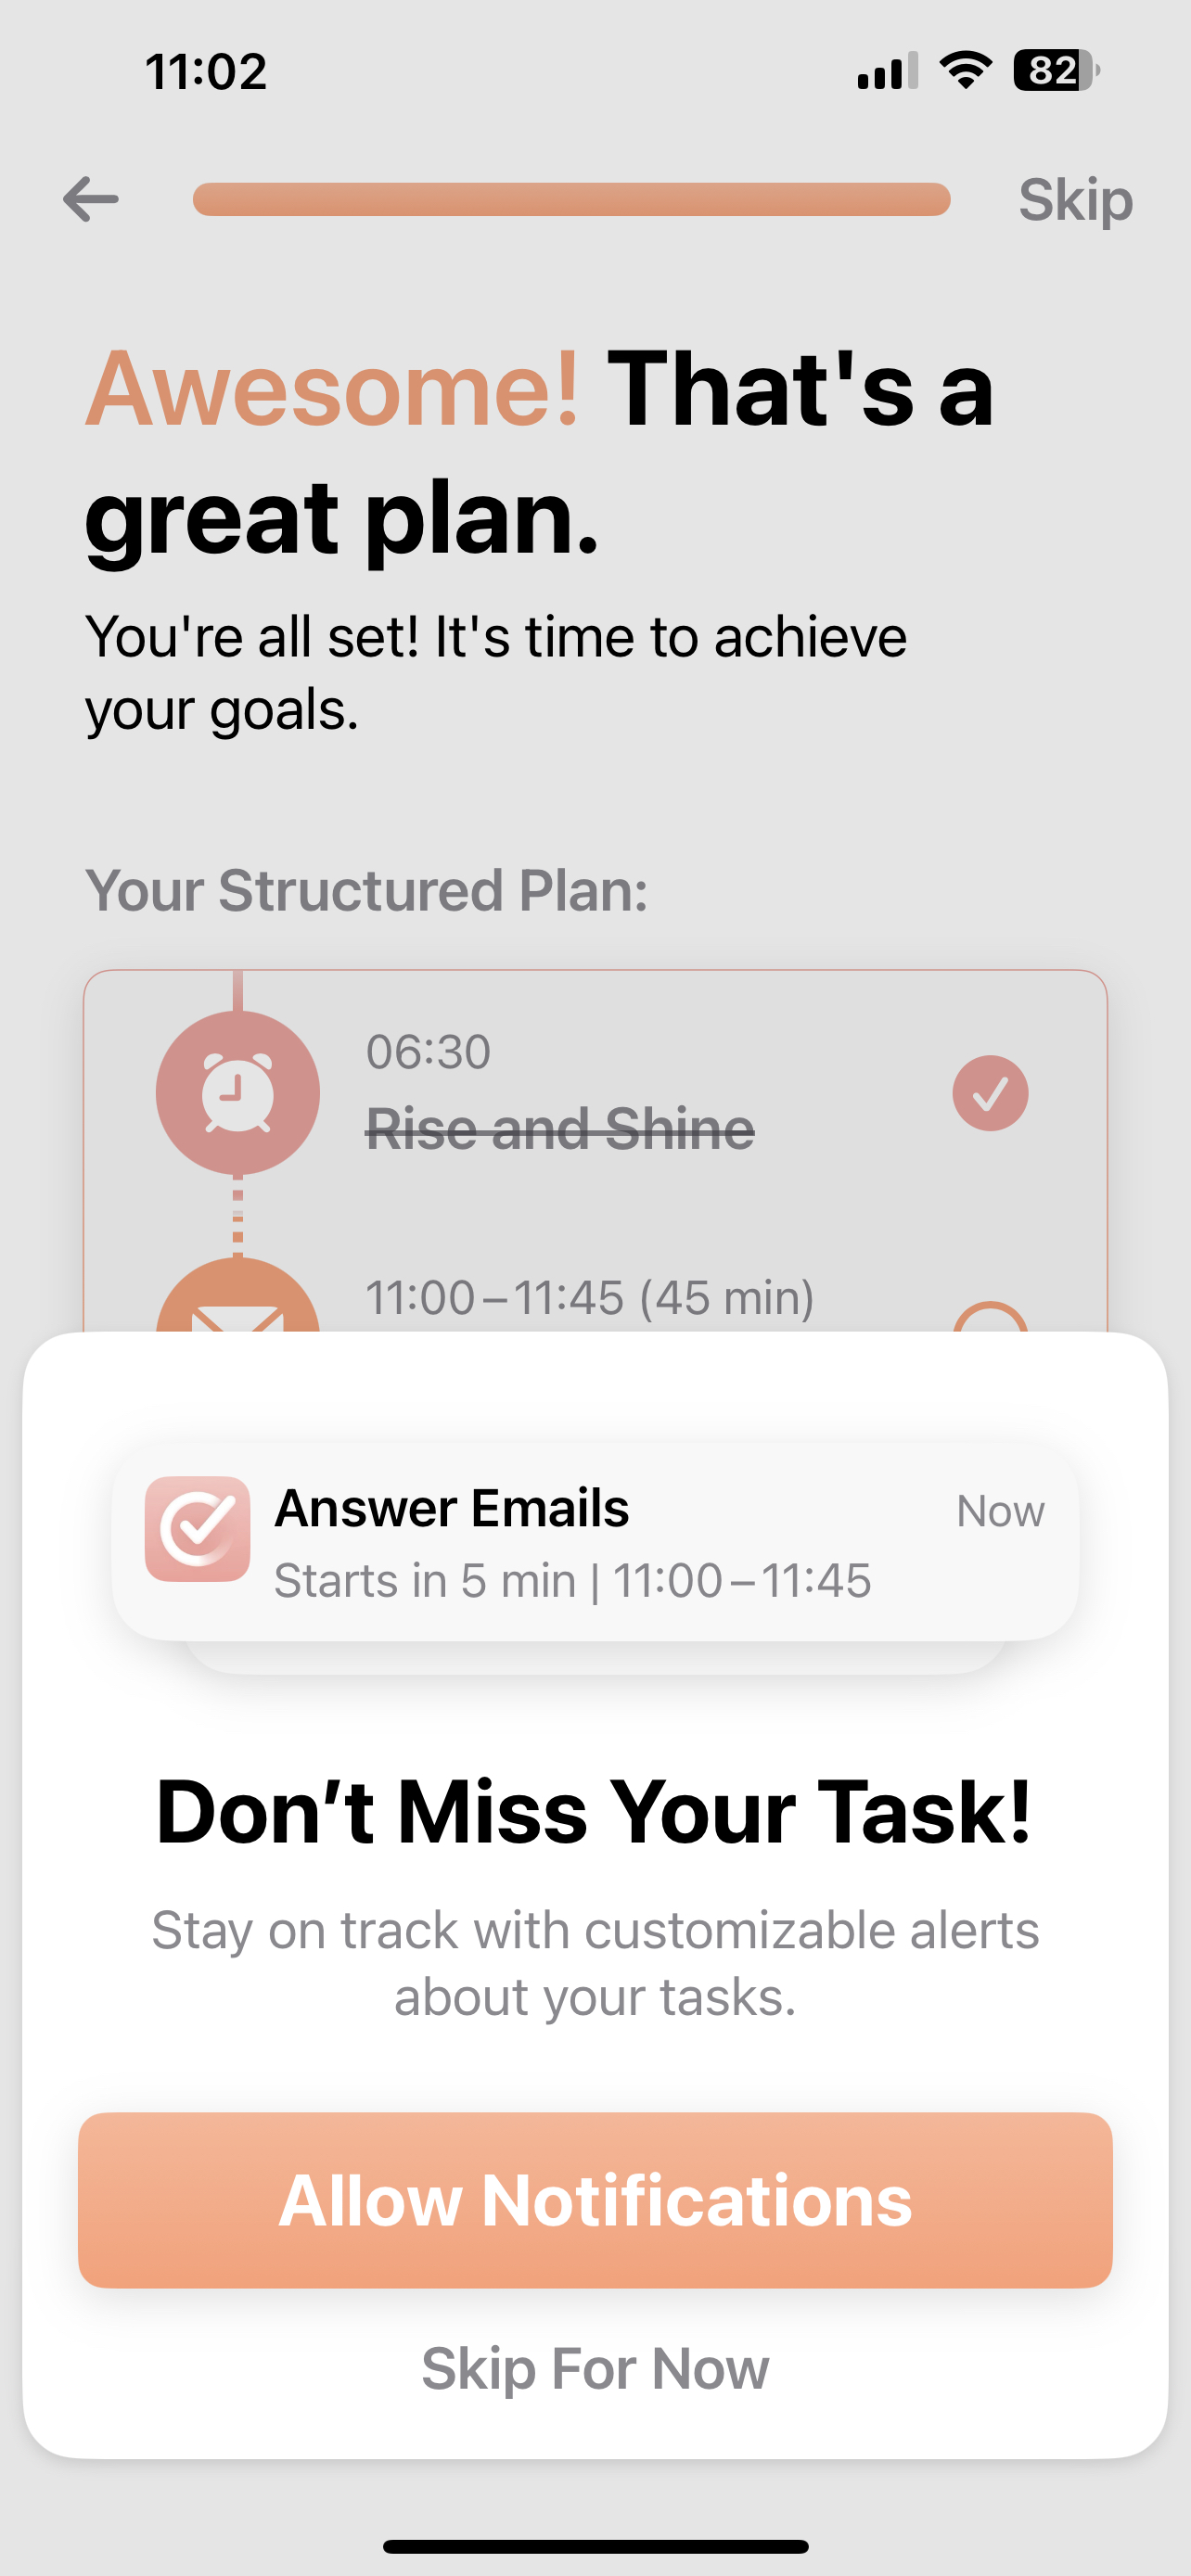
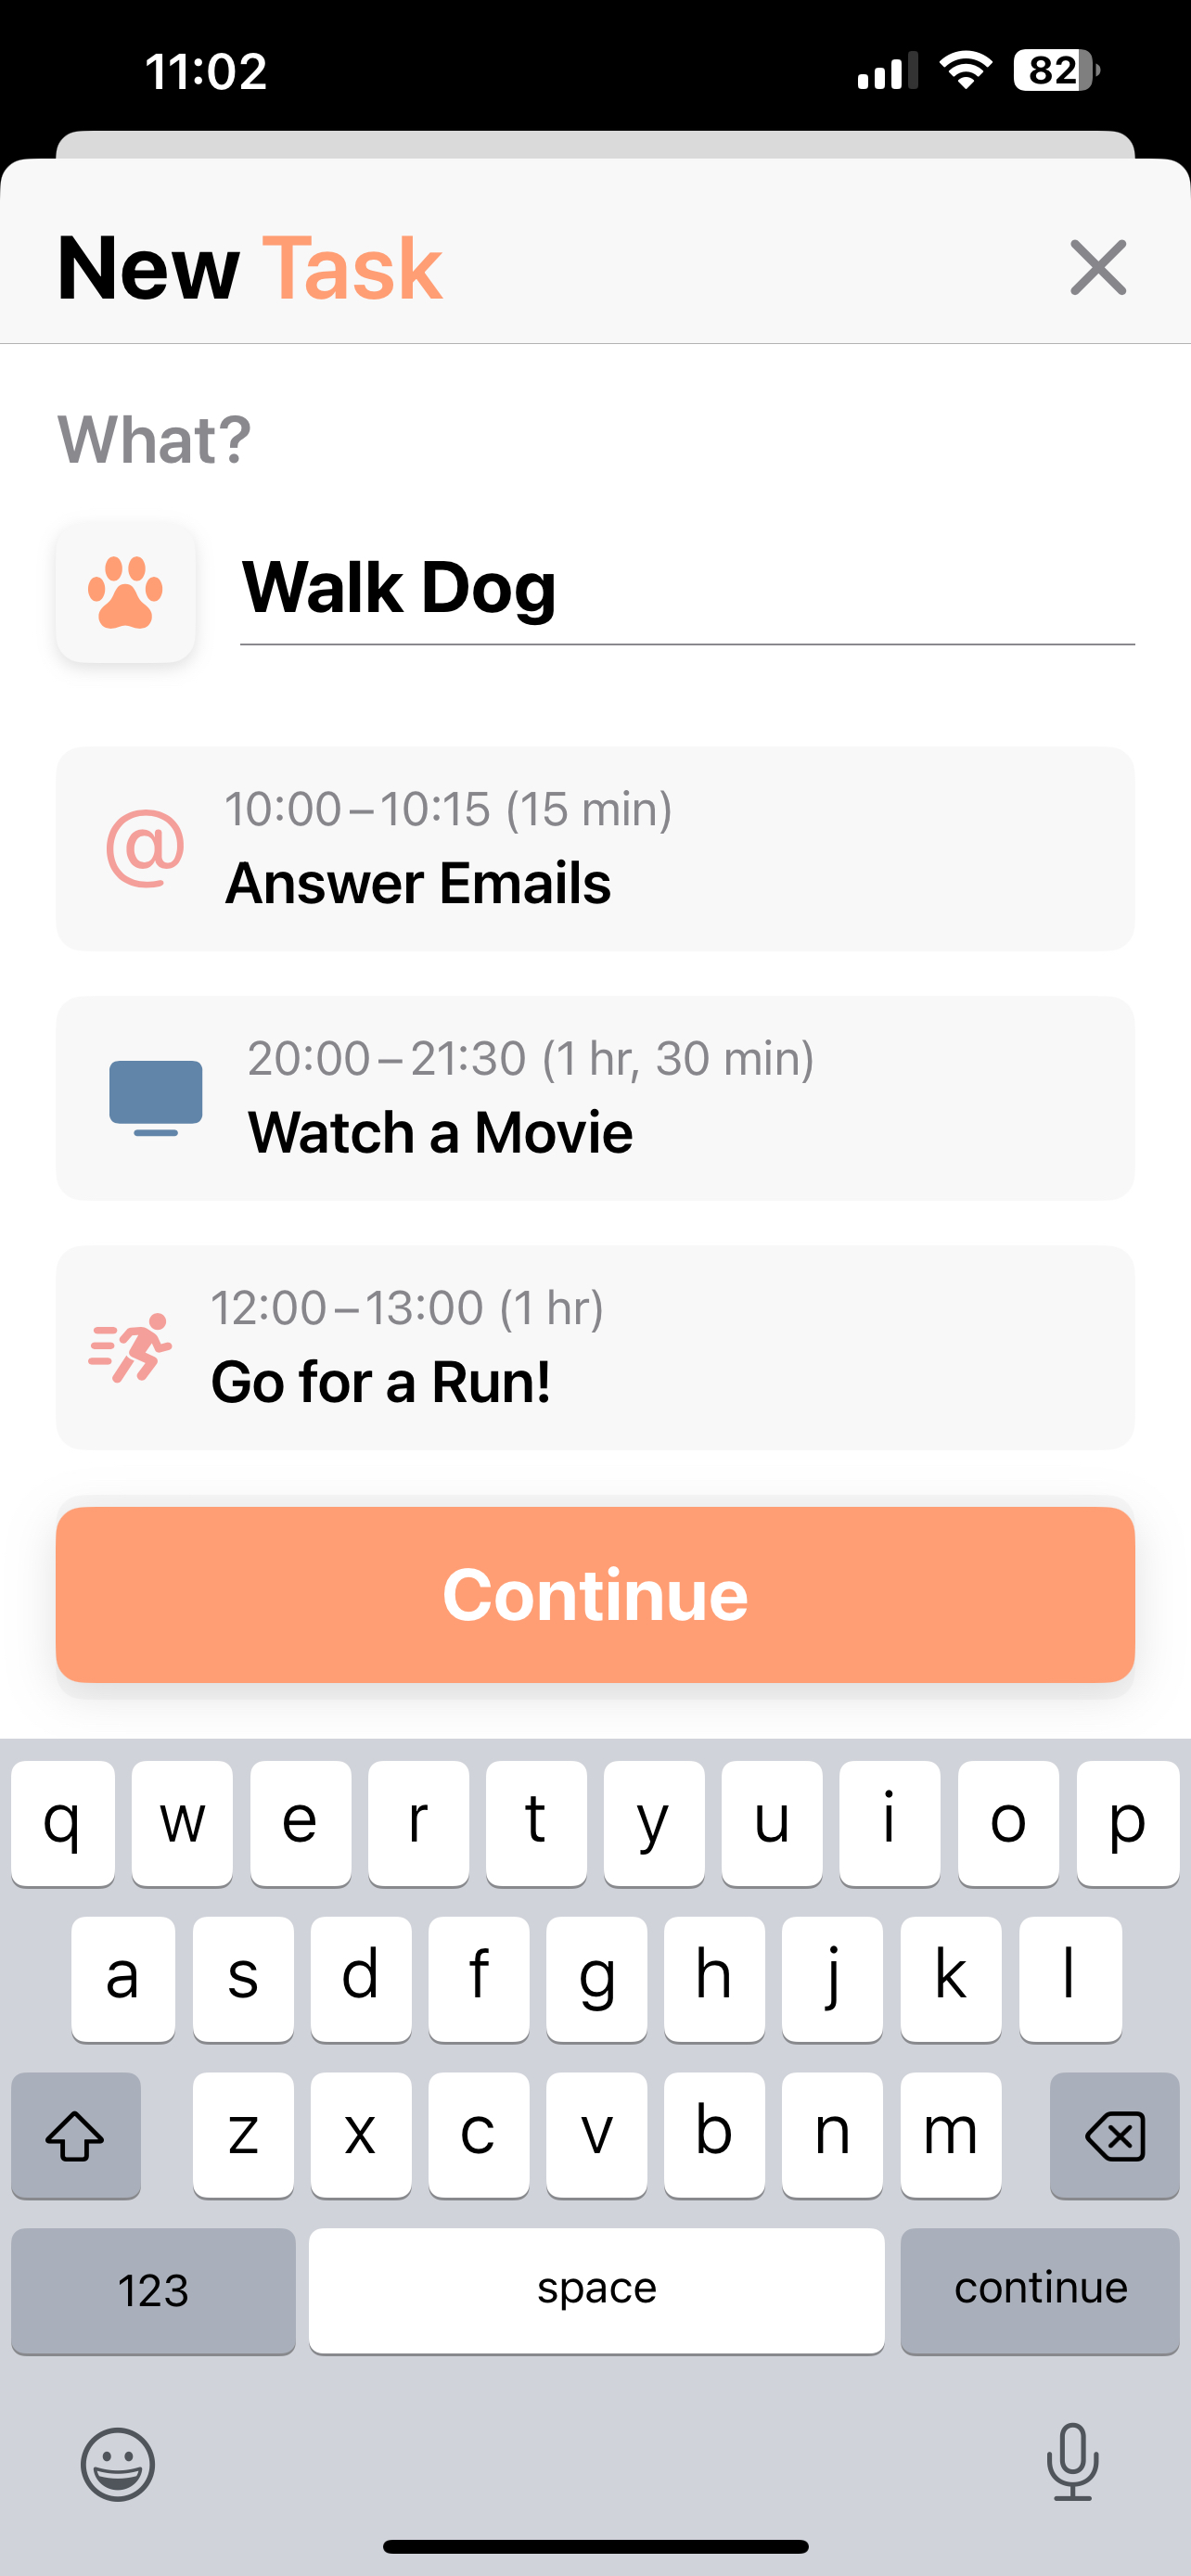
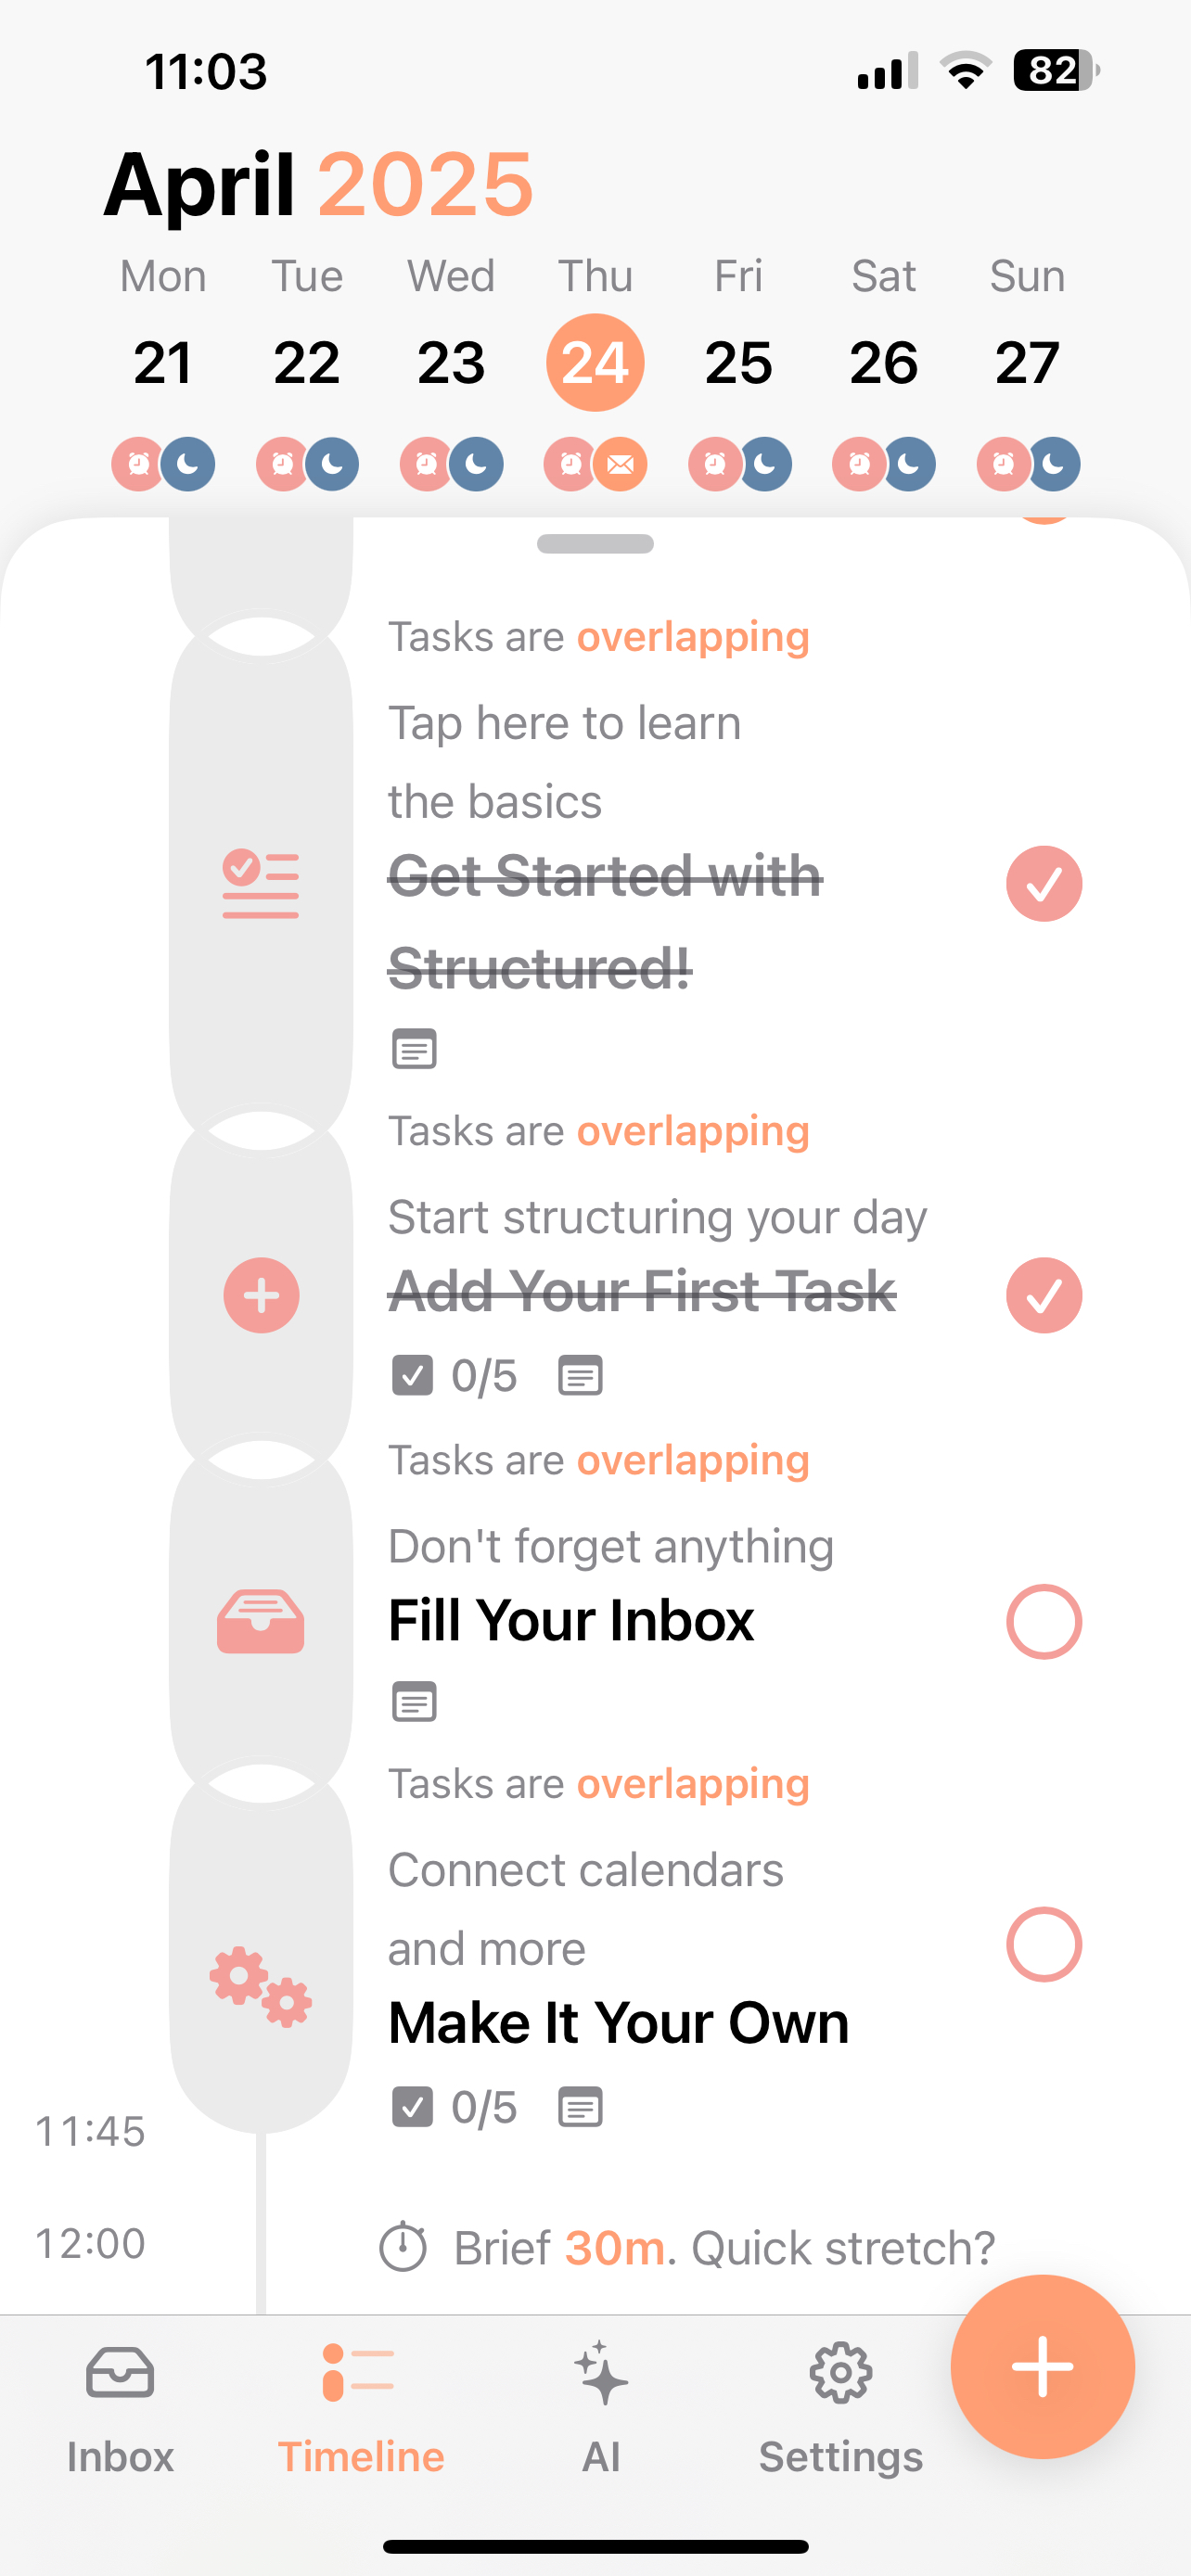
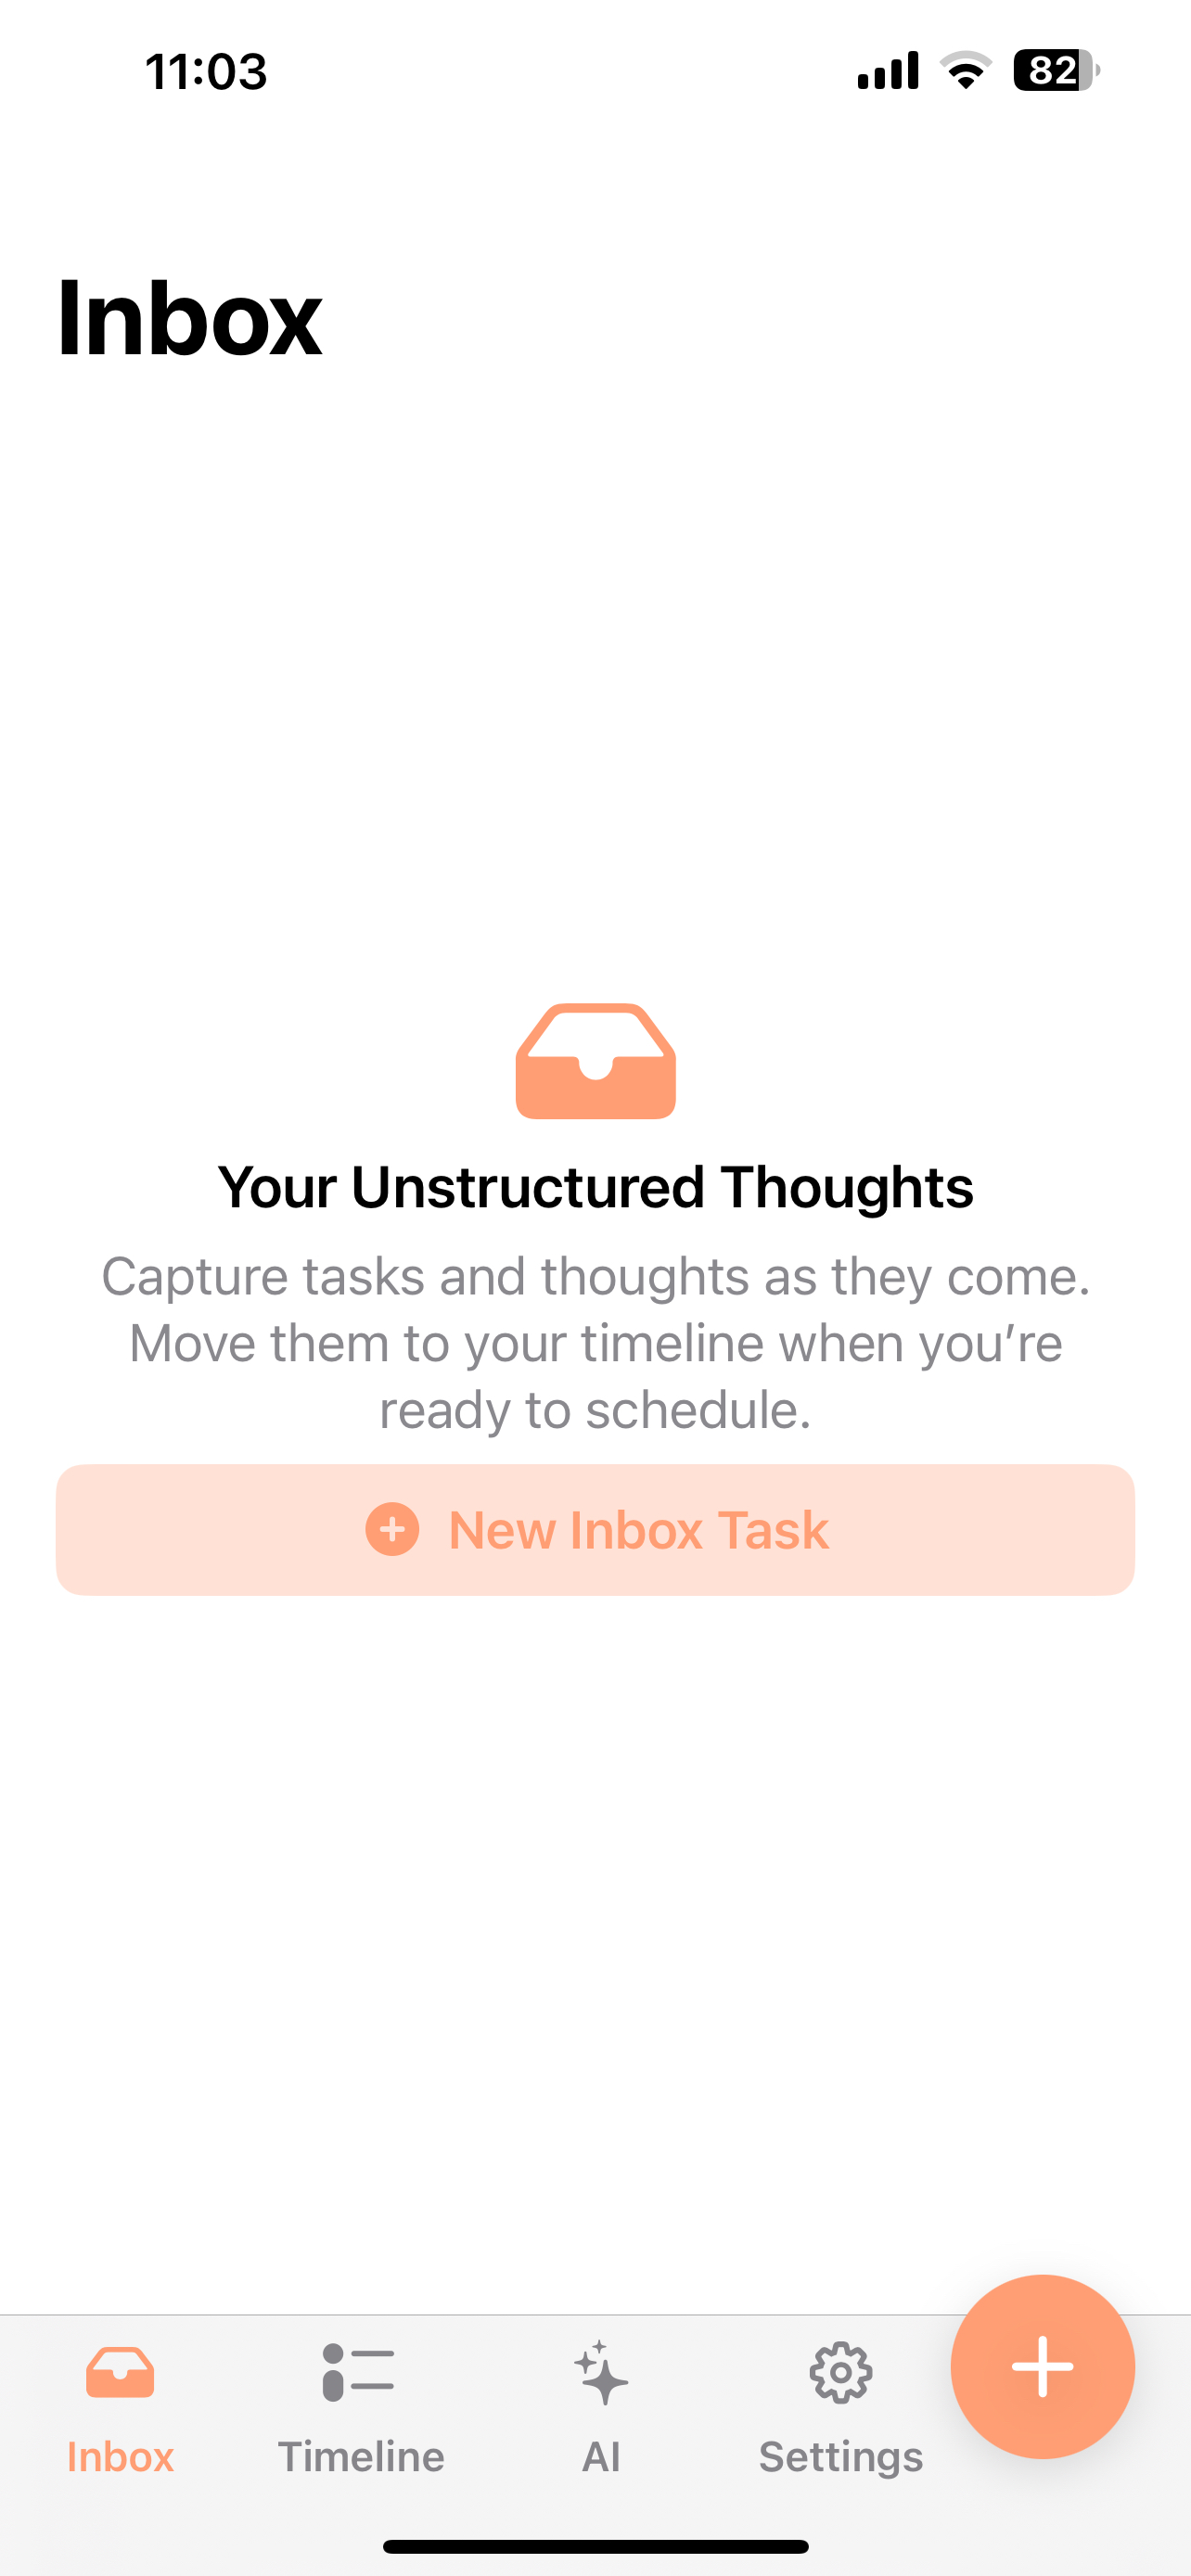
Structured – Daily Planner
Structured – Daily Planner is more focused on individual tasks you need to complete within each day. There are two main areas on this app, the first being ‘inbox’. The ‘inbox’ allows you to add quick thoughts and tasks where you can later add them to your ‘timeline’. Your ‘timeline’ displays your planned out day from when you wake up to when you need to start winding down! You can tick off your tasks as you go and this app also has the option to colour code tasks and automatically adds emojis based on your task.