Blogpost by Jeffrey Clark (Student Digital Champion)

Like Microsoft Word, PowerPoint is another Microsoft application you’ve probably used before. Planning for delivering a presentation can be daunting and even a frightening task for some, as not only do you have to speak in front of your fellow students, but your PowerPoint presentation will also be on full display. But, have no fear as this blogpost will give you some valuable tips and tricks to help turn a good presentation into a GREAT presentation!
Tip 1: Inserting Excel data into PowerPoint
If your presentation requires you to show data from an existing Microsoft Excel document, there is an easy way to display it within PowerPoint.
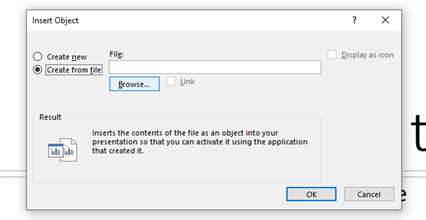
- On the slide you want your data to appear on, go to Insert > Object
- From the Insert Object window, select Create from file > Browse > then select the Microsoft Excel file where the chart you want to include is located > OK
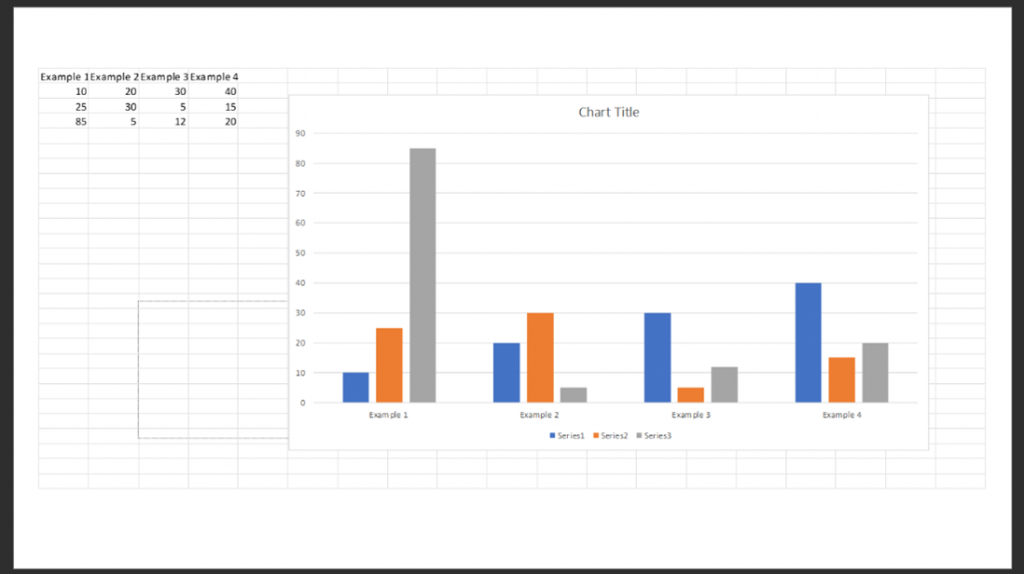
- This will automatically insert both the data and chart from your Microsoft Excel document
- You can edit this data directly within your PowerPoint document by double-clicking on the chart on your slide
- Click outside of the chart when you are finished, and PowerPoint will produce a chart with your Excel data!
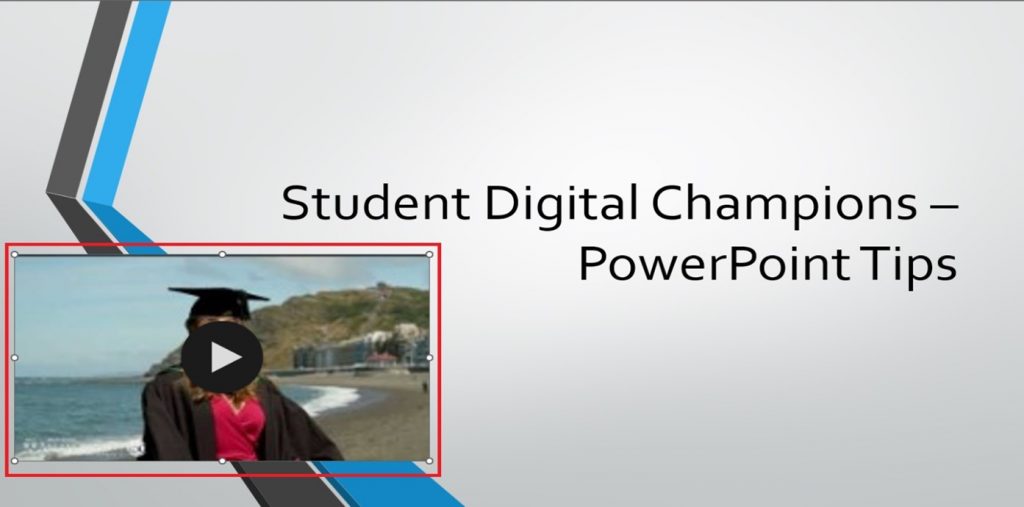
Tip 2: Inserting a YouTube video in PowerPoint
PowerPoint has several options for inserting video content. Here’s how you can add a YouTube video into your PowerPoint presentation.
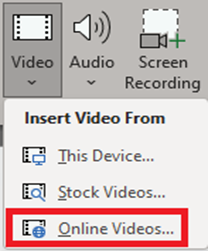
- On the top taskbar, click Insert > Video
- From the drop-down menu, select Online Videos
- From here, insert the URL for your online video. Once the thumbnail for the video has loaded, click Insert
- PowerPoint will then create an embedded version of your chosen video which you can alter as needed
Tip 3: Using Smart Art
Smart Art allows you to present your ideas and any information in a visual, eye catching, and easy to read format. To use Smart Art you will need to:
- Select Insert > Smart Art from the top taskbar
- From here, you will be prompted to select a Smart Art Graphic option. When you find one that you’re happy with, click OK. For this presentation, we’ll select the Picture Caption List.
- PowerPoint will produce the requested graphic, which you can then change as needed, including altering its dimensions

Tip 4: Save time by selecting a theme from the Design Tab
The last thing anyone wants to see is a PowerPoint presentation that’s just a plain, white background. PowerPoint’s design tab allows you to make your presentation look flashy and memorable! To select an existing theme:
- Click on the Design tab and navigate to the left-hand side of the Taskbar. You’ll see a series of themes which you can select
- PowerPoint will then change all of your slides to the selected theme. Bear in mind that some elements, such as text and graphics, may appear larger or smaller depending on the selected theme. Experiment until you find the theme which best suits your needs!
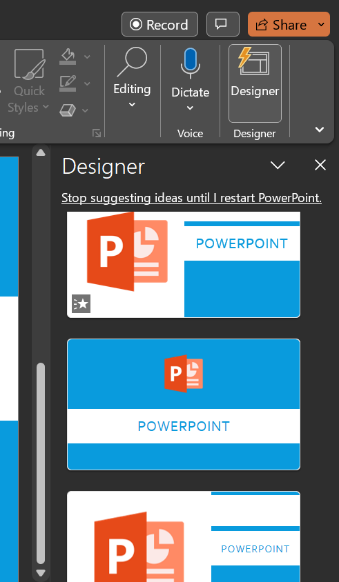
- If you want to make your slides stand out even further, why not explore the Designer function within the same tab
Tip 5: Use animations to draw attention
If you want to draw your audience’s attention to certain elements on your slides, why not make use of the animation feature?
- Select Animations from the taskbar
- Select the content from your slide that you want to draw attention to
- From the animations tab, select one of the yellow animations – these are designed to draw attention to your content
- For this example we’ve selected Fill Colour – this will create a box of colour around your content, and you can adapt this colour
This blogpost shows just some of the many things that PowerPoint can do. For more information, please check out this LinkedIn Learning collection for more tips!