

Getting access to reliable and relevant information via internet search is becoming more and more difficult over time. With factors such as search-engine-optimisation (SEO) or unreliable GenAI integration, it can feel like far too much of a battle to get basic results from your searches in google or other search engines (Interested readers might learn more from Dr Cory Doctorow’s theories on the degradation of online infrastructure).
However, it does not have to be this way!
By equipping yourself with the right tools, you can turn the tide in your favour and start to see more of the results you want. Operators are powerful tools, still left in the code of search engines, that can let them be just as useful as they were initially designed to be!
So, Operators:
What are they? – Modifiers you can add to searches that can help you to change the results as you wish
How are they used? – You can apply them from an ‘advanced search’ options menu, but more excitingly you can also just type them directly into the search bar alongside your query!
What can they do? – I’m so glad you asked. Here are the most useful ones:
site:
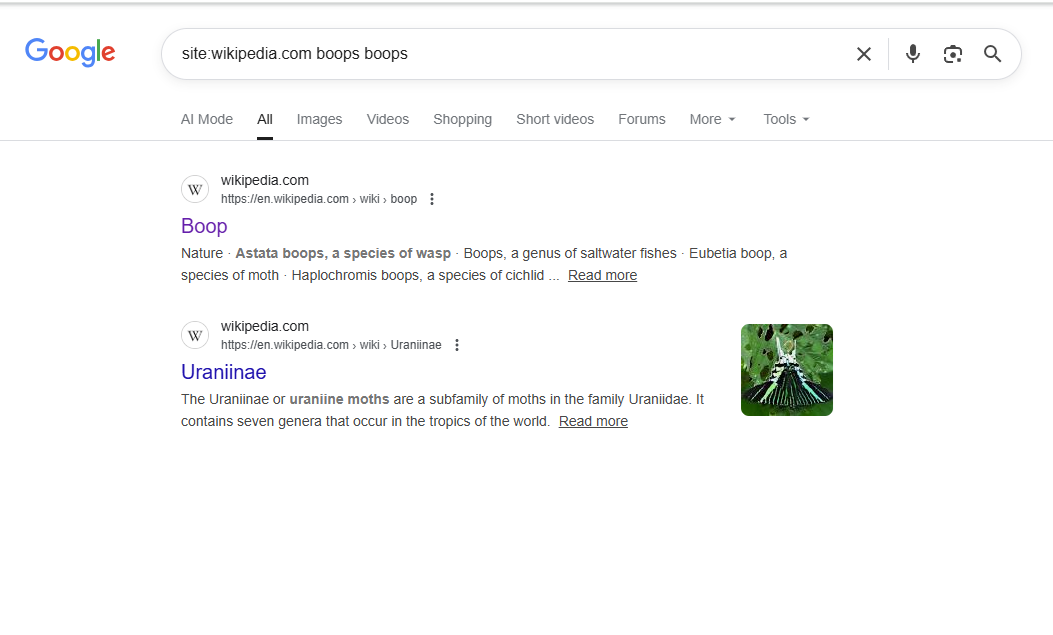
The first operator is ‘site’.
By including the site operator, formatted like this: ‘site:website.url’ in your search, the results will be limited to those from that exact website. This can be extremely useful if you are looking for information from a certain source, or want to narrow down the results in some way.
“”
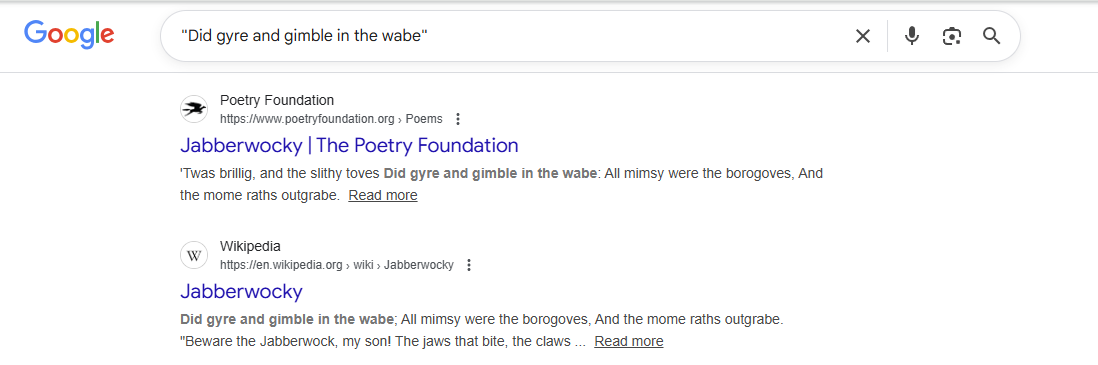
The next operator is “”. Just that – quotation marks around your search query.
Doing this will ensure that every result contains that precise string of words. Perhaps unintuitively, this isn’t what the average search engine usually does with a search query, so specifying in this way can be massively helpful in finding what you’re looking for more precisely, or tracking down a specific source or website.
OR & AND

The operator AND (which some readers may be familiar with from Boolean logic) ensures that all results would appear as results from each of the separated search terms on their own. In this example, searching Poe AND House allows us to get results on the book by Poe, whereas simply searching “Poe House” would get us results on the Edgar Allan Poe Museum.
The operator OR is similar, and also from Boolean logic. If several search terms are combined with OR, the result will be everything that appears for any of those terms. To extend the example, searching “Poe OR House” mostly gets us results on the game “Path of Exile”, which is a common search result for “Poe”.
–
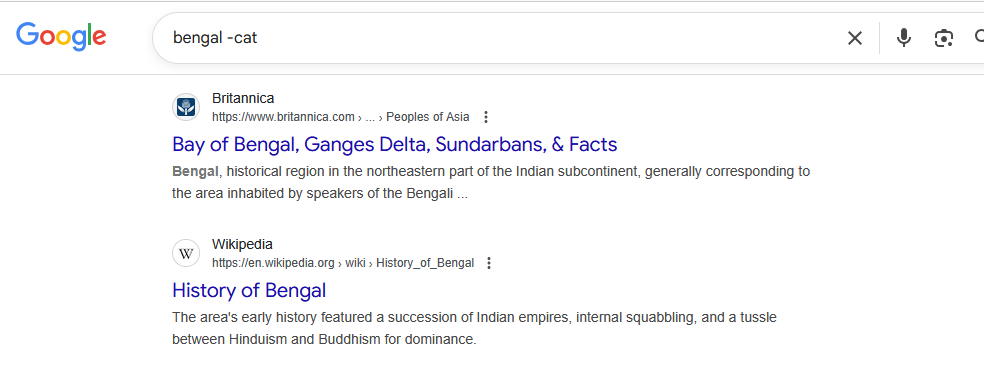
Preceding a search term with a minus sign (-) will remove everything that matches that search term from your results. This can be useful for narrowing down your search, especially when it’s mixed in with other similar terminology that is less relevant (E.g., in the above example I am searching for information on Bengal, so I have removed the search term “cat”).
It is worth noting that using this can remove relevant search results as well if the contents happen to overlap. For example, the above search query also removes the primary Wikipedia page for Bengal, as it mentions the breed of cat.
That’s four useful search operators for everyday browsing, but there are dozens more that are useful in other scenarios. As such, expect a second part in another DigiTip going over more!
To follow our DigiTips, subscribe to our Digital Skills Blog. Or alternatively, you can bookmark this webpage, where a new DigiTip will be added each week!